Table of Contents
Advertisement
Advertisement
Table of Contents

Related Manuals for Wattbike Pro


Summary of Contents for Wattbike Pro
- Page 1 ASSEMBLY & SERVICE MANUAL...
-
Page 2: Table Of Contents
Contents Important Safety Instructions Assembly and Set Up Wattbike Set Up Wattbike Performance Computer The Wattbike Unique Dual Braking System Preventative Maintenance and Troubleshooting Calibration... -
Page 3: Important Safety Instructions
Your Wattbike is designed for exercise and training in a commercial and consumer environment by adults and children. For your safety the Wattbike should only be used for it’s intended purpose. Any other use of the Wattbike is prohibited and may be dangerous. The manufacturers cannot be held liable for damage or injury caused by improper use of the Wattbike. -
Page 4: Assembly And Set Up
– do not support the weight of the Wattbike on the fan cage. Tighten the screws securely but do not over tighten the screws. - Page 5 2.4 Attach Front Foot Ask your assistant to lift the front of the Wattbike so that the weight is supported on the back foot and hold the bike in position whilst you fit the front foot using the remaining two screws and washers.
-
Page 6: Wattbike Set Up
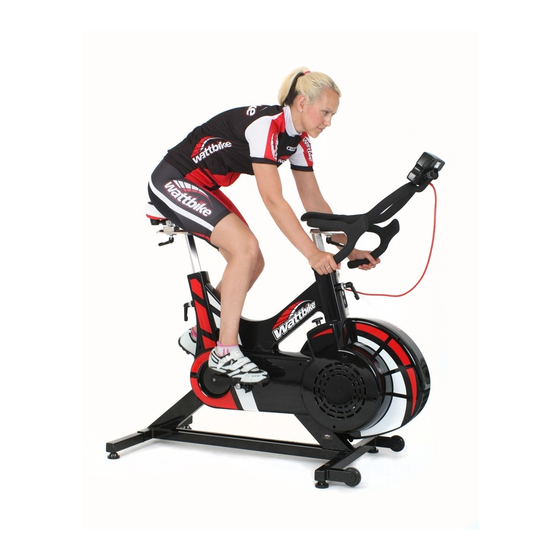
We reserve the right to carry out preliminary assembly work at the Wattbike factory. The Wattbike and all its components are subject to constant, innovative quality assurance. We reserve the right to perform technical modifications. Please keep the Wattbike original packaging so that it can be used, if necessary to transport the Wattbike at a later date. Always store packing material in a way that will not cause any danger. Keep plastic bags away from children. 3. Wattbike Set Up The correct set up is crucial to maximise performance, prevent injury and ensure the most comfortable riding on your Wattbike. The correct sequence for set up is, saddle height, horizontal saddle position, handlebar height and horizontal handlebar position. Before starting, ensure that your saddle is horizontal, use a spirit level if necessary. 3.1 Saddle Height The easiest way to get a rough height for the saddle height is to stand the rider next to the bike with the heel pushed into the back stabiliser, and then lift the saddle up so that the top of the saddle is level with the boney protrusion of the hip. -
Page 7: Wattbike Performance Computer
There is a RESET button on the back of the Wattbike Performance Computer – this should only be used if the Wattbike Performance Computer display stops working or shows inconsistent data. NOTE – You will not lose any data saved in the Memory if you activate the RESET button. If in doubt contact your local Wattbike distributor. -
Page 8: Preventative Maintenance And Troubleshooting
Check that the battery level on the WPC is high or medium. Go to SET UP then PROPERTIES to check and use the supplied charger if battery reads low. Monthly Maintenance Check for smooth and quiet operation of all moving parts. Check your WPC firmware version - go to SET UP then PROPERTIES. Compare to the latest WPC firmware version at wattbike. com and update if necessary. Six Monthly Maintenance Tools needed 2.5mm Hex (Allen) Key, a long and thin cross-head screwdriver, 15mm spanner. - Page 9 Contact Details Corporate Headquarters Wattbike Ltd Vermont House, Nottm Sth and Wilford Ind Est Ruddington Lane Nottingham NG11 7HQ United Kingdom Tel: +44 115 9455454 Email: info@wattbike.com Web: wattbike.com w w w . w a t t b i k e . c o m...
Need help?
Do you have a question about the Pro and is the answer not in the manual?
Questions and answers