Table of Contents
Advertisement
Quick Links
Advertisement
Table of Contents

Related Manuals for I-Tech LCHH1001


Summary of Contents for I-Tech LCHH1001
-
Page 2: Table Of Contents
Content Introduction ...................... 3 Hardware Installation..................3 The Display Timing................... 5 The Display Outline Dimensions............... 6 The Display Controls..................7 The Screen Adjustment ..................8 Troubleshooting Tips ..................10 Specification....................11 Product Safety Precautions................12 Page 2... -
Page 3: Introduction
Introduction Welcome to enjoy the fantastic sightseeing world. This new technology will bring you the whole new feeling about the “monitor”. We show here some of the major advantages of the LCD monitor. You will really find some other advantages when you use it. Hardware Installation This chapter will guide you the correct installation procedures of your LCD monitor. - Page 4 The following picture provides the connection outline Video Input Pin Assignment This section describes the pin assignment of the LCD’ s video connector. It is called 15pin Mini D-sub connector. Pin No. Signal Connector Red Video Signal Green Video Signal Blue Video Signal N.C.
-
Page 5: The Display Timing
The Display Timing Applicable video timing The following table lists the better display quality modes that the LCD monitor provides. If the other video modes are input, the monitor will stop working or display unsatisfactory picture quality. VESA Modes Mode Resolution Total Nominal... -
Page 6: The Display Outline Dimensions
The Display Outline Dimensions Unit: mm Page 6... -
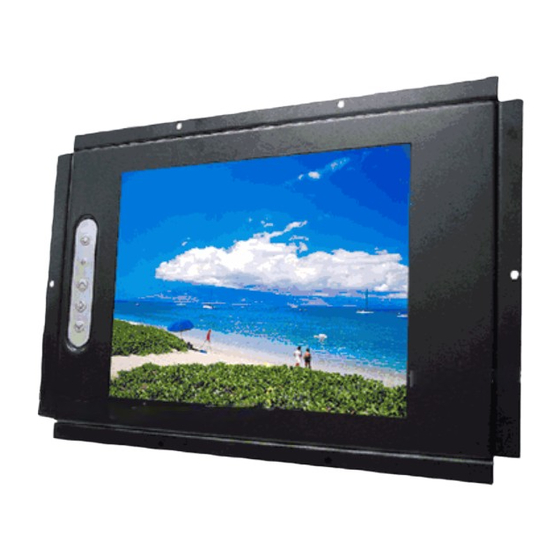
Page 7: The Display Controls
The Display Controls Membrane Control Button POWER SWITCH: Pushing the power switch will turn the monitor on. Pushing it again to turn the monitor off. Power LED: Power ON-Green / Power off-No. Up Key >: Increase item number or value of the selected item. Menu Key: Enter to the OSD adjustment menu. -
Page 8: The Screen Adjustment
The Screen Adjustment Main Menu You can adjust the brightness, contrast, display colors, the horizontal and vertical position of the display and OSD menu, etc. through the main menu display. The Down Key < and Up Key >are used to scroll through items within the menu. The selected item is highlighted as the scrolling move along. - Page 9 Menu key function: Color Setup the contrast, brightness and color of the panel. / The Contrast menu item is used to adjust image contrast. Picture Setup the image position within the panel. Function Select auto adjust & auto color function can make the monitor have the best efficiency.
-
Page 10: Troubleshooting Tips
Troubleshooting Tips In the event that you experience trouble with your Display, check the following items before contacting the dealer from whom the Display was purchased. The most common problems usually involve an incorrectly an incorrect connection from the Video Card to the Display. We recommend that you also consult your Video Card User’... -
Page 12: Product Safety Precautions
Product Safety Precautions Follow all warnings and instructions marked on the product. Do not use this product near water. This display should be installed on a solid horizontal base. When cleaning, use only a neutral detergent cleaner with a soft damp cloth. Do not spray with liquid or aerosol cleaners.
Need help?
Do you have a question about the LCHH1001 and is the answer not in the manual?
Questions and answers