Table of Contents
Advertisement
Advertisement
Table of Contents

Subscribe to Our Youtube Channel
Related Manuals for Ozito Ecomow ECO-320


Summary of Contents for Ozito Ecomow ECO-320
-
Page 2: Specifications
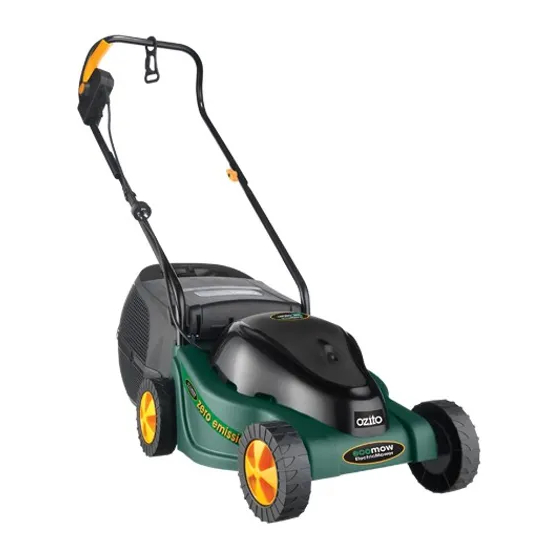
SPECIFICATIONS Rated power: 1100W Rated voltage and frequency: 240V ~ 50Hz No Load Speed: 3000 /min Cutting Diameter: 320mm Cutting Heights: 31mm, 47mm, 63mm Protection against ingress of water: IPX4 KNOW YOUR PRODUCT 1. Start/stop lever 7. Wheel hub 8. Lower handle securing point 2. -
Page 3: Table Of Contents
TABLE OF CONTENTS SPECIFICATIONS………………………………………… Page 2 KNOW YOUR PRODUCT………………………………… Page 2 INTRODUCTION………………………………………… Page 4 SAFETY INSTRUCTIONS……………………………….. Page 4 ASSEMBLY ……………………………………………….. Page 8 FITTING WHEELS………………………………………... Page 8 FITTING LOWER HANDLES…………………………… Page 9 FITTING AND USING CORD RETAINER……………… Page 10 FITTING UPPER HANDLE………………………………. Page 10 GRASS CATCHER……………………………………….. -
Page 4: Introduction
We aim to provide quality tools at an affordable price. We hope you will enjoy using this tool for many years. Your Ozito Ecomow Electric Mower ECO-320 has been designed for small to medium sized lawns and is for DIY purposes only. - Page 5 ELECTRICAL SAFETY (cont.) 9. Never pull on the cord to disconnect any of the plugs. 10. Use only AC mains supply voltage shown on the product rating label. 11. It is recommended that the appliance should by supplied via a residual current device (RCD) with a tripping current of not more than 30 mA.
-
Page 6: Additional Safety Rules For Lawn Mowers
Never use the mower unless the catcher or guards provided by the manufacturer are in the correct position. Explanation of Symbols on the Ecomow Electric Mower - ECO-320 WARNING Read the user instructions carefully to make sure you understand all the controls and what they do. - Page 7 ADDITIONAL SAFETY RULES FOR LAWN MOWERS (cont.) Beware of severing toes or hands. Do not put hands or feet near a rotating blade. Blade continues to rotate after the machine is switched off. Wait until all machine components have completely stopped before touching them. Do not mow in the rain or leave the lawn mower outdoors while raining.
-
Page 8: Assembly
ADDITIONAL SAFETY RULES FOR LAWN MOWERS (cont.) • Switch on the motor according to instructions and with feet well away from the blade(s). • Do not tilt the appliance when switching on the motor, except if the appliance has to be tilted for starting. In this case, do not tilt it more than absolutely necessary and lift only the part which is away from the operator. -
Page 9: Fitting Lower Handles
ASSEMBLY (cont.) 3. Slide split pins (supplied) through each hole in the four axle pins which are protruding through the wheels (6). 4. Bend the two ends of each split pin backwards around the axle pin to secure the wheels (6) to the mower body. -
Page 10: Fitting And Using Cord Retainer
ASSEMBLY (cont.) Fitting and Using the Cord Retainer • To fit the cord retainer, slide it over the upper handle end (on the switch side) before fixing the upper handle to the lower handles. • The cord retainer (11) prevents the extension lead from being disconnected during use. - Page 11 ASSEMBLY (cont.) Fitting and removing the grass catcher • To fit the grass catcher (9) lift up the catcher flap (4). • Clear out any grass that may be in the grass chute. Whenever clearing out grass from the grass chute, the mower must first be turned off and disconnected from the power supply.
-
Page 12: How To Mow
HOW TO MOW On/Off Switch To prevent accidental start up of the motor the mower is designed with a dual action switch. To start, press the button and pull the lever. The motor automatically stops upon the releasing the lever. WARNING! The blade will coast after the switch has been released. -
Page 13: Adjusting Cutting Height
CUTTING HEIGHT ADJUSTMENT (cont.) Adjusting the Rear Wheel Cutting Height Position (Fig. b) 1. Turn the mower on its side. 2. Pull the rear wheel axle towards the mower's catcher flap. 3. Locate the wheel axle into the desire cutting height adjustment position. Note: Make sure that both rear right and left wheel are located in the same cutting height adjustment position. -
Page 14: Maintenance
MAINTENANCE 1. Keep all nuts, bolts and screws tight to be sure the lawn mower is in a safe working condition. 2. Check the catcher frequently for wear or deterioration. 3. Replace worn or damaged parts for safety. 4. Only use the replacement blade, blade bolt, and impeller specified for this product. -
Page 15: Pack Contents
Reuse of recycled material decreases pollution in the environment. Please recycle packaging where facilities exist. Check with your local council authority for recycling advice. PACK CONTENTS 1 x Lawnmower ECO-320 1 x Cord retainer 2 x Lower handles 4 x Wheel caps... -
Page 16: Warranty
If the tool shows signs of damage or defects caused by or resulting from abuse, accidents or alterations. • Failure to perform maintenance as set out within the instruction manual. • If the tool is disassembled or tampered with in any way. OZITO Australia/New Zealand (Head Office) 1-23 Letcon Drive, Bangholme, Victoria, Australia 3175...
Need help?
Do you have a question about the Ecomow ECO-320 and is the answer not in the manual?
Questions and answers