Advertisement
Advertisement
Table of Contents

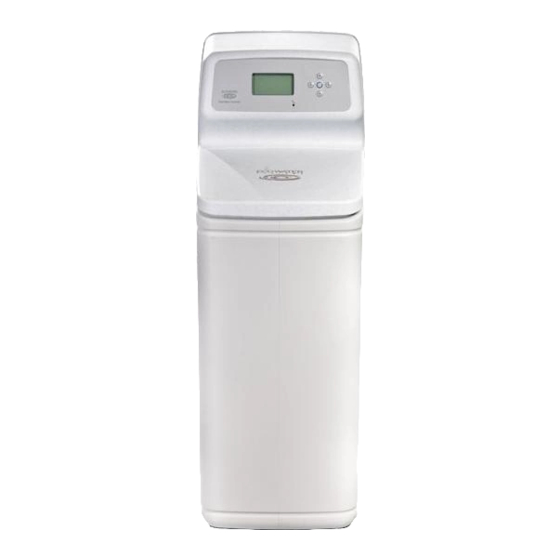
Summary of Contents for EcoWater ESM9+
- Page 1 INSTALLATION MANUAL ESM9+ / ESM11+ / ESM15+...
- Page 2 THANK YOU Thank you for choosing a water softener from EcoWater. With over 80 years’ experience we have manufactured your new water softener from quality corrosion resistant materials to give you many years of trouble-free softened water. This manual will guide you through the steps of how to install your unit. Please read it carefully.
- Page 3 IDENTIFYING MAJOR PARTS OF YOUR WATER SOFTENER Description Quantity Part No. 1 pair Easy Install Tees* GO817 (incorporates check value) 7208718 Drain/ Overflow Tubing 1103200 Overflow Elbow 9003500 Overflow Grommet 900431 Hose Clips 800005 Water Hardness Test Kit 98124612 Transformer 1205500 Adaptor Clips 1 pair...
-
Page 4: Safety Information
Where lead pipework exists downstream of the proposed location of the water softener, we advise you ask the local water authority for advice on Use care when handling the EcoWater softener. Do not turn upside down, the replacement of lead pipework. Grants may be available. Homes built drop, or set on sharp protrusions. -
Page 5: Installation Of Your Water Softener
If the daytime pressure exceeds 4.76 BAR (70 psi)a pressure- reducing valve should be fitted. If daytime pressure is less than 1.7 BAR (25 psi) a pressure pump is required. Talk to an EcoWater agent. Note: Night-time pressure will be much higher than daytime. - Page 6 STEP BY STEP GUIDE TO PLUMBING THE SOFTENER PLUMBING make sure the bypass is open and the inlet and outlet valves are closed. This will allow water to pass directly to the household system without Turn off the water supply at the incoming main and begin plumbing as per it diverting to the water softener.
-
Page 7: Connect Transformer
STEP BY STEP GUIDE TO PLUMBING THE SOFTENER (CONTINUED) CONNECT TRANSFORMER 1. Connect the power cable leads to the two terminals on the transformer. NOTE: Check to be sure all lead wire connections are secure on the back of the faceplate. CAUTION: Be sure all wiring is away from the valve gear and motor area, which rotates during recharges. -
Page 8: Setup Procedure
150 PPM Step by step guide to identifying your water hardness Begin by testing your water hardness using the EcoWater test kit provided (instructions on label) with your softener, as follows:- 1. Remove the reagent from the vial. 2. Fill the vial up to the 10ml mark with a sample of hard water. - Page 9 Iron Level 6/6 Please leave the setting for the Iron Level at 0.0ppm unless advised differently by your authorised EcoWater agent. Press the SELECT button to confirm and move to the next screen. If, at this point, you want to go back and make changes, press the DOWN ( ) button to scroll to “Redo setup”, then press the SELECT...
- Page 10 SETTING UP YOUR SOFTENER (CONTINUED) RECHARGING THE SOFTENER 6. Press UP ( ) or DOWN ( ) buttons to change the recharge time in one hour increments. To rapidly advance, hold the button down con- Your softener recharge will currently be set to automatic. tinuously.
-
Page 11: Troubleshooting
TROUBLESHOOTING If you are experiencing poor water flow, please check all plumbing first as it is extremely rare for a softener to cause flow rate problems. Checklist Solution PROBLEM: Hard water or intermittently hard water 1. Is the salt level above level 2? 1. - Page 12 EcoWater Systems Mill Road, Stokenchurch, High Wycombe, HP14 3TP T: 01494 48 48 48 E: info@ecowater.co.uk W: www.ecowater.co.uk 400497 01/11...


Need help?
Do you have a question about the ESM9+ and is the answer not in the manual?
Questions and answers