Tripp Lite B072-016-IP2 Quick Start Manual
Netcommander ip cat5 multi-user kvm switch
Hide thumbs
Also See for B072-016-IP2:
- Owner's manual (43 pages) ,
- Quick start manual (13 pages) ,
- Quick manual (2 pages)
Table of Contents
Advertisement
Quick Links
Models: B072-016-IP2, B072-016-IP4, B072-032-IP2, B072-032-IP4
Register your product for quicker service and ultimate peace of mind.
You could also win an ISOBAR6ULTRA surge protector-a $50 value!
Copyright © 2014 Tripp Lite. All rights reserved. All trademarks are the property of their respective owners.
14-03-052 93-328C.indd 1
Quick Start Guide
NetCommander IP
Cat5 Multi-User KVM Switch
PROTECT YOUR INVESTMENT!
www.tripplite.com/warranty
1111 W. 35th Street, Chicago, IL 60609 USA • www.tripplite.com/support
®
1
2
2
9
10
11
12
3/14/2014 1:37:55 PM
Advertisement
Table of Contents

Subscribe to Our Youtube Channel
Related Manuals for Tripp Lite B072-016-IP2


Summary of Contents for Tripp Lite B072-016-IP2
-
Page 1: Table Of Contents
You could also win an ISOBAR6ULTRA surge protector—a $50 value! www.tripplite.com/warranty 1111 W. 35th Street, Chicago, IL 60609 USA • www.tripplite.com/support Copyright © 2014 Tripp Lite. All rights reserved. All trademarks are the property of their respective owners. 14-03-052 93-328C.indd 1 3/14/2014 1:37:55 PM... -
Page 2: Legal Notice
The content of this guide is provided for informational use only, and is subject to change without notice. It should not in and of itself be construed as a commitment by Tripp Lite, which assumes no responsibility of liability for any errors or inaccuracies that may appear in this document. -
Page 3: Target Server Compatibility
1. Product Overview 1.2 Terminology The following table describes terms used in this guide. Term Definition The computer/server that is connected directly to the KVM, and which is accessed via the local console or by a Target Server Client Computer running a remote session. A computer running a remote session, which is used to access computer/servers or devices connected to the KVM. -
Page 4: System Components
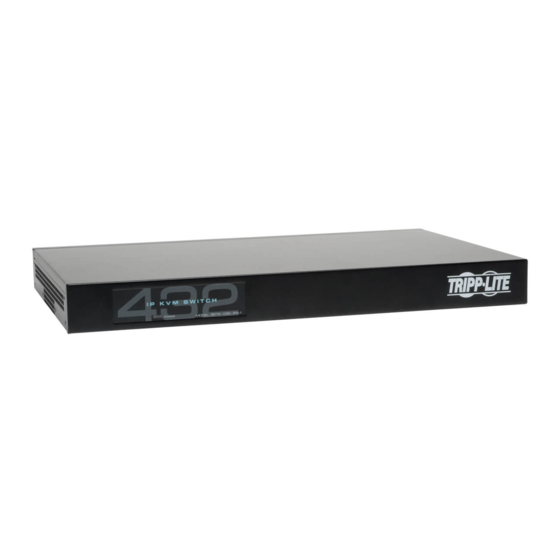
The device does not operate normally when the operating instructions are followed. • Adjust only those controls that are covered in the operating instructions. Improper adjustment of other controls may result in damage that will require extensive repair work by a qualified technician. 1.6 System Components Before installing the NetCommander IP , verify that you have all the components on the following list, as well as any other items required for installation. • NetCommander 216 IP (B072-016-IP2), 232 IP (B072-032-IP2), 416 IP (B072-016-IP4), or 432 IP (B072-032-IP4). • A B078-101-PS2, B078-101-USB-1 or B078-101-USB2 (ordered separately) for each computer/server you will be connecting. • Cat5e/6 cable (ordered separately) for each computer/server you will be connecting, as well as for network and serial connections. • Rackmount hardware (included). • (x2) Power cords (included). 1.7 The NetCommander IP Unit The NetCommander IP front panel is illustrated in the figure below. Note: The figure below shows a B072-032-IP4, but the front panel will be functionally the same for all models. -
Page 5: Rackmounting The Netcommander Ip
1. Product Overview The NetCommander IP back panel is illustrated in the figure below. Note: The figure below shows the back panel for a B072-032-IP2 and B072-032-IP4, but the back panel will be functionally the same for all models, with the only difference being the number of server ports. Element Functionality Power Outlets... -
Page 6: Connecting The System
1. Product Overview 1.9 Connecting the System The figure below illustrates the NetCommander IP system overview. Note: The figure below shows a B072-032-IP4 4-User installation. Set up is the same for all models, with the only difference being the number of simultaneous users supported, and the number of ports. Make sure that power to all the devices you will be connecting has been turned off. - Page 7 1. Product Overview To set the IPv4 address via the local console OSD: From the local console, press the left [Shift] key twice to open the OSD. Press the [F2] key to open the Settings menu. In the Settings menu, press the [Tab] key until the DHCP field is highlighted. Press the [Spacebar] key to toggle the DHCP field from Enabled to Disabled.
- Page 8 1. Product Overview Upon installing the certificate or accepting the unrecognized certificate for the current session, the Java application begins to install. Before the installation completes, a security warning may appear stating that the connection to this website is untrusted. This is a security issue similar to one you get from your web browser. You can choose to continue anyway, or install the certificate in the Java control panel. Refer to the Security Certificate Installation section of the Owner’s Manual for further instructions.
-
Page 9: Web Configuration Interface
2. Web Configuration Interface The NetCommander IP can be accessed in two ways; locally via the local console OSD, or remotely via the Web Configuration Interface. This section of the manual details the Web Configuration Interface, which can be used to access the computer/servers and other devices connected to the KVM, as well as to configure the KVM’s settings and accounts. 2.1 Logging Into the Web Configuration Interface Note: • Before logging on the first time, verify that you have the latest Java installed on your computer (Java 1.6 or higher is required). If not, you can download and install Java from http://www.java.com/en/download/index.jsp. -
Page 10: Conducting A Remote Session
3. Conducting a Remote Session A remote session allows accounts IP access to computer/servers and serial devices connected to the KVM. In a remote session, accounts can access computers/servers, power cycle or turn power to a Target Server Off/On, virtually mount an .iso file, and configure the remote session settings. -
Page 11: Local Console
4. Local Console This chapter explains how to operate the NetCommander IP via the local console. The local console allows you to access connected computer/servers, configure the KVM’s network settings, and to configure some more basic settings specific to local access. To display the OSD: From the local keyboard, press the left Shift key twice. The OSD Main window appears. -
Page 12: Warranty & Warranty Registration
Tripp Lite they are entitled to: • Send old equipment for recycling on a one-for-one, like-for-like basis (this varies depending on the country) • Send the new equipment back for recycling when this ultimately becomes waste Tripp Lite follows a policy of continuous improvement. Specifications are subject to change without notice. 1111 W. 35th Street, Chicago, IL 60609 USA • www.tripplite.com/support 14-03-052 • 93-328C_RevD 14-03-052 93-328C.indd 12...
Need help?
Do you have a question about the B072-016-IP2 and is the answer not in the manual?
Questions and answers