Advertisement
Quick Links
The complete Owner's Manual is available on Tripp Lite's website:
Este manual completo esta disponible en español en la página de Tripp Lite:
Ce manuel complet est disponible en français sur le site Web de Tripp Lite :
Полная русскоязычная версия настоящего руководства представлена на веб-сайте
PROTECT YOUR INVESTMENT!
Register your product for quicker service and ultimate peace of mind.
You could also win an ISOBAR6ULTRA surge protector-a $100 value!
1111 W. 35th Street, Chicago, IL 60609 USA • www.tripplite.com/support
Copyright © 2018 Tripp Lite. All rights reserved. All trademarks are the property of their respective owners.
Quick Start Guide
NetCommander
Cat5 KVM Switch
Model: B070-016-19-IP2
(Series Number: AG-00C3)
www.tripplite.com/support
www.tripplite.com/support
www.tripplite.com/support
компании Tripp Lite по адресу: www.tripplite.com/support
www.tripplite.com/warranty
IP
®
1
2
2
14
19
20
21
Advertisement

Related Manuals for Tripp Lite NetCommander B070-016-19-IP2


Summary of Contents for Tripp Lite NetCommander B070-016-19-IP2
-
Page 1: Table Of Contents
Register your product for quicker service and ultimate peace of mind. You could also win an ISOBAR6ULTRA surge protector—a $100 value! www.tripplite.com/warranty 1111 W. 35th Street, Chicago, IL 60609 USA • www.tripplite.com/support Copyright © 2018 Tripp Lite. All rights reserved. All trademarks are the property of their respective owners. -
Page 2: Legal Notice
The content of this guide is provided for informational use only, and is subject to change without notice. It should not in and of itself be construed as a commitment by Tripp Lite, which assumes no responsibility of liability for any errors or inaccuracies that may appear in this guide. - Page 3 1. Product Overview 1.2 Terminology The following table describes terms used in this guide. Term Definition Target Server The computer/server connected directly to the KVM, and which is accessed via the local console or by a Client Computer running a remote session. Client Computer A computer running a remote session, which is used to access computer/servers or devices connected to the KVM.
- Page 4 • To help protect your system from sudden transient increases and decreases in electrical power, it is recommended that you plug your devices into a Tripp Lite surge protector, line conditioner, or uninterruptible power supply (UPS). • When connecting or disconnecting power to hot-pluggable power supplies, observe the following precautions: o Install the power supply before connecting the power cable to the power supply.
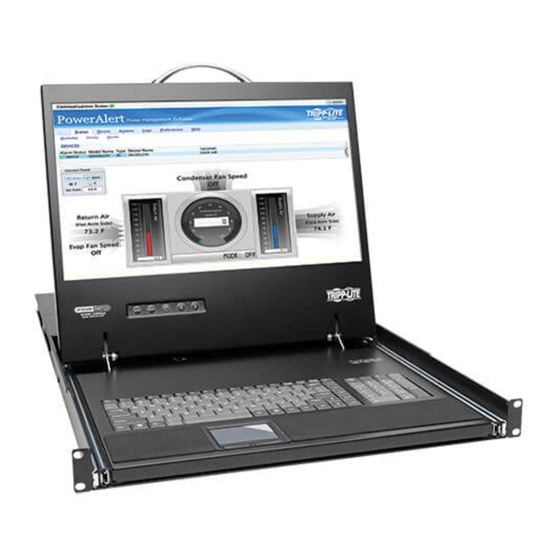
- Page 5 1. Product Overview 1.7 The NetCommander IP Unit Console KVM Switch Front View Upper Handle – Pull to slide the console out; push to slide the console in. 19” LCD Screen – After sliding the console out, flip up the cover to access the LCD screen, keyboard and touchpad. LCD Controls –...
- Page 6 Mount the rackmount brackets on the front of the unit to the rack using user-supplied screws. 1.8.2 2-Post Rack Console KVM Switch Instructions The B070-Series Console KVM Switches can be mounted to a 2-Post Rack using Tripp Lite’s B019-000 2-Post Rackmount Kit (sold separately). See the B019-000 Owner’s Manual for installation instructions.
- Page 7 8. Connect the included power cord between the C14 outlet on the back of the unit and a Tripp Lite Surge Protector, Power Distribution Unit (PDU), or Uninterruptible Power Supply (UPS). There is no Power On/Off switch, so plugging in the power cord will power on the KVM.
- Page 8 1. Product Overview To set the IPv4 address via the local console OSD: From the local console, press the left [Shift] key twice to open the OSD. Press the [F2] key to open the Settings menu. In the Settings menu, press the [Tab] key until the DHCP field is highlighted.
- Page 9 1. Product Overview To set the IP address via the Web Configuration Interface: Notes: • Before logging on the first time, verify the latest Java version (1.8 or 1.9) is installed on your computer. If the Java Runtime Environment is not installed on the client PC, a popup window similar to the one below will likely appear.
- Page 10 1. Product Overview Resolving this issue will require performing the following steps for each KVM: 1. Open the Java Control Panel to the client. 2. Select the Security tab. 3. Click the Edit Site List…button. In the panel that opens, click the Add button, then enter the URL of the relevant KVM device. 4.
- Page 11 1. Product Overview When logging in to the KVM from your web browser, a Security Alert message will appear stating the device’s certificate is not trusted. A prompt will ask if you want to proceed. • If working on a computer other than your own, accept this certificate for only this session by clicking the Continue to this website (not recommended) link.
- Page 12 Note: The NetCommander-AXS software application is an alternative to the KVM Web Configuration Interface and can be used to manage KVM devices. Available as a free download from the Tripp Lite website, this software can be installed and run on a desktop PC.
- Page 13 1. Product Overview Enter in your username and password, and press Enter. If this is the first time you are accessing the KVM, enter in the default username (admin) and password (access). The My Targets page of the Web Configuration Interface opens, showing the state of your unit and displaying all your available Target Servers.
-
Page 14: Web Configuration Interface
2. Web Configuration Interface The NetCommander IP can be accessed in two ways: locally via the local console OSD, or remotely via the Web Configuration Interface. This section details the Web Configuration Interface, which can be used to access the computer/servers and other devices connected to the KVM, as well as to configure the KVM’s settings and accounts. - Page 15 2. Web Configuration Interface Resolving this issue will require performing the following steps for each KVM: 1. Open the Java Control Panel to the client. 2. Select the Security tab. 3. Click the Edit Site List…button. In the panel that opens, click the Add button, then enter the URL of the relevant KVM device. 4.
- Page 16 2. Web Configuration Interface When logging in to the KVM from your web browser, a Security Alert message will appear stating the device’s certificate is not trusted. A prompt will ask if you want to proceed. • If working on a computer other than your own, accept this certificate for only this session by clicking the Continue to this website (not recommended) link.
- Page 17 Note: The NetCommander-AXS software application is an alternative to the KVM Web Configuration Interface and can be used to manage KVM devices. Available as a free download from the Tripp Lite website, this software can be installed and run on a desktop PC.
- Page 18 2. Web Configuration Interface 5. Enter in your username and password, and press Enter. If this is the first time you are accessing the KVM, enter in the default username (admin) and password (access). The My Targets page of the Web Configuration Interface opens, showing the state of your unit, and displaying all your available Target Servers.
-
Page 19: Conducting A Remote Session
3. Conducting a Remote Session A remote session allows accounts IP access to computer/servers and serial devices connected to the KVM. In a remote session, accounts can access computers/servers, power cycle or turn power to a Target Server Off/On, virtually mount an .iso file, and configure the remote session settings. -
Page 20: Local Console
4. Local Console This section explains how to operate the NetCommander IP via the local console. The local console allows you to access connected computer/servers, configure the KVM’s network settings, and to configure some more basic settings specific to local access. To display the OSD: From the local keyboard, press the left Shift key twice. -
Page 21: Warranty And Product Registration
1-Year Limited Warranty TRIPP LITE warrants its products to be free from defects in materials and workmanship for a period of one (1) year from the date of initial purchase. TRIPP LITE’s obligation under this warranty is limited to repairing or replacing (at its sole option) any such defective products. To obtain service under this warranty, you must obtain a Returned Material Authorization (RMA) number from TRIPP LITE or an authorized TRIPP LITE service center.
Need help?
Do you have a question about the NetCommander B070-016-19-IP2 and is the answer not in the manual?
Questions and answers