
Subscribe to Our Youtube Channel
Related Manuals for John Lewis JLTDC 09


Summary of Contents for John Lewis JLTDC 09
- Page 1 JLTDC 09 Condenser tumble dryer Instruction manual Rack dry Extra dry Wool Store dry Extra delicate Cupboard dry Easy iron Damp dry Refresh Iron dry 30 minutes Extra dry Cupboard dry Iron dry...
-
Page 2: Important Safety Information
If you are unsure of any of the meanings of these warnings, contact the John Lewis branch from which you purchased the appliance. -
Page 3: Child Safety
be used for purposes other than those for which it was • The room should be well ventilated for the tumble designed. Dryer to operate efficiently. The room temperature should not exceed +35°C during drying. • Only wash fabrics which are designed to be machine dried. -
Page 4: Table Of Contents
Contents For the user For the installer Important safety information Installation • Installation Technical specifications • Unpacking Description of the appliance • Positioning • Stacking kit (optional accessory) The control panel • Door reversal Electrical connection • Programme/Time Selector Dial •... -
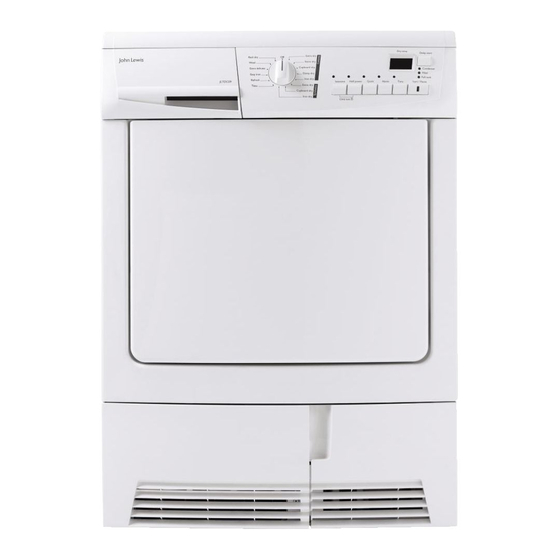
Page 5: Description Of The Appliance
Description of the appliance 01 Control panel 02 Water reservoir 3 Drum Light 04 Fluff filters 05 Rating Plate 06 Condenser unit 07 Adjustable feet Drying rack... -
Page 6: Positioning
1. Lift the rack out of the polystyrene protection used for Please contact your local John Lewis branch for further transport and remove it from the tumble dryer drum. advice. 2. Remove the pieces of polystyrene from the drum one at a time. -
Page 7: Electrical Connection
Electrical connection Any electrical work required to install this appliance 4. Upon completion there must be no cut, or stray should be carried out by a qualified electrician or strands of wire present and the cord clamp must be competent person secure over the outer sheath. -
Page 8: The Control Panel
The control panel 4 Quick dry button 1 Programme/time selector dial Allows you to select electronically controlled or time By pressing this button the drying time is reduced in all controlled drying. COTTON and SYNTHETICS programmes Turn the dial to the required programme or time. The corresponding pilot light comes on. -
Page 9: Display
and a maximum of 20 hours (20h). This option must be selected after having selected the programme and before pressing START/PAUSE to start the programme. Every time the button is pressed, the time is increased by 30 minutes until the display shows a delay of 2 hours. After this, the delay is increased hour by hour. -
Page 10: Start/Pause Button
• “Cooling” “Filter” light This light indicates that the appliance is in the cooling This light illuminates at the end of the programme to phase. At the end of drying, there is a 10 minute cooling remind you that the filters must be cleaned. phase to cool the laundry “Full Tank”... -
Page 11: Programme Chart
Programme chart Automatic drying (electronic programmes) Degree of drying Type of laundry Max-load required Extra dry Store dry Cupboard dry Cotton Damp dry Iron dry Extra dry Synthetics Cupboard dry Iron dry Refresh Synthetics/cotton 1 kg 1 kg Synthetics/cotton Easy iron Synthetics or mixed fabrics Extra delicate 3 kg... -
Page 12: Using Your Tumble Dryer
Using the tumble dryer The END and FILTER lights remain lit and the buzzer Before using your tumble dryer for the first time, we sounds every 10 seconds for 2 minutes. recommend that you to place a few damp cloths inside the appliance and dry for 30 minutes. -
Page 13: Drying Rack
Drying rack The drying rack offers the possibility of drying washable woollen fabrics and sports shoes. The drying rack does not turn with the drum. This allows the drying of woollen garments or sports shoes. When wet woollen garments must be moved as little as possible because they tend to become matted. - Page 14 1. Open the loading door 2. Insert the rack. 3. Place the washing on the rack: – Spread the garment out in the rack and roll it up, without squashing or folding it. – Place sportshoes on the rack with the board turned up.
-
Page 15: Hints & Tips On Drying
Hints & tips on drying Before placing articles of laundry in your tumble • Always load well spun laundry. The higher the spin speed the lower the electricity consumption and the dryer, check the care labels to ensure they are shorter the drying time. -
Page 16: Maintenance And Cleaning
Maintenance and cleaning You must disconnect the appliance from the electricity After a while, a whitish coating due to detergent residue supply, before you can carry out any cleaning or on laundry forms on the filters. When this occurs, clean maintenance work. -
Page 17: Emptying The Water Reservoir
Clean it with a brush and rinse it under the shower if The reservoir must be re-inserted correctly. necessary. If this is not done the pilot light FULL TANK comes on during next drying and the programme stops, leaving the laundry damp. -
Page 18: Adjusting The Level Of Conductivity
Adjusting the level of conductivity Water contains, a variable quantity of limestone and Conductivity Approximate value mineral salts of which quantities vary according to Display degree (µS/cm) geographical locations thus varying its conductivity values. Relevant variations of the conductivity of the water <... -
Page 19: Something Not Working
Something not working If the tumble dryer is not working correctly, please carry out the following checks before contacting your local Service Force agent. IMPORTANT: if the END light flashes, the buzzer sounds and an alarm code is displayed, switch the machine off and call the telephone number given on page 21. -
Page 20: Repairs - After Sales Service
Repairs - after sales service In the unlikely event of your appliance requiring service, Spare parts or if you wish to purchase spare parts, please contact our An authorised service engineer should service this extended warranty administrators by telephoning: product, and only genuine spare parts should be used. 0870 010 7887 Under no circumstances should you attempt to repair the machine yourself. -
Page 21: Installation
Installation It is dangerous to alter the specifications or attempt to modify this product in any way. Care must be taken to ensure that the appliance does not stand on the electrical supply cable. Any electrical work required to install this appliance should be carried out by a qualified electrician or competent person. - Page 22 John Lewis Partnership 171 Victoria Street London SW1E 5NN www.johnlewis.com 136904450-00-27022008 12/06...
Need help?
Do you have a question about the JLTDC 09 and is the answer not in the manual?
Questions and answers