Table of Contents

Related Manuals for Franke FDS 654


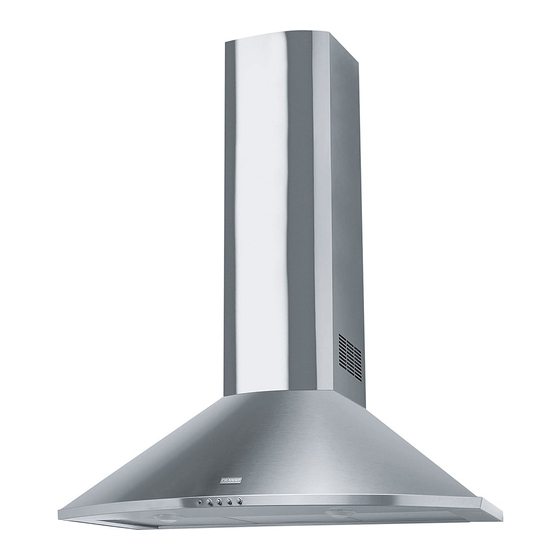
Summary of Contents for Franke FDS 654
- Page 1 Istruzioni per l’uso e l’installazione Cappa Instructions for use and installation Cooker Hood Mode d’emploi et installation Hotte de Cuisine Bedienungsanleitung und Einrichtung Dunstabzugshaube Kullanõm ve montaj talimatlarõ Davlumbaz FDS 654 FDS 954...
-
Page 2: Table Of Contents
Instructions Manual INDEX RECOMMENDATIONS AND SUGGESTIONS ........................14 CHARACTERISTICS ................................15 INSTALLATION..................................16 USE ...................................... 19 MAINTENANCE ................................... 20... -
Page 3: Recommendations And Suggestions
RECOMMENDATIONS AND SUGGESTIONS INSTALLATION • The manufacturer will not be held liable for any damages resulting from incorrect or improper installation. • The minimum safety distance between the cooker top and the extrac- tor hood is 650 mm. • Check that the mains voltage corresponds to that indicated on the rating plate fixed to the inside of the hood. -
Page 4: Characteristics
CHARACTERISTICS Dimensions 598 - 898 r. 191 7.2.1 Components Ref.Q.ty Product Components Hood Body, complete with: Controls, Light, Blower, Filters Telescopic Chimney comprising: Upper Section Lower Section Reducer Flange ø 150-120 mm Air Outlet Connection Ref.Q.ty Installation Components Hood Body Fixing Brackets 7.2.1 Upper Chimney Section Fixing Brackets Wall Plugs... -
Page 5: Installation
INSTALLATION Wall drilling and bracket fixing 7.2.1 Wall marking: • Draw a vertical line on the supporting wall up to the ceiling, or as high as practical, at the centre of the area in which the hood will be installed. •... - Page 6 Mounting the hood body 12.d • Screw the two screws 12d supplied onto the brackets 7.1. • Hook the hood body onto the bracket 7.1, centring it around the vertical line. • Use the adjusting screws 12d underneath the hood to level the hood body.
- Page 7 ELECTRICAL CONNECTION • Connect the hood to the mains through a two-pole switch hav- ing a contact gap of at least 3 mm. • Remove the grease filters (see paragraph Maintenance) being sure that the connector of the feeding cable is correctly inserted in the socket placed on the side of the fan.
-
Page 8: Use
Light Switches the lighting system on and off. Motor running led. Motor Switches the extractor motor on and off at low speed. Used to provide a contin-uos and silent air change in the presence of light cooking vapours. Speed Medium speed, suitable for most operating conditions given the optimum treated air flox/noise level ratio. -
Page 9: Maintenance
MAINTENANCE Grease filters CLEANING METAL SELF- SUPPORTING GREASE FILTERS • The filters must be cleaned every 2 months of ope- ration, or more frequently for particularly heavy usage, and can be washed in a dishwasher. • Remove the filters one at a time by pushing them towards the back of the group and pulling down at the same time. - Page 10 çevre ve insan sağlõğõ üzerindeki olumsuz etkilerini bertaraf etmeye katkõ sağlamõş olursunuz. Bu ürünün geri dönüşüm koşullarõ hakkõnda daha ayrõntõlõ bilgi için hudutlarõ içinde bulunduğunuz belediyenin ilgili diaresine, atõk yoketme servisine veya ürünün satõcõsõna danõşõnõz. Franke S.p.a. Via Pignolini,2 37019 Peschiera del Garda (VR) www.franke.it...
Need help?
Do you have a question about the FDS 654 and is the answer not in the manual?
Questions and answers