Table of Contents
Advertisement
Quick Links
Advertisement
Table of Contents

Related Manuals for Stairville MATRIXX FX-440 DMX


Summary of Contents for Stairville MATRIXX FX-440 DMX
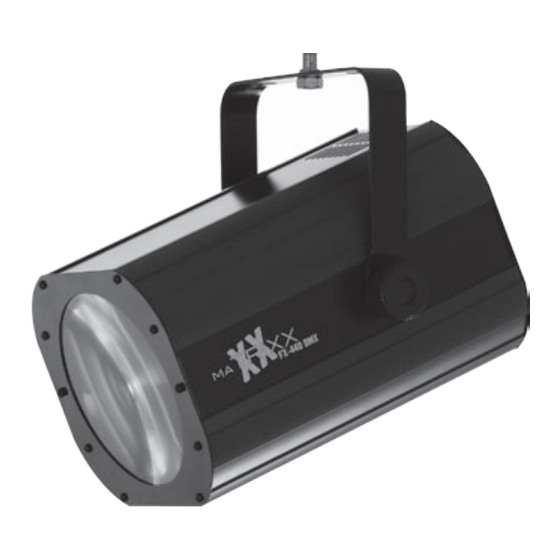
- Page 1 MATRIXX FX-440 DMX Owner‘s Manual LED MATRIX FLOWER EFFECT...
-
Page 2: Table Of Contents
Congratulations on your purchase of this LED Effect Light. To get the most from your equipment you must read all of this manual before using it first time. Table of Contents 1. Safety Instruction ................3 2. Technical Specification ..............4 3. -
Page 3: Safety Instruction
1. Safety Instruction You have to carefully read the instruction, which includes impor- tant information about the installation, usage and maintenance. • Please keep this User Guide for future consultation. If you sell the unit to another user, be sure that he also receives this instruction booklet. •... -
Page 4: Technical Specification
2. Technical Specification • Featuring 144 high brightness, each controllable LEDs, the Matrix LED delivers fabulous text patterns, geometric figures, dynamic scanning, rolling, rotating and zooming effects. • Great built-in lighting shows under Master/Slave operation triggered by music. • Optional CA-8 easy controller for enjoying instant lighting shows at you fingertips. -
Page 5: How To Setup The Unit
3. How To Setup The Unit 3.1 Control Panel q Display: To show the various menus and the selected functions DMX input present w DMX Master Mode e MASTER Slave Mode r SLAVE Flashing Sound activation t SOUND Button To select the programming functions y MENU To go backward in the selected functions u DOWN... -
Page 6: Main Function
f DMX output: For DMX512 link, use 3-pin XLR plug cable to link the next unit. g DMX input: For DMX512 link, use 3/5-pin XLR plug cable to input DMX signal. h Mains output: Connect to supply mains power for the next unit. j Mains input: Connect to supply mains power. - Page 7 DMX 512 Address Setting Press the MENU button up to when the is showing on the display. Press the ENTER button and the display will blink. Use DOWN / UP but- ton to change the DMX512 address. Once the address has been selected, press the ENTER button to setup or automatically exit the menu mode without any change after 10 seconds.
- Page 8 Press the ENTER button, then use DOWN / UP buttons to select the (sound on) or (sound off) mode. Once the mode has been selected, press the ENTER button to setup or automatically exit the menu mode without any change after 10 seconds. To go back to the functions without any change press the MENU button again.
-
Page 9: How To Control The Fixture
4. How To Control The Fixture You can operate the unit in two ways: 1. By master/slave built-in preprogram function 2. By easy controller 3. By DMX controller No need to turn the unit off when you change the DMX address, as new DMX address setting will be effected at once. -
Page 10: Dmx Controller
4.3 DMX Controller Using universal DMX controller to control the units, you have to set DMX address from 1 to 512 channel so that the units can receive the DMX signal. Press the MENU button up to when the is shown on the display. Press the ENTER button and the display will blink. -
Page 11: Dmx512 Connection
144 CH mode 4 channels as a group, please refer to the DMX configuration of 1-4 chan- nels to control the other channels when you choose 144 channels mode. Under this mode, you can control the 144 LEDs separately. 6. DMX512 Connection The DMX 512 is widely used in intelligent lighting control, with a maximum of 512 channels. -
Page 12: Troubleshooting
cables, soldered joints or corroded connectors can easily distort the signal and shut down the system. 2. The DMX output and input connectors are pass-through to maintain the DMX circuit when one of the units’ power is disconnected. 3. At last fixture, the DMX cable has to be terminated with a terminator to reduce signal errors. -
Page 13: Fixture Cleaning
D. No response to the sound 1. Make sure the unit does not receive DMX signal. 2. Check the microphone to see if it is working by tapping on the mic. E. One of the channels is not working well 1. - Page 16 © 2010 Musikhaus Thomann e. K. Treppendorf 30 • 96138 Burgebrach Germany • www.thomann.de...
Need help?
Do you have a question about the MATRIXX FX-440 DMX and is the answer not in the manual?
Questions and answers