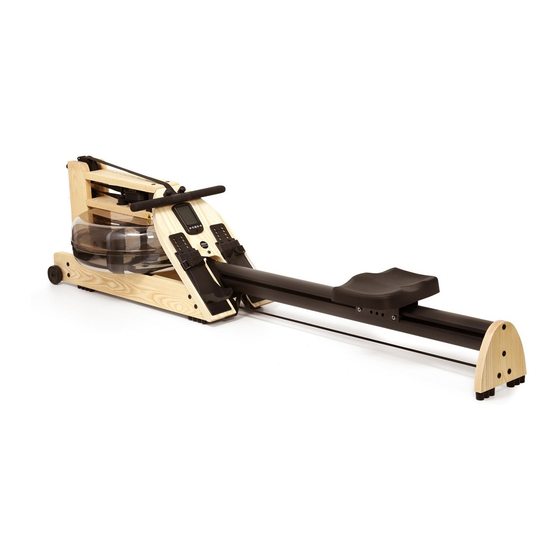
Summary of Contents for WaterRower GX
- Page 1 Owner’s Manual asseMbly InsTruCTIOns MOnITOr InsTruCTIOns warranTy & COnTaCT InfO...
- Page 2 We recommend that you closely follow the assembly details provided, particularly by assembling the machine in the correct sequence, and adhering to the suggested maintenance schedule. We hope you enjoy using your WaterRower for many years to come.
- Page 3 For further information on safety tips, please refer to www.waterrower.com/safety. sTarT up MaInTenanCe During the first weeks of use, the wood in your WaterRower will adjust to OperaTIOn the temperature and humidity of the environment. During this period it is...
- Page 4 Of yOur waTerrOwer Your WaterRower can be stored upright. Lift the Rear Leg end, pull the yOur exerCIse prOgraM WaterRower towards you and use the momentum to stand it in an upright Most of us recognize the benefit of exercise and the potential position.
- Page 5 TraInIng guIDelInes A sustained exercise program will improve the efficiency with which the To ensure you get the maximum benefit from training on your WaterRower respiratory and cardiovascular system can supply oxygen. This improves and to avoid unnecessary problems or injuries here are a few guidelines: lung function, heart function, vascular efficiency and capillary growth, A health check before starting an exercise program.
-
Page 6: Assembly Manual
We have done our best to keep the assembly instructions as clear and concise as possible. Assembling your WaterRower takes about 30-45 minutes and the only tool you need is a 5mm Allen Key that is included on the rear spacer or in the assembly bag. - Page 7 sTep 1 sTep 3 Lay the sub rails on the floor with ends parallel. Dolly wheels on the outside. First remove the Back of Footboard Bolts (K) from behind the footboard. These bolts are used in steps 6 and 8. Attach the end of the mono rail to the angled ends of the sub rails with the Allen key (M) and 4 pairs of the JCN nuts (F) and JCB bolts (E) .
- Page 8 sTep 5 sTep 8 Tighten the footboard to the mono rail by screwing in the clamp bar bolt (I). screw in the rail sub bracket (L) underneath the footboard using the two remaining back of footboard bolts (K). Tighten all the way. Do not tighten all the way.
- Page 9 Do not fill above the 19 level mark. Information on the sticker includes the serial Number, WaterRower contact information and the Insert one purification tablet (P) every six months. Additional purification Water Level Gauge. The maximum level to fill the tablets are available upon request at: tank is Level 19 - DO NOT fill above this level.
- Page 10 To set a distance race, press the Distance ( ) button. This defaults to a The WaterRower GX Monitor has been designed to balance function with distance of 50 meters. use the up and down arrows to select your distance.
- Page 11 seTTIng 100 MeTer relay raCe seTTIng 2 MInuTe Challenge To set a 100 meter race, press the Distance ( ) button, 50 meters will show To set a 2 minute challenge press the Time ( ) button, 30 seconds will in the Distance display of the Race Pace Coach Window.
-
Page 12: Warranty
Monitor not counting down - check the monitor and sensor connector is connected. Check all wiring is intact. This warranty will be invalid if, in the opinion of WaterRower, the claim has been caused by: (a) accident, abuse, misuse, misapplication or as a result of Paddle not turning smoothly, loosen all tank bolts and retighten. - Page 13 UNITEd KINGdOM | www.waterrower.co.uk 19 Acton Park Estate | The Vale, London W3 7QE Tel: +44 (0)20 8749 9090 | info@waterrower.co.uk AUSTRALIA | www.waterrower.com.au Unit 8/46-50 Wellington Rd. | South Granville, NSW 2142 Tel: +61 (0) 2 9681 4221 | info@waterrower.com.au WRM7210...


Need help?
Do you have a question about the GX and is the answer not in the manual?
Questions and answers