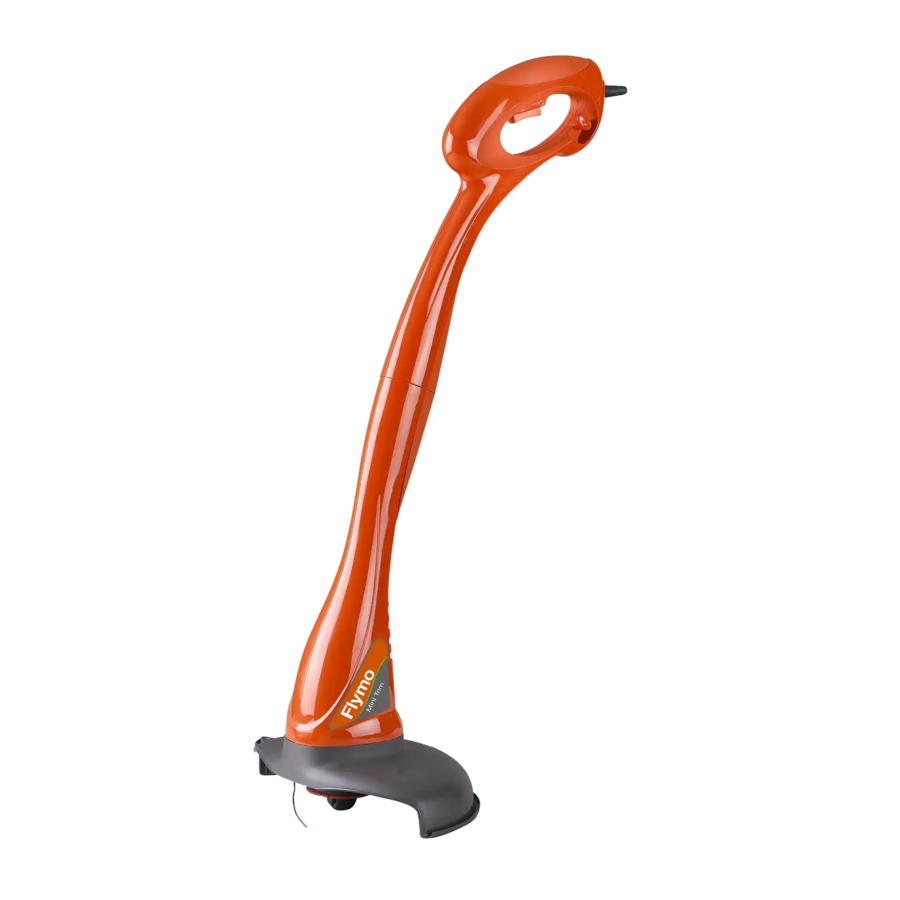
Flymo Mini Trim Original Instructions Manual
Hide thumbs
Also See for Mini Trim:
- Original instructions manual (81 pages) ,
- Manual (80 pages) ,
- User manual (13 pages)
Advertisement
Table of Contents
Advertisement
Table of Contents

Related Manuals for Flymo Mini Trim


Summary of Contents for Flymo Mini Trim
- Page 1 Mini Trim ® Original Instructions...
-
Page 2: Carton Contents
Carton Contents Mini Trim/MT21/ Mini Trim Auto +/ Switch Lever Switch Lever Mini Trim Auto MT25 Steady Upper Shaft Handle Upper Shaft Electric Cable with moulded on plug Electric Cable with moulded on plug Lower Lower Shaft Shaft Guard Guard... - Page 3 3. Do not use the trimmer if the electric cables are dam- non-slip footwear. aged or worn. 5. Do not walk backwards when trimming, you could trip. 4. Immediately disconnect from the mains electricity supply Walk never run. if the cable is cut, or the insulation is damaged. Do not 6.
-
Page 4: Starting And Stopping
The unit is correctly assembled when the gap be- tween the upper and lower shaft has been closed. Mini Trim/MT21 Mini Trim Auto/ Auto +/MT25 Safety Guard Assembly (B) & (C) 1. Locate the safety guard (B1) over the cutting head (B2). -
Page 5: Manual Line Feed System
How to Trim WARNING: The use of eye protection is recommended. Do not lean over the trimmer guard whilst trimming, objects may be thrown by the cutting line. Do not allow cutting head to rest on the ground. Do not overload your trimmer. Over- loading can be avoided by making sure the motor speed does not drop unduly. -
Page 6: Automatic Line Feed System
Fault Finding Hints WARNING! Disconnect from the mains electricity supply be- fore attempting any maintenance or adjustment. 1. Line too short. Feed out line. 2. Line broken inside of spoolholder. Remove spool and re-thread line. 3. Line jammed on spool. Remove spool and rewind line to remove crossed loops. -
Page 7: Replacement Parts
To fit spool and line complete: 1. Remove old spool. 2. Place new spool into spoolholder with cut out areas of the spool in line with eyelets as shown in figure Q. Cut out area 3. Release one line from cleat and feed line through eyelet (Q). of spool 4. -
Page 8: Maintenance
Maintenance After you have finished using your trimmer follow the procedure below: 1. Disconnect from the mains electricity supply. 2. Never clean your trimmer with water, cleaning flu- ids, or solvents, just remove debris with a suitable tool, a soft brush or dry cloth. 3. -
Page 9: Ec Declaration Of Conformity
Our policy of continuous improvement means that the specification of products may be altered from time to time without prior notice. Copyright © 2008 Flymo S.A. All rights reserved. Flymo® and other product and feature names are registered or unregistered trademarks of Flymo S.A.
Need help?
Do you have a question about the Mini Trim and is the answer not in the manual?
Questions and answers