Table of Contents
Advertisement
Advertisement
Table of Contents

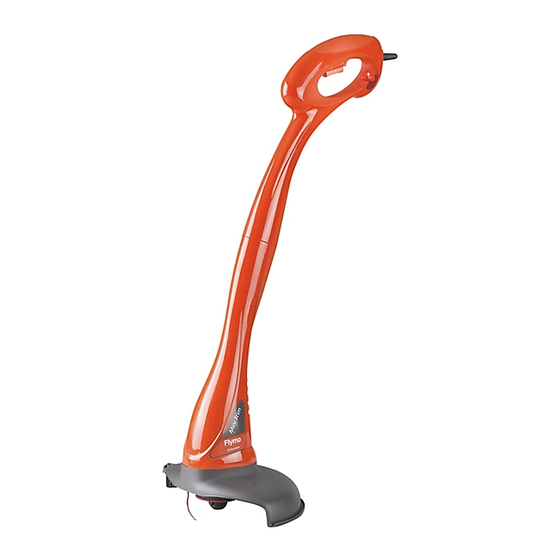
Summary of Contents for Flymo Mini Trim 2009
- Page 1 ® Original Instructions...
-
Page 2: Carton Contents
Carton Contents Switch Lever Upper Shaft Electric Cable with moulded on plug Lower Shaft Guard Instruction Manual IMPORTANT ! Please check the contents of the carton are correct BEFORE assembling your new product. IF ANY PARTS ARE MISSING CONTACT:- Husqvarna UK Ltd. Customer Service Department direct Telephone : 0844 844 4558 UK 1800 882 350 ROI Fax : 01325 302530... - Page 3 General Preparation 1. This product is not intended for use by persons 1. While using your product always wear substan- (including children) with reduced physical, sen- tial footwear and long trousers. sory or mental capabilities, or lack of experi- 2. Before using the machine and after any impact, ence and knowledge, unless they have been check for signs of wear or damage and repair given supervision or instruction concerning the...
- Page 4 Cables IMPORTANT 1. No earth required. Our products are double in- Use only 1.00mm size cable up to 40 metres sulated to EN60335 and under no circum- length maximum. stances should an earth be connected to any Maximum rating: part of the product. 1.00mm size cable, 10 amps 250 volts AC.
-
Page 5: Assembly Instructions
Assembly Instructions Shaft Assembly (A) 1. Locate the lower shaft (A1) into the upper shaft (A2). 2. Grasp firmly and hold steady the lower shaft. Locate the upper shaft and snap together firmly. • The unit is correctly assembled when the gap between the upper and lower shaft has been closed. -
Page 6: Starting And Stopping
Starting and Stopping WARNING Cutting head continues to rotate after the trimmer has been switched off. To start your trimmer Squeeze the switch lever (E). To stop your trimmer Release the switch lever (E). How to Trim WARNING: The use of eye protection is recom- mended. -
Page 7: To Remove Spool
Manual Line Feed System cont’ Cleat Spool To remove spool 1. Press and hold the two latches. 2. Pull spool out of spoolholder (H). Latches When refitting the spool 1. Keep all areas of the spool and spoolholder Spoolholder clean. Failure to do so may prevent the spool from being securely located in the spoolholder. -
Page 8: Fault Finding Chart
Fault Finding Chart WARNING Disconnect from the mains electricity supply before attempting any mainte- nance or adjustment. FAULT CHECK ACTION Is the line fed out and visi- Remove cap and spool, free LINE TOO SHORT ble? line and re-fit spool and cap. TRIMMER VIBRATES The line may be jammed on the Is the manual line feed work-... -
Page 9: Environmental Information
Environmental Information Awareness of the environment must be consid- By ensuring this product is disposed of correctly, • ered when disposing of ‘end-of-life’ product. you will help prevent potential negative conse- • If necessary, contact your local authority for dis- quences for the environment and human health, posal information. -
Page 10: Ec Declaration Of Conformity
Our policy of continuous improvement means that the specification of products may be altered from time to time without prior notice. Copyright © 2008 Flymo S.A. All rights reserved. Flymo® and other product and feature names are registered or unregistered trademarks of Flymo S.A.


Need help?
Do you have a question about the Mini Trim 2009 and is the answer not in the manual?
Questions and answers