Table of Contents
Advertisement
Quick Links
Advertisement
Table of Contents

Related Manuals for Flymo Mini-Trim Trimmer I


Summary of Contents for Flymo Mini-Trim Trimmer I
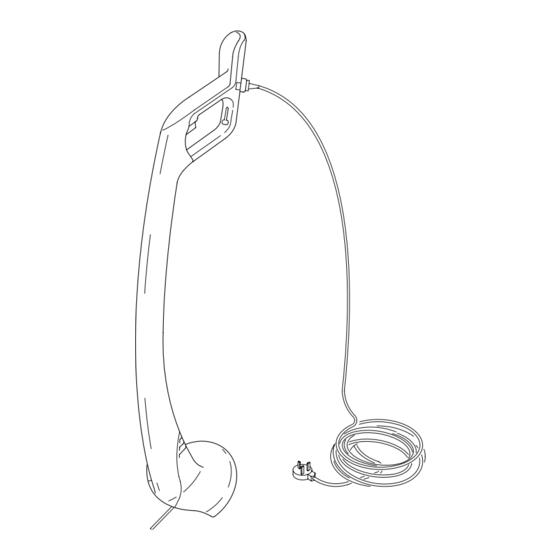
- Page 1 ® Mini-Trim...
-
Page 2: Table Of Contents
OF CONFORMITY (12) & INSIDE BACK COVER Carton Contents Guarantee Card IMPORTANT ! Please check the contents of the carton are correct BEFORE assembling your new Flymo product. IF ANY PARTS ARE MISSING CONTACT:- Flymo/Partner Customer Service Department direct Telephone :... - Page 3 If not used properly this trimmer can be dangerous! This trimmer can cause serious injury to the operator and others, the warnings and safety instructions must be followed to ensure reasonable safety and efficiency in using this trimmer. The operator is responsible for following the warning and safety instructions in this manual and on the trimmer.
-
Page 4: Safety
9. Switch off, remove plug from mains and examine electric supply cable for damage or ageing before winding cable for storage. Do not repair a damaged cable, replace it with a new one. Use only Flymo replacement cable. 10. Always wind cable carefully, avoiding kinking. - Page 5 Maximum rating: 1.00mm size cable, 10 amps 250 volts AC. 1. Flymo products are supplied with either an electric mains cable fitted with a female connector or with an electric mains cable wired directly into the product.
-
Page 6: Starting And Stopping
• WARNING Cutting head continues to rotate after the trimmer has been switched off. To start your trimmer Squeeze the switch lever (C). To stop your trimmer Release the switch lever (C). - Page 7 Disconnect from the mains electricity supply before attempting any maintenance or adjustment. 1. Cut with cutting line at an angle using the tip. 2. Swing trimmer in and out of the cutting area taking small cuts.
- Page 8 Disconnect from the mains electricity supply, before attempting any maintenance or adjustment. Cutting head continues to rotate after the trimmer has been switched off. Removing broken or worn cutting line. For best results, replace the cutting line when worn to no less than 20 mm from the edge of the cutting head.
-
Page 9: Replacing The Cutting Line
Storing the spare cutting lines. Cutting lines can be stored in the storage facility provided in the back of the trimmer stem. To store your line, insert one end of the line into the top slot and one end of the line into the bottom slot. -
Page 10: Maintenance
Cutting head continues to rotate after the trimmer has been switched off. After you have finished using your Flymo Trimmer follow the procedure below: 1. Disconnect from the mains electricity supply. 2. Never clean your trimmer with water, cleaning fluids, or... - Page 11 2. Check if cutting head is rotating freely. Remove any debris. See Caring for your Trimmer page 9. Service Recommendations 1. Always use genuine Flymo Spare Parts. 2. Prepacked spares are available from most Flymo/Partner stockists. 3. If you have a problem with your...
-
Page 12: Guarantee
Flymo/Partner, or by the machine having been modified in any way... -
Page 13: Environmental Information
Environmental Information Electrolux Outdoor Products are manufactured under an Environmental Management System (ISO 14001) using, where practical, components manufactured in the most environmentally responsible manner, according to company procedures, and with the potential for recycling at the end of the products’ life. •... - Page 14 Make ........
- Page 15 The use of eye protection is recommended to protect against objects thrown by the cutting line. Flymo Safety Glasses are available from most leading stockists GUIDE PRICE GUIDE PRICE £3.49 £3.49 ONLY ONLY Contact your nearest stockist or telephone (01325) 300303 for more details...
Need help?
Do you have a question about the Mini-Trim Trimmer I and is the answer not in the manual?
Questions and answers