RFXCOM RFXtrx433 User Manual
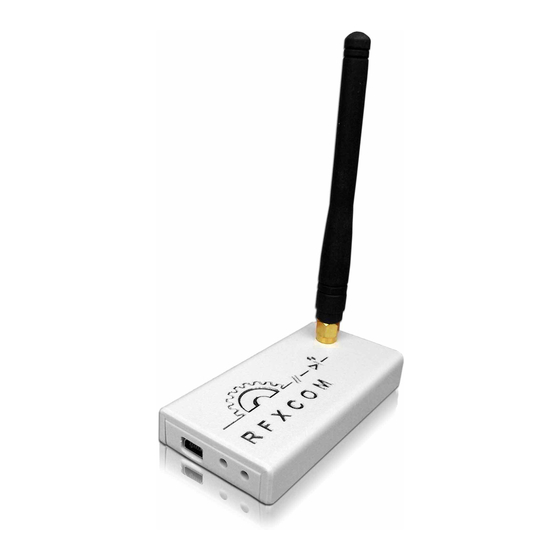
Usb rf transceiver
Hide thumbs
Also See for RFXtrx433:
- User manual (20 pages) ,
- User manual (39 pages) ,
- User manual (70 pages)

Related Manuals for RFXCOM RFXtrx433


Summary of Contents for RFXCOM RFXtrx433
-
Page 1: User Guide
RFXtrx433 USB RF transceiver User guide www.rfxcom.com RFXtrx Version 2.2 page 1 / 12 Copyright 2011-2012, RFXCOM... -
Page 2: Table Of Contents
Update firmware in the RFXtrx433 ................... 7 5.1.1. Run RFXflash on Linux under Mono ................7 5.2. Update firmware in the RFXtrx433 step by step ............... 8 5.3. Force bootload ....................... 10 EC Declaration of Conformity ....................11 Warning: ..........................12 Copyright notice ........................ -
Page 3: Rfxtrx433 Rf Transceiver General Information
2. RFXtrx433 RF transceiver general information The RFXtrx433 transceiver is communicating over one USB port with the application. The RFXtrx433 enters for 2 seconds the boot loader and after this it starts the receive/transmit firmware. For developers, the communication protocols over USB are described in the SDK. -
Page 4: Install The Usb Driver
So select only the protocols to be used, click Set mode and on the Receiver tab click Save Settings. Note that these settings are lost after a firmware update and need to be set again. RFXtrx Version 2.2 page 4 / 12 Copyright 2011-2012, RFXCOM... -
Page 5: Receiver
Note that these settings are lost after a firmware update and need to be set again. The received RF data is decoded and displayed in the yellow window. RFXtrx Version 2.2 page 5 / 12 Copyright 2011-2012, RFXCOM... -
Page 6: Transmitter
See the SDK which protocols are supported on the different tabs. The transmitted commands are displayed in the yellow window including the acknowledge send by the RFXtrx, in the example below the 030000200 = ACK, data correct transmitted. RFXtrx Version 2.2 page 6 / 12 Copyright 2011-2012, RFXCOM... -
Page 7: Flash Update Of The Rfxtrx433
1. Download the latest RFXtrx433_yy.hex firmware file. 2. Connect the RFXtrx to a Windows system or Linux under MONO 3. Stop any program that is connected to the RFXtrx433 4. Start the RFXflash program. Important: use RFXflash version 3.0.0.0 or higher 5. -
Page 8: Update Firmware In The Rfxtrx433 Step By Step
Update firmware in the RFXtrx433 step by step • Click the Connect to Device button. The RFXtrx433 will automatically switch from normal mode to the bootloader now. If the bootloader is not entered see the next chapter “Force bootload”. •... - Page 9 Click the Write device button and the RFXtrx433 is flashed. • Click on the Normal Execution Mode button to set the RFXtrx433 to running mode. Note: Receiver Settings are lost after a firmware update and have to be set again.
-
Page 10: Force Bootload
Open the enclosure (do not bend the enclosure too much!!!) Make a connection as indicated by the blue wire, Connect the USB cable, Start RFXflash and the RFXtrx should be detected now, Flash the RFXtrx. RFXtrx Version 2.2 page 10 / 12 Copyright 2011-2012, RFXCOM... -
Page 11: Ec Declaration Of Conformity
6. EC Declaration of Conformity EC Declaration of Conformity RFSmartLink declares that the product: RFXtrx Brand: RFXCOM Type: RFXtrx433 conforms with the essential requirements and other relevant provisions of the following directives and complies with the following standards applied: R&TTE Directive 99/5/EC EN 300 220-1 V2.3.1 (2010-02) -
Page 12: Warning
8. Copyright notice It is forbidden to use any RFXCOM device, software or protocol as part of an exclusive or patented product without the express prior written permission of RFXCOM. All materials contained in this document are protected by copyright laws, and may not be reproduced, republished, distributed, transmitted, displayed, broadcast or otherwise exploited in any manner without the express prior written permission of RFXCOM.
Need help?
Do you have a question about the RFXtrx433 and is the answer not in the manual?
Questions and answers