Advertisement
Advertisement
Table of Contents

Related Manuals for Lionel Drawbridge


Summary of Contents for Lionel Drawbridge
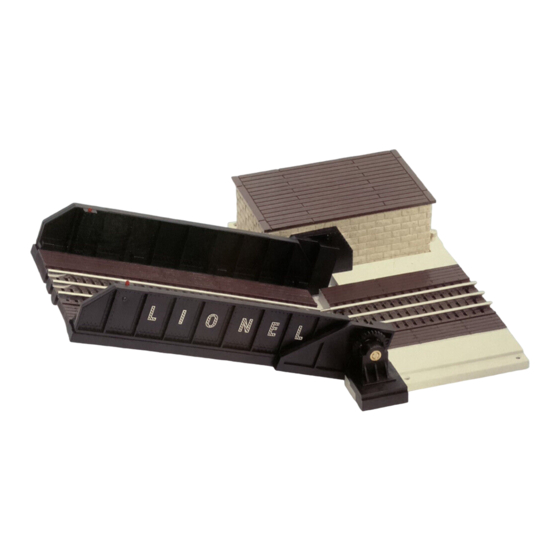
- Page 1 71-4173-250 10/02 Lionel Drawbridge Owner’s Manual...
-
Page 2: Table Of Contents
Operating the Drawbridge Servicing the LEDs Limited Warranty/Lionel Service The following Lionel marks may be used throughout this instruction manual and are protected under law. All rights reserved. Lionel®, TrainMaster®, Odyssey®, RailSounds™, CrewTalk™, TowerCom™, DynaChuff™, StationSounds™, Pullmor®, ElectroCoupler™, Magne-Traction®, CAB-1 Remote Controller®,... -
Page 3: Installing The Drawbridge
Drawbridge on an insulated block of track with a separate accessory power supply. Before and after the accessory, the center (powered) rail will be disconnected, causing the trains to come to a stop if they get too close. - Page 4 Installing the Drawbridge (continued) 4. Connect the controller. As illustrated in Figure 2, be sure that the tab on the controller end of the cable is fit into the slot on the base end. Slot Figure 2. Controller connection...
-
Page 5: Powering The Drawbridge
12-18 volts (AC). Refer to Figure 3 on page 6 for the complete wiring diagram. You will also need to connect the center rail to the Drawbridge. The center rail in the isolated block of track will only be powered when the bridge is down. - Page 6 Powering the Drawbridge (continued) Power your track anywhere outside C E N T E R of the insulated Drawbridge block Insulated center rail Make this connection outside of the insulated track block Insulated center rail DOWN POWER SUPPLY POWER SUPPLY...
-
Page 7: Operating The Drawbridge
Figure 4. Drawbridge controller functions Servicing the LEDs he Drawbridge is illuminated by two LEDs that are expected to last for the life of the accessory. Only an authorized Lionel Service Center should service the LEDs, if it should ever... -
Page 8: Limited Warranty/Lionel Service
Limited Warranty/Lionel Service his Lionel product, including all mechani- Your nearest Lionel Service Center can be found by cal and electrical components, moving calling 1-800-4-Lionel, or by accessing our Website parts, motors and structural components, at www.lionel.com. except for light bulbs, is warranted to the original...
Need help?
Do you have a question about the Drawbridge and is the answer not in the manual?
Questions and answers