Sign In
Upload
Download
Table of Contents
Contents
Add to my manuals
Delete from my manuals
Share
URL of this page:
HTML Link:
Bookmark this page
Add
Manual will be automatically added to "My Manuals"
Print this page
×
Bookmark added
×
Added to my manuals
Manuals
Brands
Electrolux Manuals
Air Conditioner
EXP09CN1W
Service manual
Electrolux EXP09CN1W Service Manual
Portable air conditioner
Hide thumbs
1
2
Table Of Contents
3
4
5
6
7
8
9
10
11
12
13
14
15
16
17
18
19
20
21
22
23
24
25
26
27
28
29
30
31
32
33
34
35
36
37
38
39
page
of
39
Go
/
39
Contents
Table of Contents
Troubleshooting
Bookmarks
Table of Contents
Service Manual
Table of Contents
Precaution
Safety Precaution
Warning
Function and Control Panel
Function
Control Panel
Dimension
Refrigerant Cycle Diagram
Wiring Diagram
Electronic Function
Terms and Definitions
Electric Control Working Environment
Protection Function
Fan-Only Mode Function Requirement
Cooling Mode Function Requirement
Drying Mode
Heating Mode
Sensor Malfunction
Some Standard Functions Synopsis
Installation Details
Installation Instructions
Care and Maintenance
Basic Test Procedure
Defective Compressor
Sealed Refrigeration System Repairs
Fan Motor
Capacitor
Characteristic of Temperature Sensor
Troubleshooting
Advertisement
Quick Links
1
Service Manual
2
Control Panel
3
Function and Control Panel
4
Refrigerant Cycle Diagram
5
Wiring Diagram
6
Care and Maintenance
7
Troubleshooting
Download this manual
Electrolux Home Products Italy S.p.A.
Corso Lino Zanussi, 30
I - 33080 Porcia – PN -
Fax: + 39 0434 394096
Edition: 01-2013 Rev 0.0
Publication number
599 76 28-75
EN
SERVICE MANUAL
AIR CONDITIONER
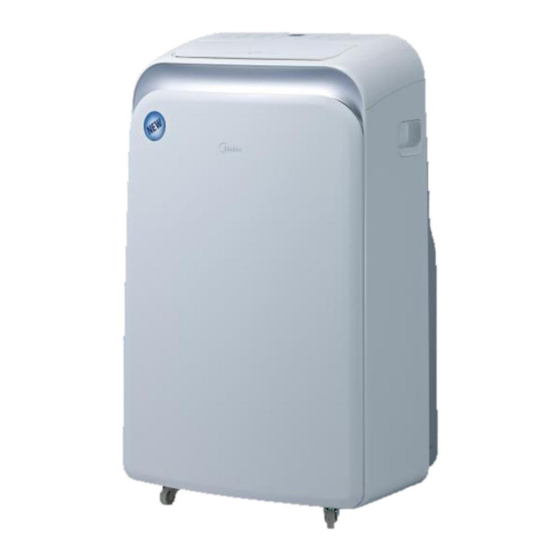
Air conditioner
Portable
MODEL:
EXP09CN1W
EXP09HN1W
EXP12HL1W
Table of
Contents
Previous
Page
Next
Page
1
2
3
4
5
Advertisement
Table of Contents
Need help?
Do you have a question about the EXP09CN1W and is the answer not in the manual?
Ask a question
Questions and answers
Related Manuals for Electrolux EXP09CN1W
Air Conditioner Electrolux EXP12EN1WI User Manual
Portable air conditioner (16 pages)
Air Conditioner Electrolux EXP09HN1W Service Manual
Portable air conditioner (39 pages)
Air Conditioner Electrolux EXP09CN1W7 User Manual
Portable (92 pages)
Air Conditioner Electrolux EXP08CN1W6 User Manual
(116 pages)
Air Conditioner Electrolux EXP09 User Manual
(132 pages)
Air Conditioner Electrolux EXP12HN1WI User Manual
(84 pages)
Air Conditioner Electrolux U31175 LU4 9QQ User Manual
Electrolux portable air conditioners product manual (27 pages)
Air Conditioner Electrolux EXP09HSECI User Manual
(200 pages)
Air Conditioner Electrolux EXP26U338CW User Manual
(152 pages)
Air Conditioner Electrolux EXP38U340HW User Manual
(153 pages)
Air Conditioner Electrolux EXP09CKEWI User Manual
(160 pages)
Air Conditioner Electrolux EXP26V578HW User Manual
(276 pages)
Air Conditioner Electrolux EXP12HN1W6 User Manual
(132 pages)
Air Conditioner Electrolux EXP26U339AW EXP26U339CW EXP26U539CW User Manual
(322 pages)
Air Conditioner Electrolux EXP26U339CW User Manual
(20 pages)
Air Conditioner Electrolux Comfort 600 User Manual
(394 pages)
This manual is also suitable for:
Exp09hn1w
Exp12hl1w
Table of Contents
Print
Rename the bookmark
Delete bookmark?
Delete from my manuals?
Login
Sign In
OR
Sign in with Facebook
Sign in with Google
Upload manual
Upload from disk
Upload from URL


Need help?
Do you have a question about the EXP09CN1W and is the answer not in the manual?
Questions and answers