Table of Contents
Advertisement
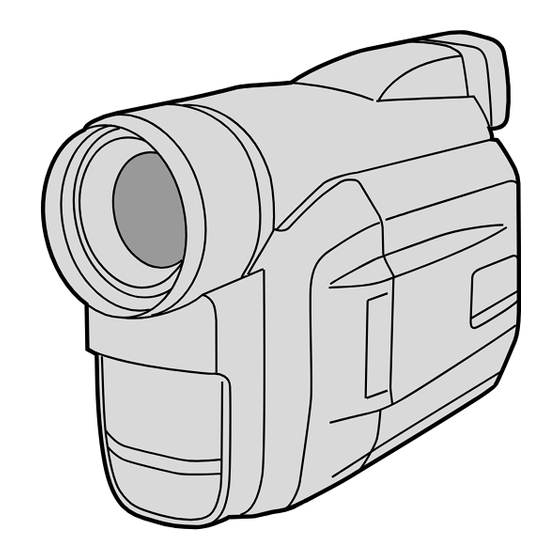
DIGITAL VIDEO CAMERA
GR-DVF21
GR-DVF11
Please visit our CyberCam Homepage on the
World Wide Web and answer our Consumer
Survey (in English only):
http://www.jvc-victor.co.jp/english/index-e.html
INSTRUCTIONS
For Customer Use:
Enter below the Model No. and Serial No. which is located on the
bottom of cabinet. Retain this information for future reference.
Model No.
Serial No.
CONTENTS
Power ............................................ 6
Date/Time Settings ............................ 8
Loading/Unloading A Cassette ............... 9
Recording Mode Setting ..................... 10
Grip Adjustment .............................. 11
Viewfinder Adjustment ...................... 11
Shoulder Strap Attachment ................. 11
Tripod Mounting ............................... 11
Basic Recording ............................... 12
Advanced Features ........................... 17
Basic Playback ................................ 29
Advanced Features ........................... 30
Basic Connections ............................. 32
Advanced Connections ....................... 34
Tape Dubbing .................................. 36
Digital Dubbing ................................ 37
Random Assemble Editing ................... 42
For More Accurate Editing ................... 46
Audio Dubbing ................................. 48
Controls, Connectors And Indicators ....... 58
Indications ..................................... 60
Terms ........................................... 62
LYT0421-001B
ENGLISH
2 - 5
5
6 - 11
12 - 28
29 - 35
36 - 37
38 - 48
49 - 53
54
55 - 57
58 - 62
63
EN
Advertisement
Table of Contents


Need help?
Do you have a question about the GR-DVF11 and is the answer not in the manual?
Questions and answers