Table of Contents
Advertisement
Advertisement
Table of Contents

Related Manuals for Jura IMPRESSA E70


Summary of Contents for Jura IMPRESSA E70
- Page 1 IMPRESSA E70/75 Instructions for use 2/02...
-
Page 2: Jura Impressa E70/75
Jura Impressa E70/75 English....................... . - Page 3 Fig. 1 Fig. 4 Fig. 7 Fig. 2 Fig. 5 Fig. 8 Fig. 3 Fig. 6 Fig. 9...
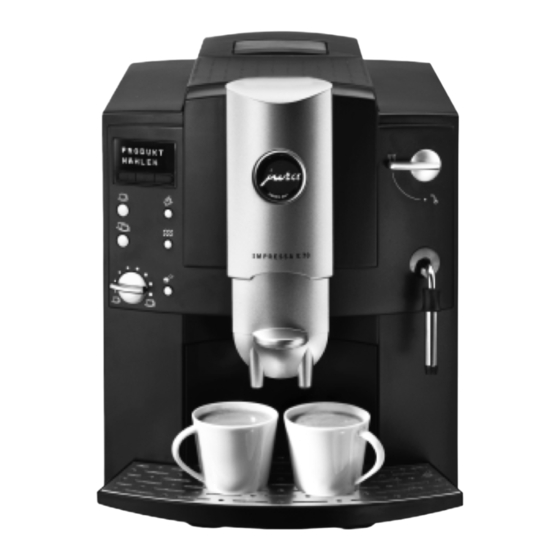
- Page 4 Operating elements Jura Impressa E70/75 1 Water quantity switch 2 Powder coffee selection switch 3 Coffee key for 2 cups 4 Rinsing-, cleaning-, descaling key 5 Coffee key for 1 cup 6 ON/OFF switch 7 Display dialogue system 8 Key P...
-
Page 5: Table Of Contents
Contents Jura Impressa E70/75 1. Description ...page 6 2. Safety instructions...page 6 2.1 Warnings ...page 6 2.2 Safety precautions...page 6 3. Preparation of the machine ...page 7 Checking the mains voltage ...page 7 3.2 Checking the fuse ...page 7 3.3 Filling the water tank...page 7 3.4 Adding coffee beans ...page 7... -
Page 6: Description
Important information for the user Thank you for choosing this Jura product. Please study these instructions carefully before using your new machine for the first time and keep them in safe place for easy reference in future. Should you require further information or should particular prob- lems occur that are not dealt with in sufficient detail for you in these operating instructions, please contact your local dealer or us for the information you require. -
Page 7: Preparation Of The Machine
3. Preparation of the machine 3.1 Checking the mains voltage The machine is set to the correct voltage before leaving our factory. Ensure that your mains voltage corresponds to the details quoted on the rating plate attached to the bottom of the machine. 3.2 Checking the fuse The machine is designed for a current of 10 Amps. -
Page 8: First Start Of Operation
The symbols on the display mean: HARDNESS LEVEL — Water hardness function switched off HARDNESS German water hardness 1 – 7° LEVEL 1 French water hardness 1.79 – 12.53° HARDNESS German water hardness 8 – 15° LEVEL 2 French water hardness 14.32 – 26.85° HARDNESS German water hardness 16 –... -
Page 9: Adjusting The Water Quantity
6. Adjusting the water quantity The water quantity can be infinitely adjusted with rotary knob (1). The small key means little water for espresso, the large cup means a lot of water for coffee. SELECT PRODUCT Turn the water quantity rotary knob into the position at which the required amount of water appears on the display: 130 ML –... -
Page 10: Drawing Off Steam
Never use water-soluble instant coffee or quick coffee. We recommend that you only use powder from freshly ground coffee beans or pre-ground, vacuum-packed coffee. Never put more than 2 portions of coffee in. The filler funnel is not a storage container. Make sure that the coffee powder which you use is not ground too finely. -
Page 11: Switching Machine Off
When you have reached the required quantity of hot water, turn the steam/hot water rotary knob (15) back to the position SELECT PRODUCT At the start of a water draw-off, there can be splashes. The pivoting nozzle gets hot. Please avoid direct contact with the skin. -
Page 12: Care And Maintenance
EXIT Press the key P to return to stand-by status. 12. Care and maintenance 12.1 Fill water FILL WATER When this display lights up, no drawing-off is possible. Fill with water as described under point 3.3. 12.2 Empty grounds container The grounds container collects the coffee grounds. -
Page 13: Insert Filter
12.8 Insert filter Pull up the cartridge holder. Pressing gently, put the filter cartridge into the water tank (Fig. 7). Close the cartridge holder until it engages audibly. Fill the water tank with cold fresh tap water and put it back into the machine. -
Page 14: General Cleaning Instructions
12.10 General cleaning instructions Never use abrasive articles or corrosive chemicals to clean your machine. Wipe down the casing on the inside and out using a soft, damp cloth. Clean the pivoting nozzle after each use. After heating milk, draw off a little hot water in order to clean the inside of the pivoting nozzle. -
Page 15: Descaling
ADD TABLET (Fig. 9) / PRESS RINSE UNIT CLEANING / PLEASE WAIT An acoustic signal can be heard. EMPTY TRAY Wait for about 10 seconds before you put the drip tray back in again. PRESS RINSE UNIT CLEANING / PLEASE WAIT An acoustic signal can be heard. -
Page 16: Disposal
FILL WATER / OPEN TAP / PRESS RINSE Turn the selector switch for coffee or hot water / steam (13) to position and press the rinsing key UNIT DECALCING / PLEASE WAIT An acoustic signal is heard. EMPTY TRAY CLOSE TAP UNIT DECALCING / PLEASE WAIT The water is guided into the drip tray in the interior of the machine. -
Page 17: Messages
17. Messages Cause SYSTEM EMPTY System empty FILL WATER The tank is empty Floater defective FILL BEANS The bean container is empty Although beans have been poured in, the display remains on EMPTY GROUNDS Grounds container full Tray replaced too early after emptying TRAY MISSING Drip tray not inserted properly or missing CLEAN UNIT... -
Page 18: Problems
18. Problems Problem Cause Grinder is very noisy – foreign body in grinder Not enough froth when – milk not suitable frothing milk – frothing aid blocked – frothing aid in wrong position When drawing off coffee, – grinding too fine the coffee only flows in drips –... -
Page 19: Legal Information
19. Legal information These operating instructions contain the information necessary for the correct use, operation and maintenance of the machine. Understanding of and complying with the directions contained in these operating instructions are essential for use of the machine without risk and for safety in operation and maintenance. The operation instructions cannot cover every imaginable example of use.
Need help?
Do you have a question about the IMPRESSA E70 and is the answer not in the manual?
Questions and answers