Table of Contents
Advertisement
Advertisement
Table of Contents

Related Manuals for Martin Ego 01


Summary of Contents for Martin Ego 01
- Page 1 Ego 01 Ego 02 Ego 03 Logo Projector user manual...
- Page 2 © 2002-2004 Martin Professional A/S, Denmark. All rights reserved. No part of this manual may be reproduced, in any form or by any means, without permission in writing from Martin Professional A/S, Denmark. Printed in Denmark. P/N 35000109, Rev. G...
-
Page 3: Table Of Contents
Ego 01 / Logo Projector ........ -
Page 4: Introduction
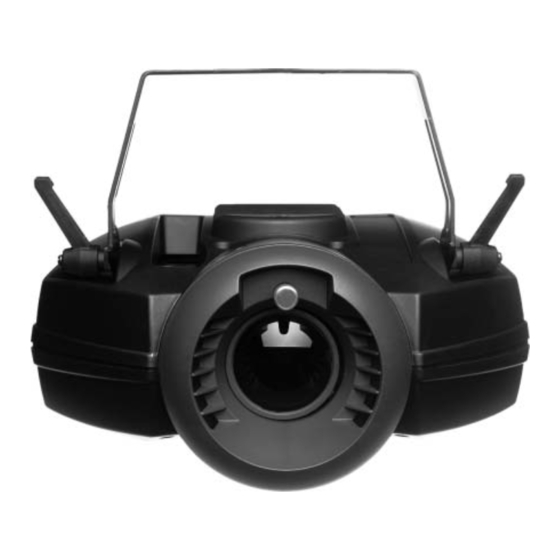
E G O 0 1 / L O G O P R O J E C T O R The Ego 01 provides a flower effect with a range of gobos and colors on a single effect wheel. In addition to variable behavior tuning, effect wheel and mirror dish rotation speeds are controllable. -
Page 5: Ego 03
Martin distributor for assistance. Refer any service operation not described in this manual to a qualified technician. Do not modify the fixture or install other than genuine Martin accessories and upgrade kits. Avoi di ng electric shocks •... -
Page 6: Unpacking
• Provide a minimum clearance of 0.1 meters (4 inches) around fans and air vents. • Replace the lamp if it becomes defective or worn out, or before usage exceeds the maximum service life. When replacing the lamp, allow the fixture to cool for at least 5 minutes before opening the fixture or removing the lamp. -
Page 7: Ac Power
POWER The Ego has an auto-ranging power supply that can operate in the following voltage ranges at 50-60 Hz: • 90-130 volts • 200-250 volts I N S T A L L I N G A P L U G O N T H E M A I N S L E A D The fixture’s mains lead may require a grounding-type cord cap that fits your power distribution cable or outlet. -
Page 8: Installation
NSTALLATION The Ego can be hung overhead with a clamp (not included), mounted vertically on a wall, or placed on the floor. Warning! Block access below the work area before proceeding. Always use a secure means of secondary attachment. O V E R H E A D M O U N T I N G To hang the Ego on an overhead support, ceiling, or wall: 1 Verify that the structure can Rigging clamp... -
Page 9: Operation From The Floor
5 Install a safety cable that can hold at least 10 times the weight of the fixture through the handle of the of the fixture. 6 Loosen the swivel locks, tilt the fixture to the desired angle, and retighten. 7 Verify that the fixture is at least 0.3 meters (12 in.) from the surface to be illuminated and at least 0.1 meters (4 in.) from any combustible materials. -
Page 10: Operation
PERATION To achieve optimal results the use of smoke effects together with your Ego is recommended. The lamp turns on as soon as power is applied. The effect wheel/s and mirror dish begin to rotate. The action is varied whenever trigger signals are generated as a result of sounds picked up by the built-in microphone (manual trig) or randomly (when the fixture is in auto trig mode). -
Page 11: Focusing The Ego
The separately orderable remote control unit can be used to link multiple Egos and allows the simultaneous adjustment of their dynamics. See “Operation with the optional remote control” on page 12 for more information. Adjusting the speed of effect wheel As long as the Idle Speed dial is not in the Auto Trig zone it is used to adjust the speed of rotation of the effects wheel/s between trigger signals. -
Page 12: Operation With The Optional Remote Control
4 Pull the tab away from the fixture base to select the textured glass, push it towards the fixture to select the etched gobo position. 5 Tighten the thumb screw. 6 Replace the fixture cover and tighten the access screws, taking care not to trap any loose wires. -
Page 13: Basic Service
ASIC SERVICE This chapter describes the maintenance procedures that you can perform yourself: • Cleaning (see below) • Lamp maintenance (see page 14) • Replacing fuses (see page 15) • Gobo replacement/removal (see page 16) • Updating firmware (se page 16) C L E A N I N G Regular cleaning of the elements in the optical path, as well as the fans and air vents, is vital to maintaining the operational quality of the Ego. -
Page 14: Lamp Maintenance
1 Disconnect the fixture from power and allow the components to cool completely. 2 Remove the fixture cover. You may want to remove the lamp for cleaning (see the related steps in “Installing a lamp in the Ego” on page 14). 3 Vacuum or gently blow away dust and loose particles with compressed air. -
Page 15: Fuses
If the fuse blows repeatedly, there is a fault with the unit that requires service by a Martin technician. Never bypass the fuse or replace it with one of another size or rating. -
Page 16: Gobo Replacement Or Removal (Ego 2)
The factory installed firmware version is indicated on the serial number label. Firmware is installed using a Martin AVR Uploader and a PC. To install the firmware update, prepare the AVR Uploader as described in its user manual, connect the uploader to the AVR Upload socket on the control panel, and apply power to the fixture. -
Page 17: Troubleshooting
ROUBLESHOOTING problem probable cause(s) suggested remedy No light No power to the fixture Check connections Blown fuse If fan does not function either then check and replace fuse if necessary. Burned out lamp Install new lamp Fixture to hot Allow to cool Improve air flow around fixture No action... -
Page 18: Specifications
PECIFICATIONS P H Y S I C A L Size without standard bracket (L x W x H) 305 x 324 x 150 mm (12 x 12.8 x 5.9 in) Weight ..........3.8 kg (8.4 lb) C O N S T R U C T I O N Housing .
Need help?
Do you have a question about the Ego 01 and is the answer not in the manual?
Questions and answers