Advertisement
Pegasus Floor Scale Installation Guide
For Shear Beam, Mild and Stainless Steel Scales and Poly Top Floor Scales
Installation
Washdown systems will need to
have the cable connected to
the junction box. Use the
indicator manual to insure
proper wiring.
Proper scale installation provides accurate and reliable system operation. It is
essential to mount the scale on a flat, level, and solid surface. The load-
bearing surface areas should be within ±1/16 inch of the same level plane.
Minor irregularities in the floor may be compensated for with the feet adjust-
ments. The scale should not rock on the load-bearing surface areas and
these areas should not give under loads.
This scale is precalibrated and is ready for installation and use.
• Place the Pegasus deck on a solid, level surface. Use the leveling feet
to eliminate any rocking of the deck.
• Mount the indicator using the bracket provided. This will accommodate
desk or wall mounting.
• Uncoil the cable from under the scale and route it to the indicator. The
cable should be protected from traffic to avoid damage. Connect the
cable to the indicator. See note at left.
• Apply power to the indicator and verify proper scale performance.
Pegasus Floor Scale Installation Guide
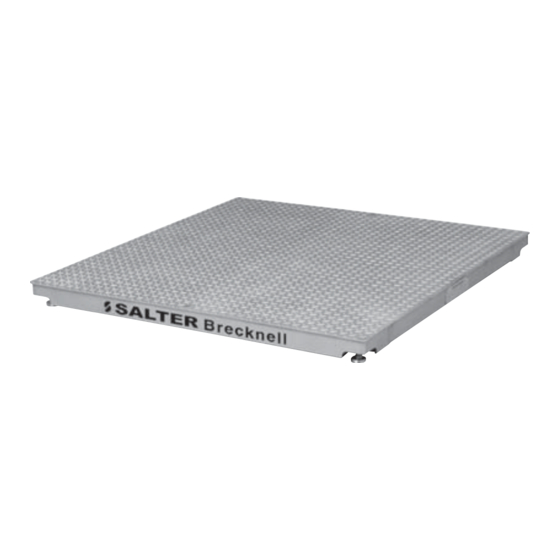
Figure 1
Pegasus scales
1
Advertisement
Table of Contents

Subscribe to Our Youtube Channel
Related Manuals for Salter Brecknell Pegasus Floor Scale


Summary of Contents for Salter Brecknell Pegasus Floor Scale
- Page 1 Pegasus Floor Scale Installation Guide For Shear Beam, Mild and Stainless Steel Scales and Poly Top Floor Scales Installation Proper scale installation provides accurate and reliable system operation. It is essential to mount the scale on a flat, level, and solid surface. The load- bearing surface areas should be within ±1/16 inch of the same level plane.
- Page 2 Junction box and wiring table - stainless steel scales W-T Wire Color Signal Green +Excitation Yellow +Sense White +Signal Orange/White Shield -Signal Blue -Sense Black -Excitation Figure 3 Junction box and wiring table - mild steel scales Pegasus Floor Scale Installation Guide...
- Page 3 If the Number Of Turns is a positive value, turn the potentiometer clockwise. If Number Of Turns is a negative value, turn the potentiom- eter counterclockwise. 6. Repeat steps 3b and 3c followed by step 4 or step 5. Pegasus Floor Scale Installation Guide...
- Page 4 9. Replace foot. 10. Re-route weight sensor cable to junction box and connect. 11. Lower scale to floor and level. 12. Check corner balancing and calibration of the scale. Adjust if necessary. 13. Replace J-box cover. Pegasus Floor Scale Installation Guide...
- Page 5 Drill the four corner holes through the shim stock but leave the center intact. These drawings are to scale. You can photocopy them and use them as templates. 2 and 5K scales Floor Plate Part Numbers 28209-0018 3/16" thick 28209-0026 3/8" thick Pegasus Floor Scale Installation Guide...
- Page 6 10K Scales Floor Plate Part Numbers 28273-0012 1/4" thick 28273-0020 1/2" thick Pegasus Floor Scale Installation Guide...
- Page 7 Bolts, 20 ½”x1.75” 22408-1042 Bolts, 20 ½”x2” 14474-0230 Washer, Lock ½” 2 and 5K Scale Floor Plate Part Numbers 28209-0018 3/16" thick 28209-0026 3/8" thick 10K Scale Floor Plate Part Numbers 28273-0012 1/4" thick 28273-0020 1/2" thick Pegasus Floor Scale Installation Guide...
- Page 8 P.O. Box 9533 3620 Central Ave NE Minneapolis MN 55418 Toll free: 800-637-0529 Tel: 612-781-4211 Fax: 612-781-4320 e-mail: sales@salterbrecknell.com www.salterbrecknell.com Weigh Bar ® is a registered trademark of Weigh-Tronix Inc. 03/24/03 PEGASUS_i.P65 PN 43008-0010A e1 Printed in USA...
Need help?
Do you have a question about the Pegasus Floor Scale and is the answer not in the manual?
Questions and answers