Advertisement
Quick Links
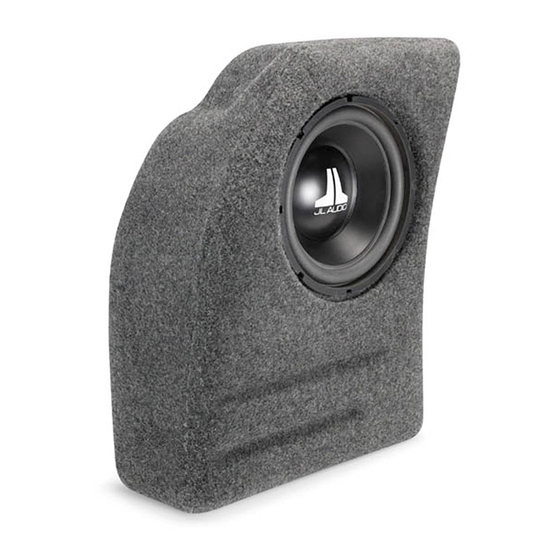
Stealthbox
®
I N S TA L L AT I O N G U I D E
for the
SB-F-ZX3/10W3
(2000-Up ZX3 2-door & 2001-Up ZX5
4-door hatchback)
This Stealthbox is a product that
requires professional installation skills
and tools.
Please read this installation guide
thoroughly before beginning the
project. It will guide you step by step
through the installation. Several of
the steps in this process may require
two people to accomplish.
It is absolutely vital that the
enclosure be properly mounted to
the vehicle according to these
instructions. Failure to mount the
enclosure properly presents two
problems: 1) The sub-bass
performance will suffer due to the
movement of the enclosure caused
by the force exerted by the
woofer(s) and 2) A loose enclosure
presents a serious safety hazard in
the event of a collision or sudden
deceleration.
Please enjoy your JL Audio
Stealthbox responsibly.
w w w . j l a u d i o . c o m
➔
➔
➔
➔
START
HERE
➔
➔
STEP 1: Remove the four Phillips head
screws, panel button and cargo light from
driver's side rear cargo area.
➔
STEP 4: Locate the MOLEX
®
plug and pull it
loose from the side panel.
S B - F - Z X 3 / 1 0 W 3 , J L AU D I O, I n c 2 0 0 2
➔
STEP 2: Remove the plastic safety belt
retractor cover. Look up under the plastic
cover for a Phillips head screw. Remove this
screw. (The location of this screw is shown in
the picture by the upward arrow).
➔
➔
➔
STEP 5: Remove the T-27 TORX head bolt
from the back side of the driver's side rear
wheel well. Remove the Phillips screw from
directly below the TORX head bolt.
Pa g e 1
➔
➔
➔
STEP 3: Remove the two plastic Phillips head
screws indicated by the arrows.These are
located in the driver's rear hatch plastic trim
panel. Remove the carpeted side panel.This
panel will be cut in Step 9 so as to form a
trim for the Stealthbox.The view shown
above is from the back seat looking toward
the hatch. Also remove the hatch flooring (this
flooring will be re-installed later).
➔
STEP 6: Loosen the driver's side rear fabric
wheel well by pulling it toward the front of
the car.
.
➔
Continued on Page 2 ➔
S h e e t S K U # 0 1 1 1 5 7 R ev i s i o n 0 6 / 1 8 / 0 2
Advertisement

Related Manuals for JL Audio Stealthbox SB-F-FCSZX/10W3v3


Summary of Contents for JL Audio Stealthbox SB-F-FCSZX/10W3v3
- Page 1 Please enjoy your JL Audio Stealthbox responsibly. w w w . j l a u d i o . c o m S B - F - Z X 3 / 1 0 W 3 , J L AU D I O, I n c 2 0 0 2 ➔...
- Page 2 ➔ Cont. From Page 1 STEP 7: Pull plastic mounting stud out from the rear side metal panel were the MOLEX wiring plug was removed in Step 4. STEP 9: Using a measuring tape and masking tape, define the area to be cut as shown by the picture (above) and dimensions (to the right).
- Page 3 Cont. Power Handling: 250 Watts JL Audio recommends using a high quality amplifier such as the JL Audio 250/1. The diagram below shows the recommended crossover, infrasonic filter and equalizer settings for the 250/1 when being used to power your Stealthbox...
Need help?
Do you have a question about the Stealthbox SB-F-FCSZX/10W3v3 and is the answer not in the manual?
Questions and answers