Advertisement
Quick Links
I N S T A L L A T I O N G U I D E
for the
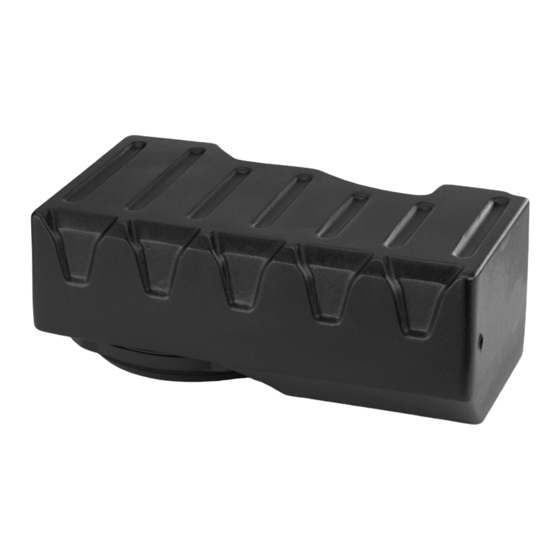
SB-CAN-MVCM1/10TW3
SKU# 94623
2015 & Up CanAm Commander, Commander Max,
Maverick X, & Maverick Max
Enclosure Type: Sealed
Driver Type: 10TW3-D4
Nominal Impedance: 2 ohms
Continuous Power Handling: 400 watts (RMS method)
If you choose to perform the installation yourself, it is absolutely
vital that the Stealthbox
be properly mounted to the vehicle
®
according to these instructions. Failure to mount the enclosure
properly presents two problems:
1) The sub-bass performance will suffer due to the movement of the
enclosure caused by the force exerted by the woofer(s).
2) A loose enclosure presents a serious safety hazard in the event of a
collision or sudden deceleration.
Thank you for choosing a JL Audio Stealthbox® for your automotive sound system.
With proper installation, your new vehicle-specific enclosed subwoofer system
will deliver years of listening pleasure.
We strongly recommend that you have your new Stealthbox® installed by your
authorized JL Audio dealer. The installation professionals employed by your
dealer have the necessary tools and experience to disassemble and reassemble
your vehicle properly. If you prefer to perform your own installation, please read
this installation guide completely before beginning the process.
SB-CAN-MVCM1/10TW3 INSTR_SKU# 011450
INSTALLATION
DIFFICULTY:
2
OUT
OF
ESTIMATED TIME:
1-2 HOURS
Continued on Next Page
5
Advertisement

Related Manuals for JL Audio SB-CAN-MVCM1/10TW3


Summary of Contents for JL Audio SB-CAN-MVCM1/10TW3
- Page 1 1-2 HOURS Thank you for choosing a JL Audio Stealthbox® for your automotive sound system. I N S T A L L A T I O N G U I D E With proper installation, your new vehicle-specific enclosed subwoofer system for the will deliver years of listening pleasure.
- Page 2 153691 Right Bracket 150249 Foam Strips (not shown) Note: For optimum performance, JL Audio recommends applying the included Foam Strips (or sound damping material) to surrounding plastic panels to reduce unwanted vibrations. Page 2 • JL Audio, Inc., 2016 Continued on Next Page...
- Page 3 Using quality power, signal, and speaker wire is essential in ensuring the performance of your Stealthbox®. JL Audio recommends using an 8 AWG power kit such as the XD-PCS8-1B for your Stealthbox® amplifier. Other kits are available should you be using more than one amplifier. Signal wire such as the JL Audio Premium Audio Interconnect Cables should be used to provide signal for both channels of the amplifier.
- Page 4 Remove the two factory bolts above the glove Remove the indicated factory nut. This nut and compartment. accompanying bolt will be used to secure the Bottom Bracket in Step 15. Page 4 • JL Audio, Inc., 2016 Continued on Next Page...
- Page 5 Fully tighten all three 1/4 - 20 x 1” Stainless the Stealthbox®, and slide the enclosure into Steel Serrated Flange Bolts. place over the Left Bracket. Route speaker cable as necessary. Page 5 • JL Audio, Inc., 2016 Continued on Next Page...
- Page 6 . j l a u d i o . c o m All specifications are subject to change without notice. “JL Audio®” and the JL Audio logo, and “Stealthbox” and the Stealthbox logo are registered trademarks of JL Audio, Inc. “Ahead of the Curve”, its respective logo, and “How we play”...
Need help?
Do you have a question about the SB-CAN-MVCM1/10TW3 and is the answer not in the manual?
Questions and answers