Table of Contents
Advertisement
Advertisement
Table of Contents

Subscribe to Our Youtube Channel
Related Manuals for Nice Soon


Summary of Contents for Nice Soon
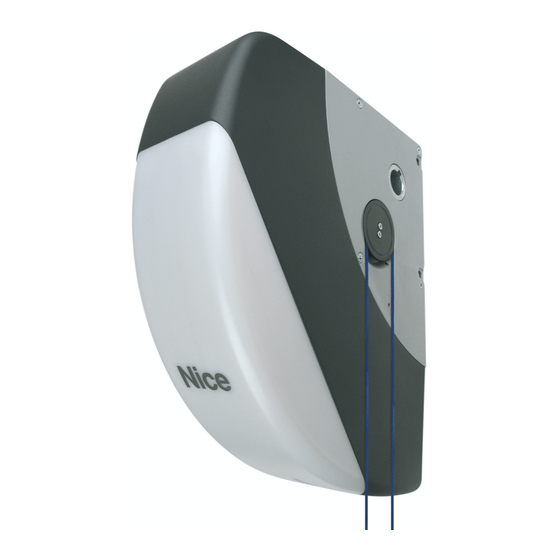
- Page 1 Soon Garage door opener Instructions and warnings for the fitter Istruzioni ed avvertenze per l’installatore Instructions et recommandations pour l’installateur Anweisungen und Hinweise für den Installateur Instrucciones y advertencias para el instalador Instrukcje i uwagi dla instalatora...
-
Page 2: Table Of Contents
SECTION 1 is a step-by-step guide illustrating the phases re- quired for physical installation of the product and operation start-up. SECTION 2 describes how to personalise operation of Soon, by the programming of specific functions and selection of special operations and settings. -
Page 3: Instructions For Automation Installation And Start-Up
Internet site: www.niceforyou.com caution will prevent deterioration and the risk of leakage of haz- • Use of the Soon product other than as specified in this manual is ardous substances from the battery. strictly prohibited. Improper use constitutes a risk of damage to the •... -
Page 4: Installation Feasibility Check
4.1) Standard installation layout (see fig. 3) Fig. 3 illustrates the complete installation of a Soon gearmotor. The drawing shows the various components and cables required for con- nection, all assembled and positioned according to a standard layout. -
Page 5: Install The Mechanical Components
Mounting the Soon gearmotor (see Fig. 4) the three screws (supplied) in the position shown in the figure, 1. (Fig. 4-a) Insert the Soon outlet shaft in the sectional door drive taking care to position the release mechanism cable outlets cor- shaft, coupling them using the keys provided in the pack. -
Page 6: Laying Electric Cables
All electrical connections must be made with the system discon- nected from the power supply 1. To remove the protection cover and access the SOON elec-tron- ic control unit, remove the screw and pull the cover up-wards to remove (Fig. 5). - Page 7 (see SECTION 2 of the manual) to connect one of the following devices: Flashing light If programmed as “flashing light” the “FLASH” output can be con-nected to a NICE “LUCY B” flashing light with a 12V 21W car type lamp.
-
Page 8: Connect Bluebus Devices
BlueBUS can be used, for example, to connect the following: photocells, safety devices, control pushbuttons, indi- cator lamps, etc. The SOON control unit recognises each one of the devices connected by means of a specific self-learning phase and is 5.2.1) Photocells... -
Page 9: Connect Electrical Power Supply
954-1. 5.4) Connect electrical power supply For electrical power supply of SOON, simply insert the plug in a mains socket. If necessary, use a commercially available adapter if the SOON plug does not correspond to the mains socket available. 6) Initial system start-up - checks The following operations will be performed on live electrical circuits and therefore manoeuvres may be hazardous! Therefore take great care and never perform operations alone. -
Page 10: Memorising Positions
7.2) Memorising positions After self-learning the devices, the control unit must recognise the door opening and closing positions. Up to 6 positions can be programmed as follows: Position Meaning Maximum required opening position. When the door reaches this position it stops. Slowdown start position during opening manoeuvre. -
Page 11: Perform Final Testing Of System
Commissioning can only be performed after positive 7. Prepare and provide the owner with the automation maintenan- results of all test phases on Soon and the other devices ce schedule (containing all prescriptions for maintenance of indi- present. Partial or “makeshift” commissioning is strictly vidual devices). -
Page 12: Instructions For Personalised Automation Operation
8,2K1 resistive type senstivie edge or OSE optic sensor. During normal operation of SOON, when no manoeuvre is in progress, leds L1….L8 are lit or off depending on the status of the associated function, for example L1 is lit if the function “Automatic closure” is enabled. -
Page 13: Level 1 Programming
10.2) Level 1 programming By default level 1 function are all set to OFF, but can be modified at any time as described below. Take care during modification procedures, as there is a maximum time interval of 10 seconds between pressing one key and another; otherwise the system exits the procedure auto- matically memorising the changes made up to that time. -
Page 14: Level 2 Programming
Note: points 3 to 7 can be repeated during the same programming phase to modify other parameters. 11) Maintenance notification SOON enables the user to be notified when a maintenance The maintenance requirement notification is via the flashing light or the check needs to be performed on the automation. -
Page 15: Check Of Number Of Manoeuvres Performed
12) Fault log list SOON enables the display of any faults that have occurred in the last 8 manoeuvres, for example interruption of a manoeuvre due to activa- tion of a photocell or sensitive edge. To check the list of faults, proceed as follows: Press and hold [Set] for approx. -
Page 16: Further Details: Special Functions
“BlueBUS Led” (the diagnostics flashes always refer to the last action performed by Soon) For an explanation of the number of flashes and associated cause, refer to the table below: Table 7: diagnostics flash signals n°... -
Page 17: What To Do If
Then detach Soon from the spring support shaft, open identify the cause of the fault and then replace with versions of the the door to the maximum position and re-install Soon in this posi- same current value and specifications.
Need help?
Do you have a question about the Soon and is the answer not in the manual?
Questions and answers