Table of Contents
Advertisement
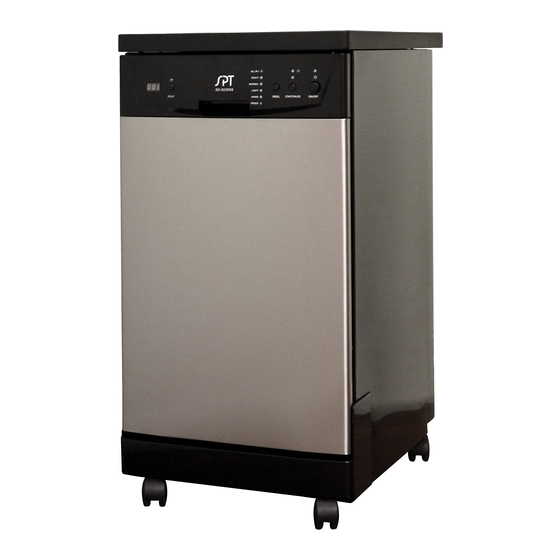
SD-9241SS-Stainless Steel
SD-9
241
W-White
Dishwasher Features...............................1
Safety Instructions..................................2
Grounding Instructions
Electrical Connection
Proper Use
Parts Identification..................................3
Dishwasher Features
Faucet Adapter Assembly
Installation............................................4 - 5
Unpacking
Positioning
Electrical Requirements
Connecting the Dishwasher
Disconnecting the Dishwasher
Operating Instructions....................6 - 10
Control Panel
Loading the Dishwasher
Detergent Dispenser
Rinse Aid Dispenser
Wash Cycle Table
Starting a Wash Cycle
Changing the Wash Program
How to Use the All-in-1 Program
Maintenance......................................11 - 12
Cleaning Instructions
Protect Against Freezing
Keeping the Dishwasher in Shape
Troubleshooting...............................13 - 14
Advertisement
Table of Contents

Subscribe to Our Youtube Channel
Related Manuals for SPT SD-9241SS


Summary of Contents for SPT SD-9241SS
- Page 1 SD-9241SS-Stainless Steel SD-9 W-White Dishwasher Features.......1 Safety Instructions........2 Grounding Instructions Electrical Connection Proper Use Parts Identification........3 Dishwasher Features Faucet Adapter Assembly Installation..........4 - 5 Unpacking Positioning Electrical Requirements Connecting the Dishwasher Disconnecting the Dishwasher Operating Instructions....6 - 10 Control Panel...
-
Page 2: Wash Programs
This electric dishwasher has the common characteristics of other house-hold dishwashers, as well as these unique specialties: Time delay feature Allows you to pro gram the operation to begin at a later time, between 1 to 24 hours. Program to run during off- peak hours helps reduce eletricity cost. - Page 3 This appliance must be grounded. In the event of a malfunction or breakdown, grounding will reduce the risk of electric shock by providing a path of least resistance of electric current. This appliance is equipped with a cord having an equipment-grounding conductor and a grounding plug. The plug must be plugged into an appropriate outlet that is installed and grounded in accordance with all local codes and ordinances.
-
Page 4: Parts Identification
PARTS IDENTIFICATION To get the best performance from your dishwasher, read all operating instructions before using it for the rst time. Front View Back View (Door Open) Upper Basket Faucet Adapter Assembly (Quick Connect) Main Filter Silverware Basket Detergent Dispenser Sp ray Arms Coarse Filter Po wer Cord... -
Page 5: Installation
INSTALLATION Warning Attention: Electrical Shock Hazard The installation of the pipes Disconnect electrical power before installing dishwasher. and electrical equipments should be done by professionals. Failure to do so can result in death or electrical shock. Unpacking Have at least two people to move and install the dishwasher to prevent personal injuries. Remove all packaging materials: shipping tape, foam pieces, etc. -
Page 6: Disconnecting The Dishwasher
Connecting the Dishwasher Remove the Faucet Adapter by pulling back the locking collar on the Quick Connect; while pulling the Faucet Adapter in the opposite direction. Locking Collar The Faucet Adapter is compatible with either female (inside) or male (outside) threaded faucet connections: ·... -
Page 7: Loading The Dishwasher
OPERATING INSTRUCTIONS Display window: Program remaining time, Rinse aid low warning light. delay time, running indicator, fault codes and etc. Powe r in dica tor light. Delay Button : Press to program delay start. Program indicator ligh ts: Indicates the Power switch: To turn on/off the power supply. -
Page 8: Upper Rack
UPPER RACK The upper rack is designed to hold more delicate and lighter dishware such as glasses, coffee and tea cups and saucers, as well as plates, small bowls and shallow pans (as long as they are not too dirty). Position the dishes and cookware so that they do not get moved by the spray of water. The upper rack can be lifted (or lowered) by removing and placing the rack into different rails. -
Page 9: Detergent Dispenser
Detergent Dispenser To prevent formation of deposits, do not add too much detergent. This dishwasher has specially designed water softener. This unit uses less detergent and rinse aid than most conventional dishwashers. In general, only one tablespoon of detergent is needed for a normal wash load. Add more detergent as needed for heavily soiled loads. - Page 10 For all soiled loads, such as Pre-wash Pre-wash pots,pans,c asserole dishes All in 1 ( ) wash 1 36 F ° and dishes that have been All in1 ( ) Rinse 1 54 F ° sitting with dried foo d on them Dryi ng.
- Page 11 Forgot to Add a Dish? A forgotten dish can be added any time before the detergent cups opens: 1. Open the door slightly to pause the cycle. 2. After the spray arm stops spinning, you can open the door completely. 3.
-
Page 12: Maintenance
MAINTENANCE Filter System Filter System Filter System For your convenience, the drain pump and ltering system are placed within easy reach inside For your convenience, the drain pump and ltering system are placed within easy reach inside For your convenience, the drain pump and ltering system are placed within easy reach inside the tub. -
Page 13: Keeping Your Dishwasher In Shape
Protect Against Freezing If your dishwasher is left in an unheated place during the winter months, please follow these procedures after each wash: 1. Turn off the dishwasher. 2. Turn off water supply and disconnect water inlet hose from the water valve. 3. - Page 14 Fuse blown, or the Replace fuse or reset circuit breaker. Remove any other circuit breaker tripped appliances sharing the same circuit with the dishwasher Power supply is not Make sure the dishwasher is turned on and the door is turned on closed securely.
-
Page 15: Troubleshooting
Combination of soft Use less detergent if you have soft water and select a water and too much shorter cycle to wash the glassware and to get them clean. detergent Tea or coffee stains using a solution of 1/2 cup of bleach and 3 cups warm water to remove the stains by hand. -
Page 16: Your Guarantee
Your Guarantee If this product is found to be faulty as a result of faulty m aterials or workmanship within one year from date of purchase, it will be repaired free of charge. This guarantee is subject to the following terms: ·...
Need help?
Do you have a question about the SD-9241SS and is the answer not in the manual?
Questions and answers
How to reset
Our dishwasher does not seem to be drying the dishes