Table of Contents
Advertisement
Advertisement
Table of Contents

Subscribe to Our Youtube Channel
Related Manuals for SPT SD-2225DW


Summary of Contents for SPT SD-2225DW
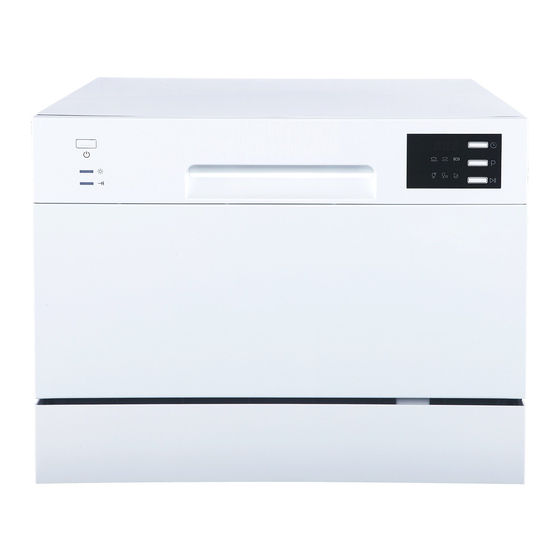
- Page 1 Instruction Manual SD-2225DW SD-2225DS...
-
Page 2: Table Of Contents
Safety Information Grounding Instruction......1 Read this Manual Safety Instructions.........1 Parts Identification Dear Customer, Front & Back View.........2 Please read this manual thoroughly before use. Accessories...........2 Understanding the unit will help you use and maintain the dishwasher properly. Please keep in a safe place for future reference. Installation Pass it on to any subsequent owner of the appliance. -
Page 3: Grounding Instruction
IMPORTANT SAFETY INFORMATION READ ALL INSTRUCTIONS BEFORE USING WARNING! When using your dishwasher, follow the precautions listed below: GROUNDING INSTRUCTIONS WARNING! This appliance must be grounded. In the event of a Improper connection of the equipment-grounding malfunction or breakdown, grounding will reduce conductor can result in a risk of electric shock. -
Page 4: Parts Identification
PARTS IDENTIFICATION Cup Shelf Detergent Dispenser Cutlery Basket Spray Arms Drain pipe connector Rinse Aid Dispenser Filter assembly Inlet pipe connector Basket ACCESSORIES Your dishwasher comes equipped with a 'quick connect' assembly (includes inlet and drain hose). The faucet adapter must be installed on the faucet before you can connect the dishwasher. This adapter is installed on the Quick Connect. -
Page 5: Unpacking
INSTALLATION Warning Attention: Electrical Shock Hazard The installation of the pipes Disconnect electrical power before installing dishwasher. and electrical equipments should be done by professionals. Failure to do so can result in death or electrical shock. Unpacking Have at least two people to move and install the dishwasher to prevent personal injuries. Remove all packaging materials: shipping tape, foam pieces, etc. -
Page 6: Connecting The Dishwasher
Connecting the Dishwasher Power cord Inlet port Drain port Your dishwasher is equipped with a Faucet Adapter (installed on the Quick Connect), Quick Connect, Drain and Inlet Hose. The faucet adapter must be installed on the faucet before connecting the dishwasher. Remove the Faucet Adatper by pulling back the locking collar on the Quick Connect;... -
Page 7: Disconnecting The Dishwasher
1. Screw the Faucet Adapter onto (or into) the faucet. Check for leaks (use Teon or plumbers tape to eliminate any leaks if necessary). 2. Connect the six-sided connection of the Drain Hose to the dishwasher’s drain port, located on back of the dishwasher cabinet. To avoid damage to threads, do not over-tighten. 3. -
Page 8: Operating Instructions
OPERATING INSTRUCTIONS IMPORTANT To get the best performance from your dishwasher, read all operating instructions. Checklist The following things should be checked before using the dishwasher: The dishwasher is level Water (faucet) is turned on There are no leaks at the drain and inlet ports ... -
Page 9: Loading The Dishwasher
Loading the Dishwasher A properly loaded dishwasher is key for optimal performance. Never overll the dishwasher as it can reduce the unit’s efciency. Improper placement of items can also affect the dishwasher’s performance. Position the dishes and utensils so they are secure during the wash cycle and will not be moved by sprayed water. -
Page 10: Cutlery Basket
C u t l e r y B a s ke t Flatware should be placed in the cutlery basket with handles at the bottom. Knives and other sharp utensils should be placed with handles up, but make sure the tips do not extend through the bottom. -
Page 11: Detergent Dispenser
D e t e r g e n t D i s p e n s e r Use only detergent specifically made for use with dishwashers. Keep detergent fresh and dry. Do not put powder detergent into the dispenser until you are ready to wash dishes, which can get damp and not dissolve properly. -
Page 12: Rinse Aid Dispenser
Rinse Aid Dispenser The rinse aid is released during the final rinse to help remove spots and prevent film build-up on your dishes, flatware and cookware. Also improves drying by allowing water to sheet off the dishes. Your dishwasher is designed to use liquid rinse aids. ADDING RINSE AID The rinse aid dispenser is located inside the door, next to the detergent dispenser. -
Page 13: Wash Cycle Table
Wach Cycle Table = Rin se-Aid re q ui red NO TE: *AHAM DW-1-2005: This program is the test cycle, the rinse-aid dispenser setting is recommended to Position 3. Detergent Cycle Selection Running Description Water Energy Rinse Program pre/main Information of Cycle time(min) (Kwh) -
Page 14: Changing The Wash Program
C h a n g i n g t h e Wa s h P r o g r a m You can change the wash program if the unit just started and only ran for a short time. Otherwise, detergent may have been released and water drained. If this is the case, the detergent dispenser must be refilled. -
Page 15: Maintenance
MAINTENANCE F i l t e r S y s t e m The filter system consists of a Coarse Filter, a Fine Filter and a Main Filter. The filter system prevents large remnants of food or other objects from getting inside the pump. C. -
Page 16: Cleaning The Dishwasher
Cleaning the Dishwasher The control panel can be cleaned by using a slightly dampened cloth. Dry thoroughly with a soft towel. The exterior can be wiped with a towel and mild detergent solution. Wipe clean and follow with a good appliance polish wax. Never use sharp objects, scouring pads or harsh cleaners on any part of the dishwasher. -
Page 17: Keeping Your Dishwasher In Shape
Ke e p i n g Yo u r D i s h wa s h e r i n S h a p e Always unplug unit from power before cleaning or performing maintenance. After Ever y Wash Turn off the water supply and leave the door slightly open so moisture and odors are not trapped inside No Solvents or Abr asive Cleaner s Never use abrasive cleaners or solvents to clean the dishwasher. -
Page 18: Troubleshooting
TROUBLESHOOTING Review the troubleshooting guide below to resolve common issues: ISSUE POSSIBLE CAUSE WHAT TO DO Replace fuse or reset circuit breaker. Fuse is blown or circuit breaker is Remove any other appliances sharing tripped the same circuit Make sure dishwasher is turned on and Dishwasher does not door is closed securely. -
Page 19: Error Indications
ISSUE POSSIBLE CAUSE WHAT TO DO Dishes were not properly loaded Reload dishes properly. Selected wash cycle was not Select a more intensive wash cycle. powerful enough Dishes are not Not enough detergent Use more or change brand of detergent. cleaned Items are blocking the path of the Rearrange items so the spray arm can... -
Page 20: Technical Information
Technical Information Number of place settings Maximum diameter of dishware 10.5 inches Cycles Unit dimension 21.65W x 19.69D x 17.24H Water pressure 0.04-1.0MPa Hot water connection 120°F Power supply see rating label Noise level 55dB... - Page 21 Your Guarantee If this product is found to be faulty as a result of faulty materials or workmanship within one year from date of purchase, it will be repaired free of charge. This guarantee is subject to the following terms: Sunpentown must be notied of the fault.
Need help?
Do you have a question about the SD-2225DW and is the answer not in the manual?
Questions and answers