Sign In
Upload
Download
Table of Contents
Contents
Add to my manuals
Delete from my manuals
Share
URL of this page:
HTML Link:
Bookmark this page
Add
Manual will be automatically added to "My Manuals"
Print this page
×
Bookmark added
×
Added to my manuals
Manuals
Brands
SPT Manuals
Dishwasher
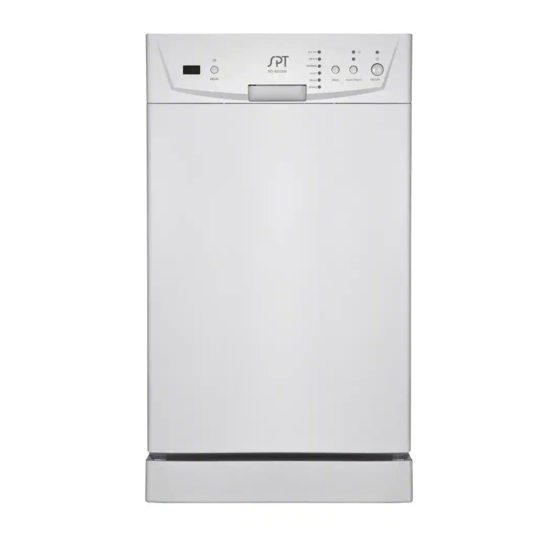
SD-9252W
Installation instructions manual
SPT SD-9252W Installation Instructions Manual
18inch built-in dishwasher
Hide thumbs
Also See for SD-9252W
:
Instruction manual
(17 pages)
1
Table Of Contents
2
3
4
5
6
7
8
9
10
11
page
of
11
Go
/
11
Contents
Table of Contents
Bookmarks
Table of Contents
Table of Contents
Material You will Need
Tools
Unit Dimensions
Prepare the Location
Corner Installation
Ways of Drain Connections
Prepare Electrical Wiring
Electrical Requirement
Prepare Water Line
Adjust Door Balance
Remove Toekick
Install Power Cord
Position Water Line and House Wiring
Insert Drain Hose through Cabinet and Connect Water Line
Slide Dishwasher into Cabinet
Level Dishwasher
Position Dishwasher, Secure to Cabinet
Connect Water Supply
Connect Drain Line
Pre-Test Check List
Dishwasher Wet Test
Replace Toekick
Literature
Advertisement
Quick Links
1
Table of Contents
2
Material You will Need
3
Ways of Drain Connections
4
Adjust Door Balance
5
Literature
6
Dishwasher Wet Test
Download this manual
See also:
Instruction Manual
18inch Built-In Dishwasher
Installation Instruction
SD-9252W
SD-9252SS
Table of
Contents
Previous
Page
Next
Page
1
2
3
4
5
Advertisement
Table of Contents
Need help?
Do you have a question about the SD-9252W and is the answer not in the manual?
Ask a question
Questions and answers
Related Manuals for SPT SD-9252W
Dishwasher SPT SD-9241SS Instruction Manual
Sd-9241ss-stainless steel/ sd-9241w-white (17 pages)
Dishwasher SPT SD-9239SS Instruction Manual
Electric dishwasher (14 pages)
Dishwasher SPT SD-9239SS Instruction Manual
(14 pages)
Dishwasher SPT SD-9241SS Instruction Manual
(14 pages)
Dishwasher SPT SD-9252SS Installation Instructions Manual
18inch built-in dishwasher (11 pages)
Dishwasher SPT SD-9263SS Instruction Manual
(32 pages)
Dishwasher SPT SD-9263W Instruction Manual
(32 pages)
Dishwasher SPT SD-2201S Instruction Manual
(22 pages)
Dishwasher SPT SD-2201S Instruction Manual
(23 pages)
Dishwasher SPT SD-2201W Instruction Manual
(21 pages)
Dishwasher SPT SD-2201W Instruction Manual
(21 pages)
Dishwasher SPT SD-2202W Instruction Manual
(21 pages)
Dishwasher SPT SD-2213S Instruction Manual
(21 pages)
Dishwasher SPT SD-2224DW Instruction Manual
(23 pages)
Dishwasher SPT SD-2224DS Instruction Manual
(21 pages)
Dishwasher SPT SD-2225DW Instruction Manual
(21 pages)
This manual is also suitable for:
Sd-9252ss
Table of Contents
Print
Rename the bookmark
Delete bookmark?
Delete from my manuals?
Login
Sign In
OR
Sign in with Facebook
Sign in with Google
Upload manual
Upload from disk
Upload from URL


Need help?
Do you have a question about the SD-9252W and is the answer not in the manual?
Questions and answers