IBM E74 Operating Instructions Manual
Hide thumbs
Also See for E74:
- Service manual (37 pages) ,
- User manual (22 pages) ,
- Installation manual (6 pages)
Table of Contents
Advertisement
Advertisement
Table of Contents

Related Manuals for IBM E74


Summary of Contents for IBM E74
-
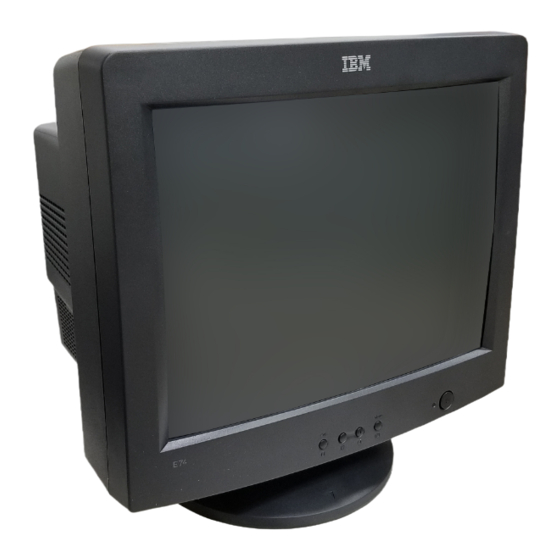
Page 1: Color Monitor
Color Monitor English Operating Instructions... - Page 2 IBM E74 Color Monitor Users Guide 6332-07N 6332-97N 6332-47N, 6307-47N 6332-67N E74 ENO-INDEX-Eng.pm6 8/4/01, 2:01 PM...
- Page 3 References in this publication to IBM products, programs, or services do not imply that IBM intends to make these available in all countries in which IBM operates. Any reference to an IBM product, program or service is not intended to state or imply that only IBM's product, program, or service may be used. Any functionally equivalent product, program, or service that does not infringe any of IBM's intellectual property rights or other legally protectable rights may be used instead of the IBM product, program, or service.
- Page 4 E74 ENO-INDEX-Eng.pm6 8/4/01, 11:39 AM...
-
Page 5: Table Of Contents
Table of Contents Precautions ............... US-1 Installation ..................US-1 Maintenance ..................US-1 Transportation ..................US-1 Use of the Tilt-Swivel ................US-1 Power Connection Information ............US-1 Identifying Parts and Controls ........ US-2 Unpacking Procedure ..........US-3 Repacking ..............US-3 Setup ................. US-3 Step 1: Install the monitor .............. - Page 6 E74 ENO-INDEX-Eng.pm6 8/4/01, 11:39 AM...
-
Page 7: Precautions
US-1 Use of the Tilt-Swivel PRECAUTIONS This monitor can be adjusted within the angles shown Installation below. Do not install the monitor in the following places: Hold the monitor at the bottom with both hands when • on surface (rugs, blankets, etc.) or near materials you turn it horizontally or vertically. -
Page 8: Identifying Parts And Controls
US-2 IDENTIFYING PARTS AND Rear CONTROLS See the pages in parentheses for further detail. Front AC input connector This connector provides AC power to the monitor. g. Video input cable Inputs RGB video signals (0.700 Vp-p, positive) and sync signals. Displays menu &... -
Page 9: Unpacking Procedure
US-3 UNPACKING PROCEDURE SETUP À Á This monitor works with platforms running at horizontal frequencies between 30 and 69 kHz. Step 1: Install the monitor • To connect the tilt/swivel base to the monitor, align hooks with the sockets on bottom side of the monitor, and gently push the base towards the front Â... -
Page 10: Step 3: Connect The Power Cord
US-4 Workplace Preparation Step 3: Connect the power cord With the monitor and computer turned off, first Positioning the Monitor connect the proper power cord for your local supply Choose a suitable place to position the monitor where to the monitor, then connect it to a properly grounded it is not near fluorescent desk lighting or any power outlet. -
Page 11: Using The On-Screen Menu
US-5 USING THE ON-SCREEN MENU 1) Menu screen-press the button to display the menu below and exit menus Select mark Press the button to move the selection mark to the desired location. Adjustment icons When the button is pressed. CO NTRAST The selected adjustment screen appears. -
Page 12: Individual Adjustment
US-6 INDIVIDUAL ADJUSTMENT VERTICAL SIZE adjustment Fills the viewable area vertically. CONTRAST adjustment Press the button to make the image smaller, Adjust the screen contrast to match your or press the button to make it larger. Press personal preference. key toggles between VERTICAL SIZE Press the button to decrease contrast and and VERTICAL POSITION. - Page 13 US-7 COLOR selection MANUAL DEGAUSSING The white of the image can be adjusted. After moving the selector to the degauss icon, 1) Use the button to select: (1)9300 press the button. The degaussing action (2)6500 K or (3)User color. takes place a few seconds later. 2) If the (3):the user’s color is selected, “2”...
-
Page 14: Technical Features
US-8 TECHNICAL FEATURES TROUBLESHOOTING Preset modes Before contacting technical support, refer to this section. Re solution V. Freq. Mode (H x V) (Hz) Problem Check & Adjust 640 x 480 60 (VESA) Blank screen · Monitor power switch, power cord, signal cable, 640 x 480 66 (VESA) or connector... -
Page 15: Self-Diagnosis Function
US-9 SELF-DIAGNOSIS SPECIFICATIONS FUNCTION S cre e n S i ze 1 7 in . vis ual d iago nal This monitor is equipped with a self-diagnosis Viewab le scre en size 1 5 .9 in. function. You can easily distinguish if the problem is Anti- Glare, Anti- on the monitor or on the computer by using the Reflective C o atin g*... - Page 16 US-10 Po we r Input Vo lta ge / 90 to 264 V AC Fre que nc y 50 - 6 0 Hz Curre nt Rating 1. 5 A Po we r 75 W ( MAX. ) Co ns umption Dime ns io n 40 4 x 419 x 4 20 mm (W x H x D)
-
Page 17: Service Information
US-11 SERVICE INFORMATION The following parts are for use by IBM services, or IBM authorized dealers, to support customer warranty. Parts are for service use only. Monitor Information PART NUMBER DESCRIPTION MODEL COLOR 22P7776 E74 Monitor MPR-II, NH 6332 Pearl White... - Page 18 US-12 SERVICE INFORMATION The following parts are for use by IBM services, or IBM authorized dealers, to support customer warranty. Parts are for service use only. Monitor Information PART NUMBER DESCRIPTION MODEL COLOR 31P9975 E74 Monitor MPR-II, NH 6307 Stealth Black...
Need help?
Do you have a question about the E74 and is the answer not in the manual?
Questions and answers