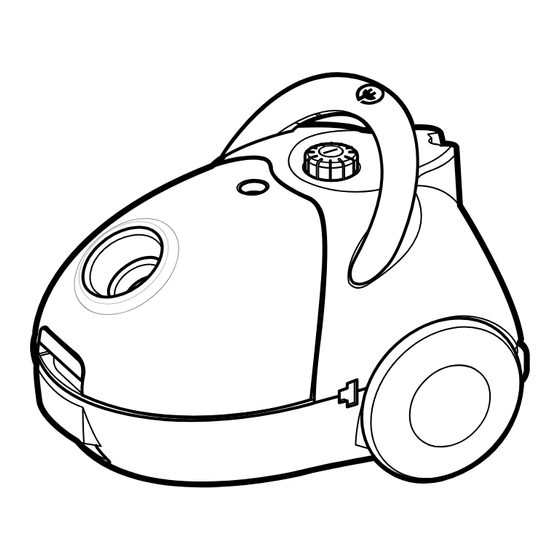
Samsung Vacuum Cleaner Operating Instructions Manual
Vacuum cleaner
Hide thumbs
Also See for Vacuum Cleaner:
- Operating instructions manual (56 pages) ,
- User manual (32 pages) ,
- Operation instructions manual (16 pages)
Subscribe to Our Youtube Channel
Summary of Contents for Samsung Vacuum Cleaner
-
Page 1: Operating Instructions
Kullanma K›lavuzu Operating Instructions ELEKTR‹KL‹ SÜPÜRGE Lütfen kullanmadan önce bu k›lavuzu dikkatlice okuyunuz. - Page 2 ÖZELL‹KLER ÖZELL‹KLER Özellikler otomatik kordon sarma ve toz torbas› dolu göstergesini içerir.. NOT : Tüm modeller ayn› özelliklere sahip de¤ildir. ÖNEML‹ EMN‹YET KURALLARI Tüm aç›klamalar› dikkatlice okuyun. Cihaz›n›z› çal›flt›rmadan önce, elektrik kayna¤›n›z›n, cihaz›n›z›n alt›ndaki plakada gösterilen de¤er ile ayn› oldu¤undan emin olun. UYARI: Elektrik süpürgesini hal›...
- Page 3 PARÇALARIN TANIMLANMASI PARÇALARIN TANIMLANMASI EMME HORTUMU HAVA DÜZENLEY‹C‹S‹ TOZ TORBASI DOLU GÖSTER- GES‹ BORU* GÜÇ KONTROLÜ & AÇMA KAPAMA DÜ⁄MES‹ TAfiIMASAPI & KABLO SARMA DÜ⁄MES‹ EMME HORTU- MU SÖKME TAK- MA DÜ⁄MES‹ TOZ TORBASI ‹Ç‹N KISKAÇ ZEM‹N BAfiLI⁄I HALI/ZEM‹N SEÇ‹C‹S‹ | (*) iflaretlenmifl...
- Page 4 ELEKTR‹K SÜPÜRGES‹N‹N KULLANIMA HAZIRLANMASI 1) Emme hortumunu emme borusuna tak›n. 2) Emme borular›n› birbirine tak›n (modele ba¤l›). 3) Bafll›¤› emme borusuna tak›n. 4) Gövde ba¤lant›s›n› makinenin gövdesine SEÇENEK : tak›n. 1 GEN‹fiLETME : Teleskopik borununun dar k›sm›n› bir elinizle tutarak, tutaca¤› öbür elinizle ters yöne do¤ru çekin.
-
Page 5: Açma / Kapama
AÇMA / KAPAMA Elektrik prizine tak›l› kordonla, dü¤menin üzerine afla¤›- ya do¤ru hafifçe basarak elektrik süpürgesini çal›flt›r›n ya da durdurun. NOT : AÇMA KAPAMA ANAHTARI GÜÇ KONTROLÖ- RÜ’yle bir aradad›r - Çal›flt›rmak ya da durdur- mak için yaln›zca yumuflak flekilde afla¤› do¤ru bas›n. - Page 6 TAfiIMA KAYIfiININ TAKILMASI VE KULLANILMASI TAfiIMA KAYIfiININ TAKILMASI VE KULLANILMASI Bu uygulama, kullan›m s›ras›nda kay›fl kemer ile cihaz›n rahat bir flekilde beliniz üzerinde tafl›nmas›na göre dizayn edilmifltir. Merdiven perde, raf ve benzeri fleyleri temizlerken, ciha- z›n›z› Tafl›ma Kay›fl›yla omzunuza asarak kullanabilirsiniz. û...
- Page 7 TOZ TORBASININ DE⁄‹fiMES‹ TOZ TORBASININ DE⁄‹fiMES‹ 1) Toz torbas› muhafaza bölümünün kapa¤›n› 2) Toz torbas›n› makineden ç›kart›n. açmak için kelepçeyi yukar› do¤ru kald›r›n. (k›skaç toz kapa¤›n›n ön taraf›ndad›r) 3) Kullan›lm›fl toz torbas›n› ç›kard›ktan sonra, 4) Kelepçeler yerine oturuncaya kadar toz yeni toz torbas›n›n mukavva a¤z›n›...
- Page 8 ZEM‹N BAfiLI⁄ININ KULLANILMASI ZEM‹N BAfiLI⁄ININ KULLANILMASI HALI/ZEM‹N SEÇ‹C‹L‹ BAfiLIK ‹Ç‹N Kullan›mdan önce seçicinin pozisyonunun temizlenecek zeminin cinsi için do¤ru konumda oldu¤undan emin olun. Hal›lar› temizlerken Hal› göstergesini seçin. Sert zemini, fayanslar› ve benzer sert yüzeyleri temizlerken zemin göstergesini seçin. GENEL FIRÇA BAfiLI⁄I ‹Ç‹N Tüm sert yüzeyleri temizlemek için zemin f›rça a¤z›n›...
-
Page 9: Important Safeguards
Do not allow the vacuum cleaner to run unattended at any time. Use the vacuum cleaner only for its intended use as described in these instructions. 4. Do not use the vacuum cleaner without a dust bag. Change the dust bag before it is full in order to maintain best efficiency. -
Page 10: Identifications Of Parts
IDENTIFICATIONS OF PARTS HANDLE SUCTION HOSE AIR REGULATOR DUST-FULL INDICATOR TUBE* POWER CONTROL SWITCH* & ON/OFF SWITCH CARRYING HANDLE& CORD REWIND BUTTON BUTTON FOR SUCTION HOSE REMOVAL CLAMPER FOR DUST BAG COMPARTMENT FLOOR NOZZLE* RUG/FLOOR SELECTOR BELT-STRAP ASSY CREVICE-TOOL HANGER ACCESSORY DUSTING BRUSH Features marked may vary according to model. -
Page 11: Power Cord
ASSEMBLING THE VACUUM-CLEANER READY FOR USE 1) Connect the suction hose to the suction tube. 2) Connect the suction tubes together (depending on model). 3) Connect the nozzle to the suction tube. OPTION : EXTENDING : Holding the narrow part of the telescopic tube with one hand, pull the handle in the opposite direction with your other hand. -
Page 12: On/Off Switch
ON/OFF SWITCH With the cord plugged into an electrical outlet, start or stop the vacuum cleaner by pushing lightly downward on the switch. NOTE : ON/OFF switch is combined with POWER CON- TROLLER - To start or stop the unit just lightly press it downward. -
Page 13: Park Position
TRANSPORTING AND STORING THE VACUUM CLEANER For easy storage and transportation, this vacuum cleaner has a clip system built onto the body, which will keep the tube, hose and nozzle in a vertical position. -
Page 14: Replacing The Dustbag
REPLACING THE DUST BAG 1) To open the dust cover of the dust bag com- 2) Remove the dust bag from the cleaner. partment, press the clamper upwards.(The clamper is located at the front of the dust cover) 3) After removing the used dust bag, insert the 4) Press the dust cover down gently until the cardboard bag collar of the new dust bag into clamper relocks. -
Page 15: Troubleshooting
Pull the cord out 2~3m & twisted or wound unevenly. push down the cord rewind button. This Vacuum cleaner is approved the following. EMC Directive : 89/336/EEC , 92/31/EEC and 93/68/EEC Low Voltage Safety Directive : 73/23/EEC and 93/68/EEC EN-7... - Page 16 ELECTRONICS Samsung Electronics Co., Ltd. 12th Fl., Samsung Main Bldg., 250, 2-Ka, Taepyung-Ro, Seoul Korea TEL: 82-31-200-0909 TÜV Product Service GmbH Ridlerstr. 65, 80339 Munchen, Germany TEL: +49 89 5008 40 DJ68-00159A REV(0.2)


Need help?
Do you have a question about the Vacuum Cleaner and is the answer not in the manual?
Questions and answers