Table of Contents

Related Manuals for Toa HS-P1500B AS


Summary of Contents for Toa HS-P1500B AS
- Page 1 OPERATING INSTRUCTIONS POWERED SPEAKER HS-P1500B AS HS-P1500W AS Thank you for purchasing TOA's Powered Speaker. Please carefully follow the instruction in this manual to ensure long, trouble-free use of your equipment. TOA Corporation...
-
Page 2: Table Of Contents
TABLE OF CONTENTS 1. SAFETY PRECAUTIONS …..................3 2. GENERAL DESCRIPTION …..............…..4 3. FEATURES …......................4 4. DIMENSIONAL DIAGRAM ..................5 5. NOMENCLATURE AND FUNCTIONS ..............5 6. VOLUME CONTROL SETTINGS ................7 7. PROTECTION OPERATION LIST ................7 8. -
Page 3: Safety Precautions
Should the following irregularity be found during use, immediately turn off this unit's power switch, disconnect the power supply plug from the AC outlet and contact your nearest TOA dealer. Make no further attempt to operate the unit in this condition as this may cause fire or electric shock. -
Page 4: General Description
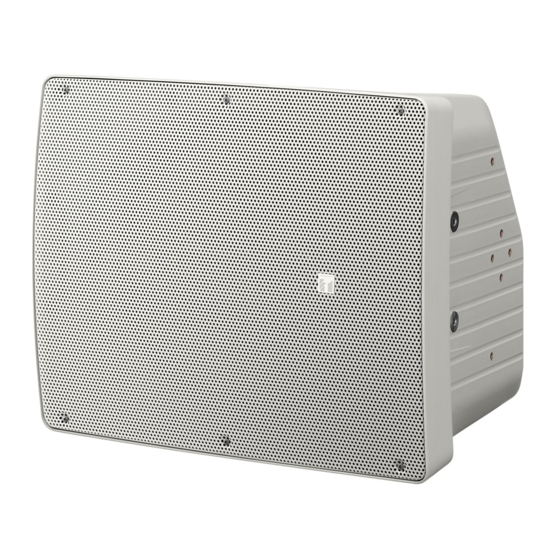
2. GENERAL DESCRIPTION TOA's HS-P1500 series are Powered Speakers with high power handling capabilities and excellent durability for background music in the hall, restaurant, religious place and etc. This 2-way self-powered speaker features a built-in digital amplifier of 170W rated output and 15-inch woofer. -
Page 5: Dimensional Diagram
4. DIMENSIONAL DIAGRAM [Front] [Side] [Rear] [Bottom] 5. NOMENCLATURE AND FUNCTIONS [ Input Panel of Powered Speakers ] HS-P1500 Series [ Rear ]... - Page 6 1. Power Switch [ Turning this switch on causes the amplifier to function, and turning it off causes the amplifier to cease function. Note : All input volume to be in the minimum position. 2. Power Indicator [POWER] Lights green when the power switch is turned on. 3.
-
Page 7: Volume Control Settings
(over 100°C) decreases. Four indicators of Temperature rise Built-in amplifier unit inside the unit Contact the TOA dealer where the unit that caused the corresponding ° (over 80 was purchased. failure halted. channel extinguish. -
Page 8: Block Diagram
8. BLOCK DIAGRAMS GAIN INPUT SUMMING BASS DIGITAL SELECTOR AMPLIFIER TREBLE MASTER INPUT LEVEL AMPLIFIER -60dB MIC/LINE -60dB -60/0dBV/600Ω Balanced CURRENT LIMITER PROTECTION CIRCUIT SHORT DETECTOR -10 dBV/10kΩ Unbalanced LINE OUT 0 dBV / 600Ω Unbalanced 9. CONNECTIONS [ HS-P1500 ] [ Another HS-P1500 ] [ Dynamic Microphone ] When using a microphone... -
Page 9: Installation
10. INSTALLATION 10.1. Installing to Ceiling or Wall • Install the speaker system to a ceiling or wall using the optional mounting brackets shown below. Note : Refer to the instruction manual enclosed with the HY-1500 series Mounting Bracket for its mounting details. - Page 10 10.1.3. HY-C0801 and HY-C0801W Ceiling Mount Brackets [ For ceiling installation, horizontal angle adjustable ] Ceiling mount bracket Installing the HS series speaker to a ceiling in conjunction with the HY-1500 series Mounting Bracket permits the speaker's horizontal angle to be adjusted. Mounting Bracket The figure at right shows an example of vertical...
-
Page 11: Mounting On The St-34B Speaker Stand (Optional)
10.2. Mounting on the ST-34B Speaker Stand [ optional ] Note : Refer to the instruction manual enclosed with the Speaker Speaker Stand for its mounting details. Bracket Step 1. Fix the bracket supplied with the speaker stand (supplied with the stand) to the speaker. -
Page 12: Attaching A Handle
Attach the handle on the speaker's top surface. Screw M6 x 20 (accessory) Handle fitting bracket (accessory) Handle (accessory) 11. SPECIFICATIONS No. Model HS-P1500B AS HS-P1500W AS Enclosure Sealed type Power Source 220 – 240V AC (50/60Hz) Rated Output 170W Power Consumption...
Need help?
Do you have a question about the HS-P1500B AS and is the answer not in the manual?
Questions and answers