Table of Contents
Advertisement
Quick Links
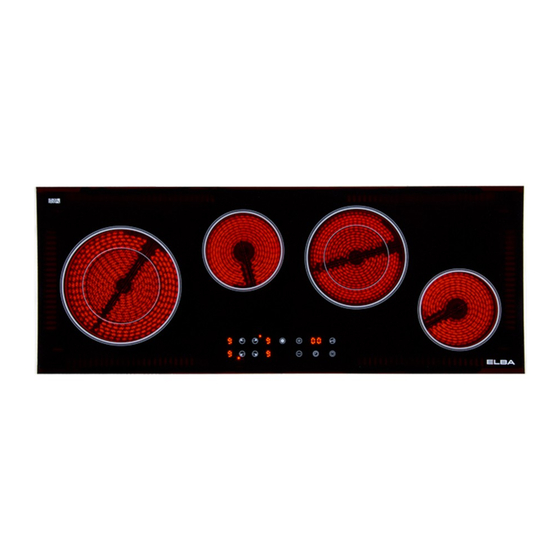
BUILT-IN CERAMIC HOB
MODEL: ECH-A9004ST
Owner's Manual
Please read this manual carefully before
operating your set.
Retain it for future reference.
Record model number and serial number
of the set.
See the label attached on the set and
quote this information to your dealer
when you require service.
For The Warranty Terms & Conditions, Please Refer To Warranty Certificate
Advertisement
Table of Contents

Related Manuals for Elba ECH-A9004ST


Summary of Contents for Elba ECH-A9004ST
- Page 1 BUILT-IN CERAMIC HOB MODEL: ECH-A9004ST Owner’s Manual Please read this manual carefully before operating your set. Retain it for future reference. Record model number and serial number of the set. See the label attached on the set and quote this information to your dealer when you require service.
-
Page 2: Table Of Contents
INDEX Safety Precautions Page 3-4 Instructions for installation: Technical information Page 4 Position of the hob Page 5 Electrical Connection Page 5 Instructions for use: Instructions for the user Page 6 Switching on the hob Page 6 Single cooking zone Page 7 Dual cooking zone Page 7... -
Page 3: Safety Precautions
Please read this instruction carefully. It is advisable to keep this instruction manual in a safe place for future reference. SAFETY PRECAUTIONS Keep electrical appliances out of reach from children. Do not let them to operate the appliances without supervision. This product is for household and indoor use only. -
Page 4: Technical Information
The thickness of the table supporting the hob must be at least 30cm and it should be heat resisting or covered by a heat resisting material. Technical Information MODEL ELBA ECH-A9004ST VOLTAGE 220-240V FREQUENCY 50-60Hz OUTER SIZE... -
Page 5: Position Of The Hob
Position of the Hob The diagram illustrates the cutting size and additional shaping required for the built-in cave installation. It is always crucial for you to measure the actual ceramic hob dimension before making any cuts. Electrical Connection It is obligatory for the electrical system to be grounded according to the method required by safety rules. -
Page 6: Instructions For The User
BEFORE FIRST USE Before cooking for the first time the hob has to be cleaned. Simply put a saucepan of water on the cooking zone. Turn it on for at least 30 minutes. After 30 minutes, turn off the cooking zone. Repeat this step for the following 3 cooking zones. -
Page 7: Single Cooking Zone
SINGLE COOKING ZONES The associated cooking zone is indicated close to each control zone. After turning on the hob, press the key “+ and “-” to activate the cooking zone and adjust the power at which it should operate. The power settings range from a minimum of 1 to a maximum of 9. You must adjust the power within 10 seconds otherwise it will automatically deactivate. -
Page 8: Timer
TIMER This hob is equipped with a 1 to 99 minutes cooking timer. To use the timed cooking, first activate the cooking zone and set the desired power level from 1 to 9. Once the power level is set, press the “time” symbol. The LED display will turn on to indicate the minutes to be set of the particular zone. -
Page 9: Cleaning And Maintenance
CLEANING AND MAINTENANCE Always disconnect the mains supply before cleaning the hob. CLEANING THE CERAMIC HOB The hob should be regularly cleaned, preferably after every use. Always wait until the residual heat warning light turn off before carrying out cleaning. Smudges from aluminum-bottom pans can be easily cleaned off with a cloth dampened in vinegar.
Need help?
Do you have a question about the ECH-A9004ST and is the answer not in the manual?
Questions and answers