Table of Contents
Advertisement
Quick Links
Advertisement
Table of Contents

Related Manuals for Minka-Aire contactor F547


Summary of Contents for Minka-Aire contactor F547
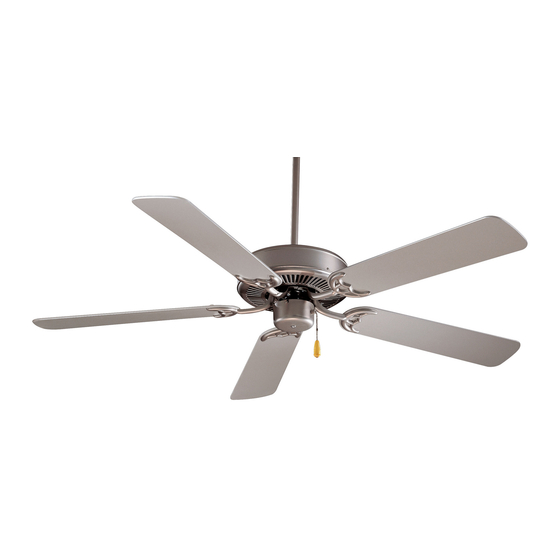
- Page 1 Model No. F547 Instruction Manual Please Read and Save Instructions...
- Page 2 Congratulations on your purchase of a Minka-Aire™ ceiling fan! Your new fan will be a beautiful addition to your home, and will keep y o u c o m f o r t a b l e t h r o u g h o u t t h e y e a r . Minka-Aire™...
-
Page 3: Table Of Contents
ONTENTS ............1 AFETY IRST ........... 2 ACKAGE ONTENTS ........... 3 EGIN NSTALLATION ............4 ANGING THE ........5 LECTRICAL ONNECTIONS ..........7 INISHING THE OUNTING ........7 TTACHING THE LADES ........8 TTACHING THE WITCH ..........9 PERATING ............ -
Page 4: Safety First
1. S AFETY IRST 1. Before you begin installing the fan, the fan (at least 50 lbs.). Do not use disconnect the power by removing a plastic outlet box. fuses or turning off circuit breakers. 6. Attach the hanger bracket using the 2. -
Page 5: Ackage Ontents
ACKAGE ONTENTS Unpack your fan and check the contents. You should have the following items: Fan Blades (5) Fan Motor/Housing Assembly Switch Cup Hanger Bracket Standard Downrod Assembly Canopy Blade Bracket (5) Balancing Kit Mounting Hardware: Blade Holder Hardware: (H)1⁄4"-20 x 7⁄16"L (1⁄4"-20 x 11mm) J-Box Mounting: screws w/lockwashers (10 pcs.) (A)10... -
Page 6: Egin Nstallation
3. B EGIN NSTALLATION Tools Required: You will need a phillips screw driver, slotted screw driver, adjustable wrench, stepladder, wire cutters, and electrical tape. CEILING PARALLEL WOOD BRACE JOIST (Min. 2" Thick) CROSS BRACE OUTLET OUTLET BOX CEILING JOIST OR CEILING CROSS BRACE JOIST... -
Page 7: Hanging The Fan
ANGING THE REMEMBER to turn off the power. OUTLET BOX Follow the steps below to hang SCREWS your fan properly: Step 1. Secure the hanger bracket to the ceiling outlet box using screws, lock washers, and flat washers included with the fan. (Fig. -
Page 8: The Electrical Connections
5. T LECTRICAL ONNECTIONS Step 2. If your outlet has a REMEMBER to shut the power off ground wire (Green or Bare at the circuit breaker or fuse box. Copper) connect the fan ground wires (on hanger ball and hanger F o l l o w t h e s t e p s b e l o w t o b r a c k e t ) t o i t ;... - Page 9 ™...
-
Page 10: Inishing The Ounting
6. F INISHING THE OUNTING Step 1. Slide the canopy up to ceiling as shown in Figure 14. Make sure you place the wires safely into outlet box. Secure the canopy to the hanger bracket with the two screws provided on the bracket. -
Page 11: Attaching The Switch Cup
TEL INNER HOLES ON MOTOR ARE FOR 4 BLADES AND THE OUTER FOR 5BLADES. Through the bigger hole to attach 4 blades assembly to motor using the motor screws and washers provided. 8. A TTACHING THE WITCH Step 1. Remove screws in switch SWITCH cup ring. -
Page 12: Operating Your Fan
9. O PERATING YOUR Restore power to ceiling fan and test for proper operation. Speed settings for warm or cool weather depend on factors such as the room size, ceiling height, number SWITCH of fans, etc. The slide switch, on the switch cup, controls the forward or reverse SUMMER OPERATION direction of the fan. -
Page 13: Maintenance
AINTENANCE Here are some suggestions to help 4. You can apply a light coat of you maintain your fan. furniture polish to the wood for a d d i t i o n a l p r o t e c t i o n a n d 1. -
Page 14: Troubleshooting
11. T ROUBLESHOOTING Problem Solution Fan will not start. Check fuses or circuit breakers. Check line wire connections to fan and switch wire connections in switch housing. CAUTION: Make sure main power is off. Fan sounds noisy. Allow a 24-hour "break-in" period. Most noises associated with a new fan go away during this time. - Page 15 For any additional information about your Minka-Aire™ Ceiling Fan, please write to: 1151 W. Bradford Ct. Corona, CA 92882 For customer assistance call: 1-800-307-3267...
Need help?
Do you have a question about the contactor F547 and is the answer not in the manual?
Questions and answers