
Related Manuals for Xterra TR3.0


Summary of Contents for Xterra TR3.0
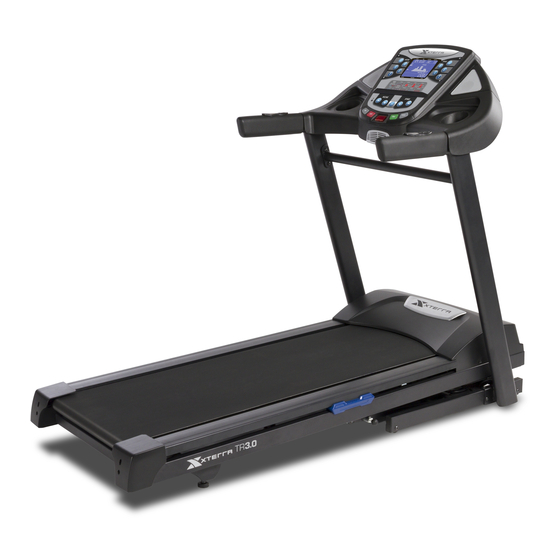
- Page 1 TR3.0 TREADMILL OWNER’S MANUAL PLEASE CAREFULLY READ THIS ENTIRE MANUAL BEFORE OPERATING YOUR NEW TREADMILL...
-
Page 2: Table Of Contents
Table Of Contents Product Registration Important Safety Instructions Important Electrical Instructions Important Operation Instructions TR6.45 Assembly Instructions Operation of Your Console Programmable Features Heart Rate General Maintenance Manufacturer’s Limited Warranty ATTENTION THIS TREADMILL IS INTENDED FOR RESIDENTIAL USE ONLY AND IS WARRANTED FOR THE APPLICATION. -
Page 3: Product Registration
Congratulations On Your New Treadmill and Welcome to the XTERRA Fitness Family! Thank you for your purchase of this quality treadmill from XTERRA Fitness. Your new treadmill has been manufactured by one of the leading fitness manufacturers in the world and is backed by one of the most comprehensive warranties available. -
Page 4: Important Safety Instructions
Quality athletic shoes are recommended to avoid leg fatigue. Failure to follow all guidelines may compromise the effectiveness of the exercise experience, expose yourself (and possibly others) to injury, and reduce the longevity of the equipment. SAVE THESE INSTRUCTIONS - THINK SAFETY! TR3.0 Treadmill... -
Page 5: Important Electrical Instructions
Whenever the adapter is used, it must be held in place by a metal screw. TR3.0 Treadmill... -
Page 6: Important Operation Instructions
• NEVER mount or dismount the treadmill while the belt is moving. XTERRA Fitness treadmills start with at a very low speed and it is unnecessary to straddle the belt during start up. Simply standing on the belt during slow acceleration is proper after you have learned to operate the unit. -
Page 7: Assembly Pack Checklist
TR3.0 Assembly Pack Checklist Hardware Steps 2 #99. 5/16” x 1/2” #100. Ø5/16” x Ø18 x 1.5T Hex Head Bolt Flat Washer (8 pcs) (8 pcs) Hardware Steps 3 Hardware Steps 4 #125. 5/16” x 3/4” #80.M8 x 1.5T #125. 5/16” x 3/4”... -
Page 8: Tr6.45 Assembly Instructions
TR3.0 Assembly Instructions Main Base Frame 1. Remove all the parts from the carton and lay the Main Base Frame on a flat level surface. Uprights & Cables Hardware Step 2 #99. 5/16” x 1/2” Hex Head Bolt (8 pcs) #100. - Page 9 Assembly (21) into place on the Left and Right Uprights (4) and (5). Secure with four Button Head Socket Bolts (125) and four Split Washers (80) by using the combination M5 Allen Wrench and Phillips Head Screw Driver (102) to tighten. TR3.0 Treadmill...
-
Page 10: Console Mast Support
Button Head Socket Bolt (4 pcs) 1. Install Console Mast Support (9) between Left and Right Uprights (4) and (5). Use the combination M5 Allen Wrench and Phillips Head Screw Driver (102) to tighten four Button Head Socket Bolts (125). TR3.0 Treadmill... -
Page 11: Final Process
The display will ask for the top incline setting. Set to 10 and press Enter. Press Start to begin calibration. Be Careful! This is an automatic process, the belt will move and change speeds without warning. When calibration is done, the console will return to the start-up screen. TR3.0 Treadmill... -
Page 12: Folding Instructions
*At the rear roller area to relieve pressure on the locking system. Transportation Instructions The treadmill is equipped with four transport wheels that are engaged when the treadmill is folded. After folding simply roll the treadmill away. TR3.0 Treadmill... -
Page 13: Operation Of Your Console
Operation of Your Treadmill TR3.0 Console Audio Input Large LCD Convenient water Jack for with feedback Integrated bottle holder and customized Turbo Fan to and scrolling Speakers for cargo compartment listening keep you cool message center MP3 player for phone or MP3 player... -
Page 14: Incline Feature
The Display key allows you to change views between the Incline profile, the Speed profile, and Incline + Speed. After using the Display key to completely scroll through these options, the console will automatically scroll through the options showing each option for five seconds. TR3.0 Treadmill... -
Page 15: Pulse Grip Feature
Stop, Enter and Display keys for 5 seconds; the display will show: Display mode - On. Use the Incline 5/6key or the Speed 5/6key to change the setting to Off then press Enter. TR3.0 Treadmill... - Page 16 Glute Blast - Incline Profile Adventure - Speed Profile Adventure - Incline Profile Xtreme - Speed Profile Xtreme - Incline Profile X Country - Speed Profile X Country - Incline Profile Interval - Speed Profile Interval - Incline Profile TR3.0 Treadmill...
-
Page 17: Programmable Features
Programmable Features The TR3.0 Treadmill has six factory preset programs, two user defined programs and one manual program. To Select and Start a Preset Program 1. Press the Program key to run through the program options. Press Enter to select a pro- gram. -
Page 18: User Programs
6. The Display will be blinking the preset top incline of the selected program (0%). Use the Incline 5/6 keys to adjust, then press Enter. You are now done programming data and may press Start to begin your workout or Enter to go back one level to change data entered in the programming phase. TR3.0 Treadmill... -
Page 19: Heart Rate
A definition of the lines’ goal is in the bottom left-hand cor- ner of the chart. Whether your goal is weight loss or cardiovascular fitness, it can be achieved by training between 60% and 80% of your MHR. Consult your physician before participating in any exercise program. TR3.0 Treadmill... -
Page 20: Rate Of Perceived Exertion
RPE will support this. If you are feeling tired and sluggish, it is because your body needs a break. In this condition, your pace will feel harder. Again, this will show up in your RPE and you will train at the proper level for that day. TR3.0 Treadmill... -
Page 21: Belt Adjustments
- located under the motor cover - that connects the motor to the front roller. If that belt is loose it feels similar to the walking belt being loose. Tightening the motor belt should be done by a trained service person. TR3.0 Treadmill... -
Page 22: Treadbelt Tracking Adjustment
Proper belt tracking is an owner responsibility common with all treadmills. ATTENTION Damage to the running belt resulting from improper tracking / tension adjustments is not covered under the XTERRA Fitness warranty. TR3.0 Treadmill... -
Page 23: Belt/Deck Lubrication
Drag the garment the length of the entire belt 1-2 times. Remove the garment. Do not lubricate with anything other than XTERRA Fitness approved lubricant. Your treadmill comes with one tube of “Lube” and extra tubes can be ordered directly from www.xterrafitness.com. -
Page 24: Troubleshooting
3. Plug is disconnected. Make sure plug is firmly pushed into 115 VAC wall outlet. 4. Breaker panel circuit breaker may be tripped. 5. Treadmill defect. Contact XTERRA Fitness. Tread-belt does not stay centered The user may be walking while favoring or putting more weight on either the left or right foot. -
Page 25: Error Messages
Start and Enter keys for three seconds to unlock the console. e. Factory Settings To save and exit, press the Stop key TR3.0 Treadmill... -
Page 26: Manufacturer's Limited Warranty
Effective August 1, 2012 - TREADMILL LIMITED WARRANTY XTERRA Fitness Inc. warrants all its home use treadmill parts for a period of time listed below, from the date of retail sale, as determined by a sales receipt or in the absence of a sales receipt, eighteen (18) months from the original factory shipping date. XTERRA Fitness’s responsibilities include providing new or remanufactured parts, at XTERRA Fitness’s option, and technical support to our independent... - Page 28 3000 Nestle Road Jonesboro, AR 72401 - Phone:870-336-4286 - Fax:870-935-7611 www.xterrafitness.com ©2013 All RIghts Reserved. TR3.0 Owner’s Manual...
Need help?
Do you have a question about the TR3.0 and is the answer not in the manual?
Questions and answers