Table of Contents
Advertisement
Quick Links
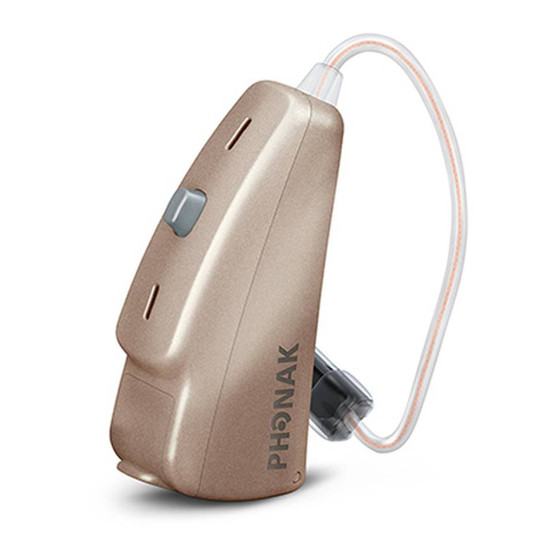
- 1 Step 1. Getting to Know Your Hearing Aid
- 2 Step-By-Step Instructions for Using the Hearing Aid
- 3 Step 4. Turning on the Hearing Aid
- 4 Step 6. Adjusting the Volume Control Behind the Ear
- 5 Step 7. Selecting the Hearing Program Behind the Ear
- 6 Care and Maintenance
- 7 Troubleshooting
- 8 Wireless Accessories
- Download this manual
See also:
User Manual
Advertisement
Table of Contents


Need help?
Do you have a question about the Q90 and is the answer not in the manual?
Questions and answers