Table of Contents
Advertisement
Quick Links
Advertisement
Table of Contents

Related Manuals for Swisscom Top S317


Summary of Contents for Swisscom Top S317
- Page 1 Top S317 User manual...
-
Page 2: Brief Overview Of The Handset
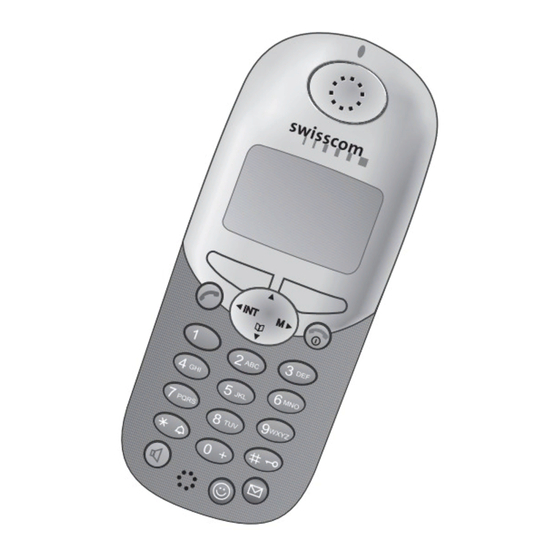
Brief overview of the handset Brief overview of the handset The display is protected by a plastic film. Remove the plastic film. Status LED (light-emitting diode) Display (display field) lights up during a call; flashes at: Charging status – Incoming call empty –... -
Page 3: Important Menus
Brief overview of the handset Important menus © Select Services New Entry Add. Features Anne Barbara Calendar/Clock © Sound Settings Chris OKƒ Call Charges H/Set Settings Display Number Base Settings Delete Entry Voice Mail Copy Entry Delete List Handset Volume Send List Ringer Settings Available Memory... -
Page 4: Safety Precautions
Safety precautions Safety precautions Only use the power supply unit supplied as indicated on the underside of the device. Only insert approved rechargeable batteries of the same type. Never use ordi- nary (non-rechargeable) batteries as they may pose a health hazard or cause injury. ‹... -
Page 5: Table Of Contents
Contents Contents Brief overview of the handset ..........2 Interaction between control key and display keys. -
Page 6: Preparing The Handset
Preparing the handset Press Keys: Preparing the handset Delivery package Gigaset 4000 Micro handset, one battery, charging unit, belt clip, operating instructions. Inserting the battery Registering the handset Step 1: © Open the menu. åååååååååååååååååååååååååååååååå Select and confirm. H/Set Settings åååååååååååååååååååååååååååååååå... -
Page 7: Charging The Battery
Preparing the handset Press Keys: settings system settings regi- 3020/25 Select ster handset 3030/35 in the menu at the base sta- 4030/35 tion telephone and confirm with 3070/75 Press the LED – it will flash during regis- 4070/75 tration. Non-Sie- To register at “GAP base stations”... -
Page 8: Setting The Date And Time
Preparing the handset Press Keys: Setting the date and time You need to set the date and time so that the time that messages and calls are received is shown correctly. © Open the menu. åååååååååååååååååååååååååååååååå Select and confirm. Calendar/Clock åååååååååååååååååååååååååååååååå... -
Page 9: Making Calls
Making calls Press Keys: Making calls Making an external call o Enter the telephone number. If you make a mistake use the key to correct individual digits. Press the talk key. Press the end call key to end the call. You can also press the talk key first and then enter the telephone number - each digit will be di-... -
Page 10: Handsfree Talking
Making calls Press Keys: Handsfree talking Handsfree talking when dialling o Dial the telephone number. Press the handsfree key. When handsfree talking is activated, the handsfree key u and the status LED lights up. Handsfree talking during a call Activate handsfree talking. To set the volume: Press the handsfree key u once more. -
Page 11: Automatic Redial
Automatic redial Press Keys: Automatic redial Manual redial You have access to the last five telephone numbers di- alled. Display and select the telephone number. Press the talk key. Automatic redial This function is not available in all countries. The handsfree key flashes and open listening is activat- ed. -
Page 12: Directory And Network Access List
Directory and network access list Press Keys: Directory and network access list With the directory you can store up to 200 tele- phone numbers and then dial them at the push of a button. You can save the prefixes (Call-by-Call) of telephone companies in the network access list . -
Page 13: Speed Dialling From The Network Access List
Directory and network access list Press Keys: Dialling with the network access list (Call-by-Call) Open the network access list. D© Select call-by-call number and open the menu. åååååååååååååååååååååååååååååååå Select the menu item and confirm. Display Number o Enter the telephone number of the person you want to call. -
Page 14: Character Map
Directory and network access list Press Keys: Character map Press the relevant key repeatedly or hold down: 4 x 5 x 10 x â £ ¥ ¤ Blank Ÿ ä á à â ã ç ë é è ê ¡ ï... - Page 15 Directory and network access list Press Keys: Displaying, changing or deleting an entry Open the directory/network access list. Select the entry you want. View View all the information for the entry. Change Open the input field and make the necessary changes. o Change the number if necessary.
- Page 16 Directory and network access list Press Keys: Copying the directory/network access list You can copy the entire directory/network access list to another Micro/Comfort handset. See “Copying an entry to another handset” . Transmission is interrupted: if the memory of the receiving handset is full (the last entry is displayed on the sending handset).
-
Page 17: Settings
Settings Press Keys: Settings Setting the alarm clock ¼ If activated, the alarm clock ( icon) on your handset will ring every day at the time entered. With the handset idle: © Open the menu. åååååååååååååååååååååååååååååååå Select the menu item and confirm. Calendar/Clock åååååååååååååååååååååååååååååååå... -
Page 18: Setting An Appointment
Settings Press Keys: Setting an appointment Your handset is able to remind you of one appoint- ment. If you have set an appointment, this is indicated ¼ by the icon in the display. With the handset idle. © Open the menu. åååååååååååååååååååååååååååååååå... -
Page 19: Handset And Loudspeaker Volume
Settings Press Keys: Missed appointments and anniversaries An appointment and anniversaries that have been sig- nalled on the handset but not been accepted are saved in a list. A new missed appointment/anniversary is indicated Appt. . Press the right display key to display the list ¼... -
Page 20: Activating/Deactivating Warning And Signal Tones
Settings Press Keys: Time control for ringer volume You can set a different ringer volume for a particular time of day. © Open the menu. åååååååååååååååååååååååååååååååå Select the menu item and confirm. Sound Settings åååååååååååååååååååååååååååååååå You will hear the current ringer volume and its level Ringer Settings will be displayed. -
Page 21: Activating/Deactivating The Vibration Alarm
Settings Press Keys: Activating/deactivating the vibration alarm If you do not wish to be disturbed by the ringing tone you can activate the handset’s vibration alarm instead. This can also be activated in addition to the ringing tone (in noisy surroundings, for instance). ©... -
Page 22: Room Monitoring (Babyphone)
Room monitoring (babyphone) Press Keys: Resetting to the factory defaults The directory, the network access list and the caller list are not deleted when you reset the handset. Registra- tion at the base station is not affected. © Open the menu. åååååååååååååååååååååååååååååååå... -
Page 23: Setting The Room Monitor
Room monitoring (babyphone) Press Keys: Setting the room monitor © Open the menu. åååååååååååååååååååååååååååååååå Select the menu item and confirm. Add. Features åååååååååååååååååååååååååååååååå Select the menu item and confirm. Room Monitor. Select Scroll forward one line. Change Open the entry field for the telephone number. Delete an existing external number with Delete an existing internal number with (you will... -
Page 24: Walk And Talk Mode
Walk and Talk mode Press Keys: Walk and Talk mode Requirements: The handsets must have the same base settings (e.g. best base station) or they must not be registered at any base station. (Walk and Talk mode reduces the handset's talk time considerably). In Walk and Talk mode, handsets are not available for incoming calls. -
Page 25: Appendix
Appendix Appendix Operating on base stations in the Gigaset family Gigaset 1000/2000/3000 The following functions on your 4000 Micro/Comfort handset are not supported by base stations in this Gigaset family: Setting the time (the time is not transferred after the handset has been switched off) Changing the display language Room monitoring (cannot be switched off externally) -
Page 26: Range
Appendix Range The handset will operate away from the base station up to about 300 m outdoors and up to 50 m indoors. Desktop charging station The desktop charging station for Siemens mobile telephones can also be used to charge your handset. (Accessory for Siemens C35, M35, S35 mobile telephones) Order No.
Need help?
Do you have a question about the Top S317 and is the answer not in the manual?
Questions and answers