Table of Contents
Advertisement
Quick Links
- 1 Preparing the Equipment for Starting
- 2 Maintenance and Repairs
- 3 Fitting and Replacing the Line Head - Model 104L
- 4 Assembling and Replacing the Cutting Tool - Model 107L/ B
- 5 Fuel Information
- 6 Note on Using the Nylon Line Head (Available as Accessory)
- 7 Specification
- Download this manual
See also:
Instruction Manual
- ENGLISH -
Instruction manual
Original instructions
Caution! Prior to operating the
unit, please read the owner's manual
carefully, and most importantly, observe
all safety rules.
Observe the maintenance guidelines
closely to ensure the long service life of
your equipment.
Your dealer will be glad to assist you
with any questions.
EC declaration of conformity
EC declaration of conformity on a
separate piece of paper forms part of
these operating instructions.
For USA only:
Emissions Control Warranty Statement
The Environmental Protection Agency and
Solo are pleased to explain the emission
control system on your small non-road
power equipment engine. In the US new
small non- road engines must be
designed, built, and equipped to meet the
Environmental Protection Agency's
standards. Solo must warrant the emission
control system on your small non- road
engine for the period of time listed below
provided there has been no abuse,
neglect, or improper maintenance of your
small non-road engine.
Your emission control system includes
parts such as the carburetor, the ignition
system, and the exhaust system.
Where a warrantable condition exists, Solo
will repair your small non-road power
equipment engine at no cost to you
including diagnosis, parts, and labor.
Manufacturer's Warranty Coverage
Solo's small non-road power equipment
engines are warranted for a period of two
years. If any emission control related part
on your engine is defective, the part will be
repaired or replaced by Solo.
Contact Information for Authorized Service
Center Locations, Replacement Parts,
Warranty and Technical Information
Warranty repairs must be completed by a
SOLO
Authorized Service Center.
SOLO USA, Inc. 1-800-765-6462
5100 Chestnut Avenue
techserv@solousa.com
Newport News, VA 23605
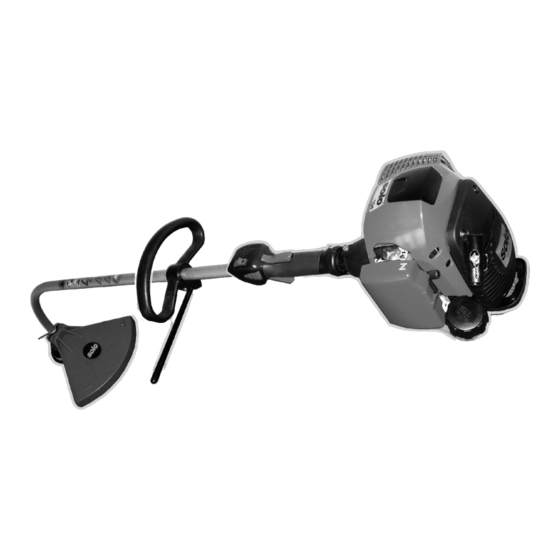
Grass trimmer 104L / Brush cutter 107L / 107B
The following symbols are used in this manual and on the
product:
104L
107L/ B Thoroughly read these operating
The
t
---
Symbols
instructions before undertaking any
maintenance, installation and cleaning
steps
Wear ear defenders and a face shield
before starting the engine
Switching off the engine, stop switch on
"STOP"
Wear protective gloves when handling
and working with the equipment
Wear solid shoes, preferably safety shoes
with a good tread
Danger! Failure to comply with the
instructions could cause accidents with
potentially life-threatening injuries
Maintain a minimum distance of 15
metres bystanders
Please note: objects may be thrown out
and high
Please note: power tool may kick back on
contact with a solid object
Never exceed the specified
maximum speed
Never smoke near the power tool or
where the equipment is refuelled!
Keep open flames away from the power
tool and the fuel can
- This equipment produces exhaust fumes
and
- fuel vapours are poisonous;
never start or refuel in enclosed spaces
Fuel mixture: symbol above the fuel
mixture tank cap
Choke flap:
Cold start position
towards this symbol
Operation and warm start
lever down
Model 104L:
Never use metal cutting tools.
choke lever up,
choke
ENGLISH 1
Advertisement
Table of Contents


Need help?
Do you have a question about the 104L and is the answer not in the manual?
Questions and answers