
Related Manuals for Daikin MC704VM


Summary of Contents for Daikin MC704VM
-
Page 1: Operation Manual
OPERATION MANUAL MODEL MC704VM PHOTOCATALYTIC AIR PURIFIER English Deutsch Français Nederlands Español Italiano ÅëëçíéêÜ Portugues Russian... -
Page 2: Table Of Contents
Specification 4 7 year pre-cut filter roll Tremendous advantage with durable filter 5 Designed for Quiet Operation Model MC704VM Security when sleeping Required power supply 1ø220-240/220-230V 50/60Hz Outer dimensions 400×498×198... -
Page 3: Safety Precautions
Safety Precautions • Keep this manual where the operator can easily find them. • Do not use outdoors or where exposed to direct • Read this manual attentively before starting up the unit. sunlight. • For the reason of safety the operator must read the following cau- Direct sunlight can weaken remote controller signal reception tions carefully. -
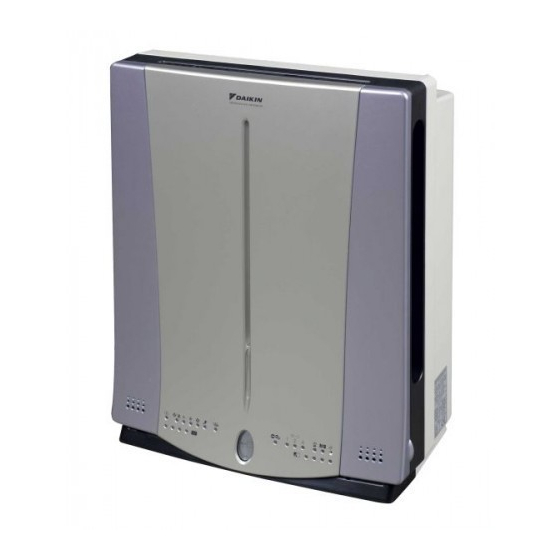
Page 4: Names And Operation Of Each Part
Names and Operation of each Part I I I I Main unit Front Rear 1 Front panel CAUTION 2 Main unit display (Page 4) • Do not strongly press on the photocatalyst. Shows operation status. The special inverter lamp located inside may be damaged. 3 Knob for panel disassembly •... - Page 5 I I I I Main unit display 1 Air intake for dust sensor 9 Child lock lamp (Page 7) Air is taken in from here and the dust sensor detects the dirty state Lit during child lock. of the air. 10 Negative ion mode indicator (Page 7) 2 Clean monitor (Dust)
-
Page 6: Preparation Before Operation
For these cases, discuss with the Daikin dealer. • If other electrical device operate by the remote controller, either sep- arate them from the remote controller or discuss with the Daikin dealer. 2 Remote controller storage I I I I Set the filter roll •... - Page 7 3. Install the filter roll. 4. Install the plasma ionizer in its original configuration. (1) Cut off one piece along the perforation. Filter roll Hole Hole (2) Place the dark colored surface facing up and then correctly insert into the hooks (four) of the plasma ionizer. 5.
-
Page 8: How To Operate
How to Operate 7 When you want to decide a time to stop operation Press the “ ” [OFF TIMER] button. • Each time it is pressed the timer setting switches as shown below. The remaining time will be lit in the “OFF timer setting indicator”. “... -
Page 9: Care And Cleaning
Care and Cleaning 3. Clean the pre-filter. WARNING • After using a vacuum cleaner to remove any dust, clean with water. During maintenance you must stop the oper- • If it is very dirty, use a soft brush or a neutral cleaner to clean then ation and remove the power plug from the dry well in the shade. - Page 10 Care and Cleaning I I I I Replacing the filter roll CAUTION Replace the filter roll when the “Replace indicator” (Page 4) is lit or flashes in the main unit display. If the front surface and rear surface of the filer are mis- Target is once every year.
- Page 11 • Be careful not to snag or cut the ionizing line. If the ionizing line is pole plates. (Wearing rubber gloves is safer.) cut, request the Daikin dealer to replace it. If the unit is operated with the ionizing line cut, there will be no dust collection.
- Page 12 For example, if installed at a low position in the room, the response for cigarette smoke will worsen. Order the replacement filter roll at a Daikin dealer. For this case, try installing the unit at a high position such as on a rack. If...
-
Page 13: Trouble Shooting
The four airflow rate displays, LL (Quiet), Is there any foreign matter in the air outlet? Remove the foreign matter. For other cases, contact a Daikin dealer. L (Low), M (Standard) and H (High) are flashing at the same time. - Page 14 3P068886-5G M02B140 (0212) HT...
Need help?
Do you have a question about the MC704VM and is the answer not in the manual?
Questions and answers