DSC Power 832 Installation Instructions Manual
2-wire addressable device interface module
Hide thumbs
Also See for Power 832:
- Installation manual (52 pages) ,
- User manual (20 pages) ,
- Installation instructions (2 pages)
Advertisement
Quick Links
Advertisement

Related Manuals for DSC Power 832


Summary of Contents for DSC Power 832
- Page 1 Installation Instructions PC51OO S E C U R I T Y S Y S T E M Version 1.O Please refer to the System Installation Manual for information on limitations regarding product use and function and informa- tion on the limitations as to liability of the manufacturer.
-
Page 2: Limited Warranty
Limited Warranty Digital Security Controls Ltd. warrants that for a period of twelve months from the date of purchase, the product shall be free of defects in materials and workmanship under normal use and that in fulfilment of any breach of such warranty, Digital Security Controls Ltd. shall, at its option, repair or replace the defective equipment upon return of the equipment to its factory. - Page 3 This simplifies wiring and permits fast and efficient installations. WARNING: Connect only DSC Addressable Series devices to the addressable loop connections. Connection of ANY other type of device will impair operation. Any devices other than Addressable Series devices which require power to operate must be powered separately.
-
Page 4: Getting Started
Getting Started 2.1 Connecting the PC5100 Interface Module Remove all power from the control panel before connecting any module to the system. Connect the PC5100 to the PC5010/5015 Keybus by inserting the red, black, yellow and green Keybus wires into their corresponding termi- nals. - Page 5 Max. Device Total Model # Description Quantity x Current Draw Current (in standby mode) AMS-220 Smoke Detector 0.8 mA = AMB-300 PIR Detector 2.5 mA = AMB-500 Ceiling Mount PIR 2.5 mA = AMB-600 Dual PIR Detector 3.5 mA = AMA-100 Glass-break Detector 3.5 mA = AMP-700 Magnetic Door/Window Contact...
- Page 6 Not more than four Loop Current vs. Wiring Distance 24AWG conductors Total loop 22 AWG 18 AWG should be connected to a current (mA) distance (ft/m) distance (ft/m) single terminal as wire 2880/878 5143/1568 bulk may cause improper operation. 1620/494 3645/1111 All devices must be enrolled as 1010/308...
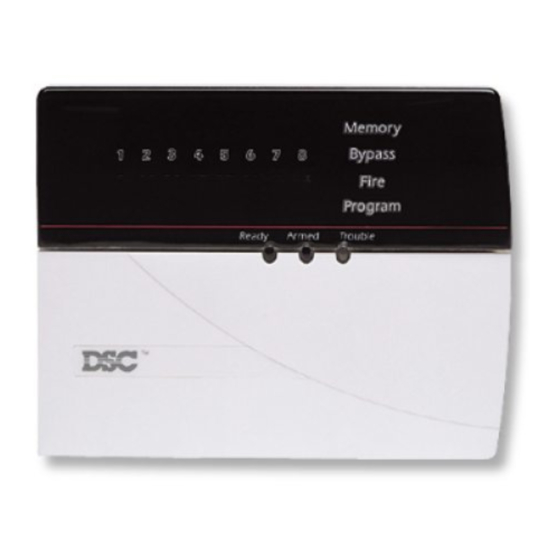
- Page 7 Programming the PC5100 3.1 How to Program You can program the PC5100 by entering installer’s programming mode ([ ] [8] [Installer’s code]) at any system keypad. All PC5100 programming is in programming section [805] (see page 8). Ensure that you have double checked each entry for all device serial number sections.
- Page 8 3.4 Module and Device Supervision To confirm that the panel is supervising the PC5100, enter section [903]. If the PC5100 is being supervised, on LED keypads light 15 will be on, and on LCD keypads the message “PC5100” will be displayed. Devices are supervised as zones.
- Page 9 • turning off the test output and checking for an alarm restore state on each detector. If the PC5100 module does not receive an alarm signal from a smoke detector, there will be a trouble on that zone when the test is over. The trouble will only be restored when the next smoke test is performed and the detector passes the test.
-
Page 10: Programming Worksheets
Programming Worksheets [805] PC5100 Expansion Programming Zone Serial Numbers Default for each section = 00000 (5-digit decimal entry required) [01] Zone 1 [17] Zone 17 l _ ____ l _ ____ l _ ____ l _ ____ l _ ____ l l _ ____ l _ ____ l _ ____ l _ ____ l _ ____ l [02] Zone 2 [18] Zone 18... -
Page 11: Guidelines For Locating Smoke Detectors
Guidelines for Locating Smoke Detectors Experience has shown that all hostile fires in family living units generate smoke to a greater or lesser extent. Experiments using typical fires in family living units indicate that detectable quantities of smoke precede detectable levels of heat in most cases. In existing homes, the 1993 edition of NFPA 72 requires that a smoke detector be installed outside each sleeping area and on each additional story of the family unit. - Page 12 Security Products © 1999 Digital Security Controls Ltd. 1645 Flint Road, Downsview, Ontario, Canada M3J 2J6 Tel. (416) 665-8460 • Fax (416) 665-7498 • Tech. Line 1-800-387-3630 • www.dscgrp.com Printed in Canada 29003139 R001...
Need help?
Do you have a question about the Power 832 and is the answer not in the manual?
Questions and answers