
Related Manuals for Kreepy krauly Kreepy Krauly SandShark


Summary of Contents for Kreepy krauly Kreepy Krauly SandShark
- Page 1 Suction-Side Inground Pool Cleaner Installation and User's Guide IMPORTANT SAFETY INSTRUCTIONS READ AND FOLLOW ALL INSTRUCTIONS SAVE THESE INSTRUCTIONS...
-
Page 2: Table Of Contents
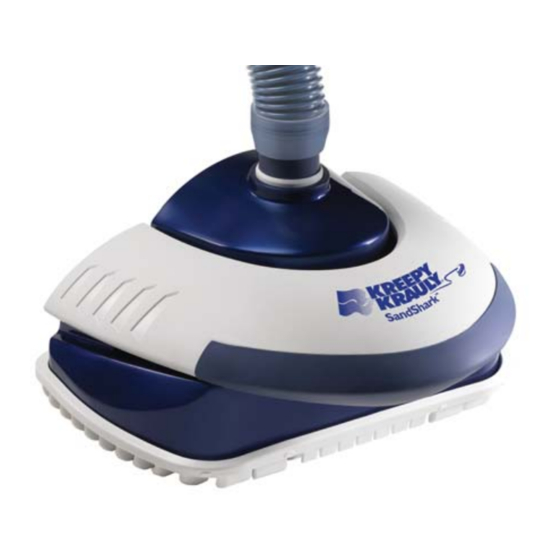
Congratulations on purchasing the best pool-cleaning system in the world! Your new SandShark ™ cleaner will provide you with years of carefree pool enjoyment, as it efficiently vacuums your pool for you. ™ First, however, you’ll have to install SandShark and after installation, perhaps make some minor adjustments and check to make sure the cleaner is operating properly. -
Page 3: Important Safety Precautions
Attention User: This manual contains important information that will help you in operating and maintaining this pool cleaner. Please retain it for future reference. Consult Pentair Water with any questions regarding this equipment. WARNING — Before installing this product, read and follow all warning notices and instructions which are included. -
Page 4: General Installation Information
Pentair Water Pool and Spa, Inc. disclaims any liability for repairs or replacement to any of these structures or components of the customer’s pool. -
Page 5: Warranty Information
Before installing your cleaner, review and understand all warnings, safety and warranty information in this guide. Failure to follow these instructions or improper installation of the cleaner can result in damage to the pool finish or the vinyl liner, Pentair Water Pool and Spa, Inc. -
Page 6: Section 1: Pool Preparation
Section 1 Pool Preparation ™ The following general information describes how to set-up your new SandShark automatic pool cleaner. NOTE: Before setting up this product, read and follow all warning notices and instructions starting on page ii. Preparation of your pool ™... -
Page 7: Sandshark ™ Hose Assembly
Assemble the Hose Connect the Hose Sections M l H For best results and to maintain proper operation, use only original hoses, or direct replacements, (see Replacement Parts page). 1. A special “leader” hose section (12 inches long) is designed to connect to the cleaner and is marked with a red label, (see Figures 3 &... -
Page 8: Section 2: Installation
Section 2 Installation ™ This section describes how to install your new pool cleaner. The SandShark is designed to work in a wide variety of swimming pools. Both the standard in-skimmer installation and optional vac port installation are covered in these Instructions. If your pool configuration is unlike any of the examples, contact your Pentair Water Pool and Spa dealer for assistance, or call our toll-free Customer Helpline at 1-800-831-7133. -
Page 9: Adjust Flow
Standard Installation, cont’d. Adjust Flow Figure 11. 1. With the main drain closed, and one end of the hose attached to the vacuum Disc Indicator regulator installed in the skimmer, insert the flow gauge into the other end of the hose (the end with the “leader” hose attached). 2. -
Page 10: Optional Installation
Optional Installation WARNING — Suction entrapment, injury, and drowning hazard. If your pool has a dedicated suction port (“vac port”) for vacuuming or for an automatic pool cleaner, it must be covered when not in use. Vac Port Installation with Vacuum Regulator in Skimmer ™... - Page 11 Optional Installation, cont’d. Adjust Flow Figure 21. 1. With the main drain closed, and one end of the hose attached to the vacuum Disc Indicator regulator installed in the skimmer, insert the flow gauge into the other end of the hose (the end with the “leader” hose attached). 2.
-
Page 12: Section 3: Adjustments
Section 3 Adjustments After completing the installation, turn the pool pump on and allow it to run for a couple of minutes to ensure that ™ all air cycles out of the system. The SandShark should be moving about the pool at a rate of 10 to 14 feet per ™... -
Page 13: Fine-Tuning Valves And Connections
Adjusting the Flow 1. Turn the pool pump off. Remove the Cleaner and connect the Flow Gauge to the end of the hose, make sure you keep the hose submerged to prevent any air to enter into it, (see Figure 27). Then turn the pump on. 2. -
Page 14: Return Line Adjustments
To correct this, use the eyeball diverter included with your SandShark . (If the eyeball does not fit your pool, use the wire diverter (P/N K121620) accessory available for purchase from your Pentair Water Pool and Spa dealer.) Eyeball Diverter Positions BEFORE ADJUSTMENT 1. -
Page 15: In-Line Leaf Canisters
In-Line Leaf Canisters If your pool is exposed to large quantities of leaves, we suggest purchasing and installing an in-line leaf canister, (P/N R211084 or R211086), see Figure 31. A leaf canister will provide more debris-loading capacity and also provides a water by-pass when the canister is full. -
Page 16: Section 4: Maintenance
Section 4 Maintenance ™ This section describes the service and maintenance of your SandShark cleaner. WARNING — Hazardous suction. Suction through the cleaner can entrap bathers, causing severe injuries or ™ drowning. Do not operate the SandShark cleaner while people are using the swimming pool. Do ™... - Page 17 Disassembly 1. With a screwdriver, carefully work the rubber vacuum pad down over the lip of the Outer Housing, (see Figure 33). 2. Lift the Outer Housing straight up off of the chassis, (see Figure 34). 3. Squeeze and pull the Sprocket Clips to release the Drive Shaft Assembly and Center Sprocket, (see Figure 35).
-
Page 18: Section 5: Troubleshooting
Section 5 Troubleshooting ™ Use the following troubleshooting information to resolve possible problems with your SandShark pool cleaner. Problem Corrective Action ™ f SandShark moves slow or fails to climb walls: Dirty filter – Clean the filter. Dirty basket in pump hair and lint strainer – Clean the basket. -
Page 19: Section 6: Replacement Parts
Section 6 Replacement Parts ™ SandShark 7900 Model ™ SandShark Installation and User’s Guide... - Page 20 ™ Replacement Parts List for the SandShark 7900 Model Item Description Qty. Steering Kit (Incl. Item Nº's 2, 3, 4 & 22) GW7910 Swivel Housing Swivel Swivel Sprocket Clutch Clip Clutch Kit (Incl. Item Nº's 5, 8 & 21) GW7503 Oscillator Sleeve Bushing Oscillator Sleeve Clutch Assembly...
- Page 21 P/N 39503-6300 Rev. A 10/27/08...
Need help?
Do you have a question about the Kreepy Krauly SandShark and is the answer not in the manual?
Questions and answers