Table of Contents
Advertisement
Quick Links
User Manual
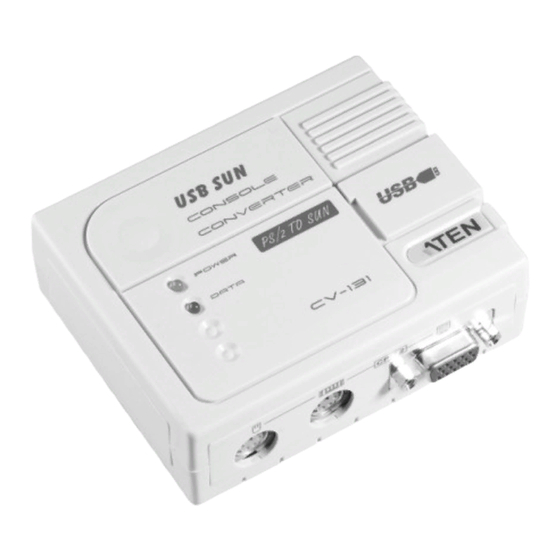
CV-131
Read this guide thoroughly and follow the installation and operation
procedures carefully in order to prevent any damage to the CV-131
and/or any devices that connect to it.
This package contains:
M 1CV-131 PS/2-to-SUN USB Console Converter
M 1Custom KVM Cable (1.2m)
M 1User Manual
If anything is damaged or missing, contact your dealer.
®
© Copyright 2003 ATEN
International Co., Ltd.
Manual Part No. PAPE - 1111-2AT
Printed in Taiwan 05/2003
All brand names and trademarks are the registered property of their respective owners.
2004-05-07
Advertisement
Table of Contents

Related Manuals for ATEN CV-131


Summary of Contents for ATEN CV-131
-
Page 1: User Manual
User Manual CV-131 Read this guide thoroughly and follow the installation and operation procedures carefully in order to prevent any damage to the CV-131 and/or any devices that connect to it. This package contains: M 1CV-131 PS/2-to-SUN USB Console Converter M 1Custom KVM Cable (1.2m) - Page 2 Note: This equipment has been tested and found to comply with the limits for a Class B digital device, pursuant to Part 15 of the FCC Rules. These limits are designed to provide reasonable protection against harmful interference in a residential installation.
- Page 3 Overview The CV-131 is a PS/2 to SUN interface converter that translates PS/2 keyboard, PS/2 mouse, and PC video signals to Sun keyboard, mouse, and video signals. In this way, the CV-131 allows you to control a USB enabled SUN workstation from an IBM compatible KVM (keyboard, video, mouse) console.
- Page 4 Sample Configurataions Standalone: SUN Station CV-131 KVM: KVM Switch CV-131 SUN Station - 2 - 2004-05-07...
-
Page 5: System Requirements
M Built-in mouse and keyboard wake up function M Easy installation - no software required M Supports PS/2 mouse and Microsoft Intelimouse M Supports ATEN PS/2 KVM switch and PS/2 console extender products System Requirements M Sun Blade Server 2000/100 (Sun Solaris 8) - Page 6 Console Side Components Your console devices (mouse, keyboard, monitor) plug into this side of the CV-131. 1. Power LED Lights to indicate the unit is receiving power and is ready to operate. 2. Data LED Flashes to indicate Keyboard or Mouse data is being transmitted.
- Page 7 The cables that connect the CV-131 to the computer or KVM switch plug into this side of the device. 1. Video Port The female end of the VGA cable that links the CV-131 to the computer’s video port plugs in here. 2. USB Port The B Connector end of the USB cable that links the CV-131 to the computer’s USB port plugs in here.
-
Page 8: Installation
PS/2 mouse. 3. Plug the B Connector end of a USB cable into the USB port on the CPU side of the CV-131. Plug the A Connector end of the cable into the computer’s USB port. 4. Plug the female end of a VGA cable into the VGA connector on the CPU side of the CV-131. - Page 9 Standalone Installation CV-131 Console Side CV-131 CPU Side - 7 - 2004-05-07...
- Page 10 KVM Installation CV-131 Console Side CV-131 CPU Side Sun Station - 8 - 2004-05-07...
-
Page 11: Hotkey Operation
Hotkey Operation Hotkeys are used to select the keyboard layout, reset the USB, select the operating platform that the CV-131 works under, and obtain system setting information. The Hotkey entry method is as follows: 1. Press and hold either Ctrl key 2. - Page 12 M Press the USB Reset Hotkey combination (see p. 9). Suspend Mode Problem In some cases, when the CV-131 is connected to a KVM switch, Windows does not wake up from suspend mode when it receives keyboard or mouse input. If this occurs, you should disable suspend mode.
- Page 13 Sun Keyboard Emulation The PS/2 (101/104) key keyboard can emulate the functions of the SUN keyboard when the Control key (Ctrl) is used in conjunction with other keys. The corresponding functions are shown in the table below. Note: When using Control Key ([Ctrl]) combinatons, press and release the Control key, then press and release the activation key.
-
Page 14: Specifications
Specifications Function Specification Console Keyboard 1 x 6 pin mini DIN female Connectors Monitor 1 X HDB-15 female Mouse 1 x 6 pin mini DIN female 1 x Type B Connectors Video 1 X HDB-15 male LEDs Power 1 x Orange Data 1 x Green Transfer Rate... -
Page 15: Troubleshooting
Troubleshooting Problem Cause Action Video Problems Wrong display Some monitors cannot resolution for support a display resolution monitor. of 1152 x 900. Set the resolution to either 1280 x 1024, or 1024 x 768. Limited Warranty IN NO EVENT SHALL THE DIRECT VENDOR’S LIABILITY EXCEED THE PRICE PAID FOR THE PRODUCT FROM THE DIRECT, INDIRECT, SPECIAL, INCIDENTAL OR CONSEQUENTIAL DAMAGES RESULTING FROM THE USE OF THE PRODUCT, DISK... - Page 16 Notes: - 14 - 2004-05-07...
Need help?
Do you have a question about the CV-131 and is the answer not in the manual?
Questions and answers