Panasonic KX-TGP500 User Manual
Sip cordless phone
Hide thumbs
Also See for KX-TGP500:
- Administrator's manual (284 pages) ,
- User manual (68 pages) ,
- Quick start manual (30 pages)
Table of Contents
Advertisement
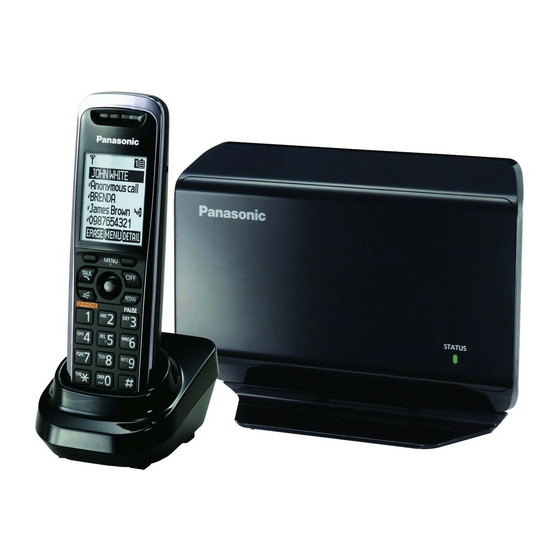
Model shown is KX-TGP500.
Model shown is KX-TGP550.
Thank you for purchasing a Panasonic product.
You can configure some of the features of this unit through the Web user interface. See
"Programming through the Web user interface", page 41.
Please read this guide before using the unit and save it for future reference.
VoIPon www.voipon.co.uk sales@voipon.co.uk Tel: +44 (0)1245 808195 Fax: +44 (0)1245 808299
SIP Cordless Phone
KX-TGP500
Model No.
KX-TGP550
Model No.
Document Version: 2010-08
User Guide
B02
T02
Advertisement
Table of Contents


Need help?
Do you have a question about the KX-TGP500 and is the answer not in the manual?
Questions and answers