Vantec NexStar 3 User Manual
External 3.5" hard drive enclosure
Hide thumbs
Also See for NexStar 3:
- User manual (24 pages) ,
- Installation manual (2 pages) ,
- Specification (1 page)
Table of Contents
Advertisement
Advertisement
Table of Contents

Related Manuals for Vantec NexStar 3


Summary of Contents for Vantec NexStar 3
- Page 1 U S E R M A N U A L...
-
Page 3: Table Of Contents
Table of Contents: 1. Introduction ............................pg. 2 2. Specifications/Features NexStar 3 External 3.5” HDD Enclosure ................pg. 3 3. System Requirements ........................pg. 4 4. Parts Layout NexStar 3 External 3.5” HDD Enclosure ................. pg. 5 5. Installation NexStar 3 External 3.5” HDD Enclosure 5.1. -
Page 4: Introduction
The NexStar 3 utilizes USB 2.0, offering speeds up to 480Mbps, Firewire providing speeds of up to 400Mbps, or SATA with speeds of up to 3Gbps.* The NexStar 3 is the ideal way to store your personal data in an enclosure that matches your style! -
Page 5: Specifications/Features
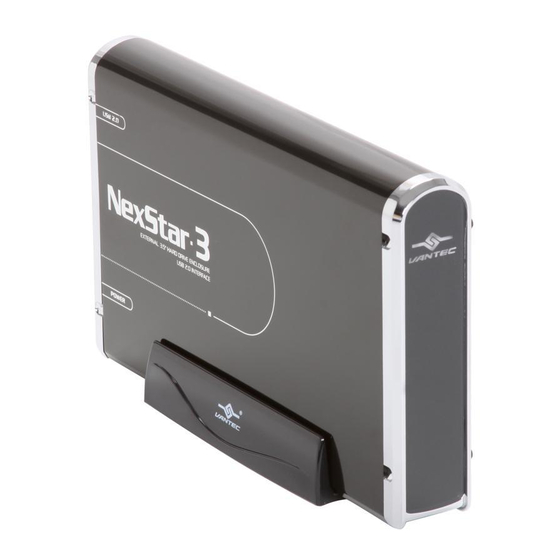
2. Specifications/Features: NexStar 3 External 3.5” HDD Enclosure: Specifications: • Interface: SATA to USB 2.0 / eSATA / Firewire • Dimension: 206mm x 123mm x 33mm Features: • Aluminum casing cools down your hard drive • Transfer Rates Up to 12Mbps With USB 1.1 •... -
Page 7: Parts Layout
4. Parts Layout: NexStar 3 External 3.5” HDD Enclosure: Aluminum Housing LED Cable Hard Drive Caddy SATA/Power Cable Parts Layout... -
Page 8: Installation
Preparing the NexStar 3: 1) Remove the side of the NexStar 3 with the power and USB connection ports. If it has previously been screwed in place, remove the screws first. 2) Carefully slide out the side approximately 3 inches. - Page 9 2) Align the hard drive mounting holes with the holes on the back of the drive caddy. See picture below. 3) Secure the hard drive onto the drive caddy with the screws provided. 4) Insert the drive caddy back into the aluminum housing. Be sure to reconnect the LED cable before closing the unit.
-
Page 14: Creating A New Partition
Mac OS X 10.x.x: Initializing a Hard Drive: If you are using a new hard drive, you may need to initialize it first. You can initial- ize your internal hard drive using a program called Drive Setup, which is on the Mac OS CD that came with your computer. - Page 15 Mac OS X 10.x.x: Formatting a Hard Drive: 1. Start the Disk Utility tool (under Applications) 2. Select the new hard drive you are trying to install 3. Click on the “Erase” tab 4. Choose a volume format and assign a name to the new drive. 5.
-
Page 18: Warranty
9. Warranty: The NexStar 3 comes with a 1 year limited warranty (90 day parts). If your unit should become defective within that time frame, please go to http://www.vantecusa.com for information on how to receive warranty exchange or repair. Cosmetic defects and missing parts are not covered under this warranty.
Need help?
Do you have a question about the NexStar 3 and is the answer not in the manual?
Questions and answers