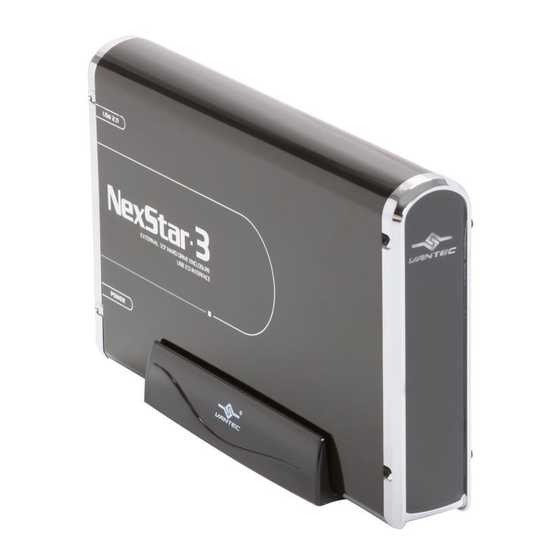
Vantec NexStar 3 User Manual
External 3.5" hard drive enclosure
Hide thumbs
Also See for NexStar 3:
- User manual (18 pages) ,
- Installation manual (2 pages) ,
- Specification (1 page)
Table of Contents
Advertisement
Advertisement
Table of Contents

Summary of Contents for Vantec NexStar 3
- Page 4 The NexStar 3 utilizes USB 2.0, offering speeds up to 480Mbps, or SATA with speeds of up to 3Gbps.* The NexStar 3 is the ideal way to store your personal data in an enclosure that matches your style!
- Page 7 4. Parts Layout: Aluminum Housing NexStar 3 External 3.5” HDD Enclosure: LED Cable Hard Drive Caddy IDE Cable NST-360U2 Power Cable Hard Drive Caddy SATA/Power Cable NST-360SU Parts Layout...
- Page 8 Preparing the NexStar 3: 1) Remove the side of the NexStar 3 with the power and USB connection ports. If it has previously been screwed in place, remove the screws first. 2) Carefully slide out the side approximately 3 inches.
- Page 9 2) Fold the cables so that they are out of the way. Align the hard drive mount- ing holes with the holes on the side of the drive caddy. See picture below. 3) Secure the hard drive onto the drive caddy with the screws provided. See picture below for where the screws are to go.
- Page 12 Note: After installing, software will process in background, you will see OTB Backup icon in the system tray after you plug in NexStar 3 External Hard Drive. Right click the icon in the system tray you can enter or exit the OTB software.
- Page 15 5.5.2 Backup Designate Destination 1. Choose which folder you want to backup. 2. Choose the disk which you want to save your copy files. 3. Click save button under Path Setting to save backup path. If backup path is the same, you don't need to click it again. 4.


Need help?
Do you have a question about the NexStar 3 and is the answer not in the manual?
Questions and answers