Sign In
Upload
Download
Add to my manuals
Delete from my manuals
Share
URL of this page:
HTML Link:
Bookmark this page
Add
Manual will be automatically added to "My Manuals"
Print this page
×
Bookmark added
×
Added to my manuals
Manuals
Brands
CHIEF Manuals
TV Mount
PAC525
Installation instructions manual
CHIEF PAC525 Installation Instructions Manual
In-wall accessory boxes
Hide thumbs
1
2
3
4
5
6
7
8
9
10
11
12
page
of
12
Go
/
12
Bookmarks
Advertisement
Quick Links
Download this manual
I N S T A L L A T I O N I N S T R U C T I O N S
PAC526
PAC525
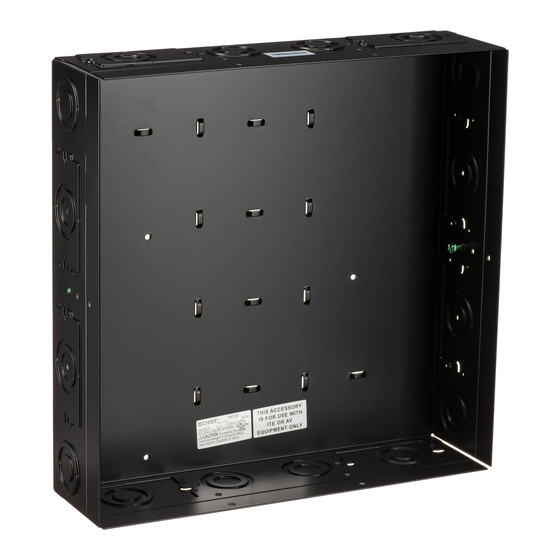
In-Wall Accessory Boxes
PAC525/526
Table of
Contents
Previous
Page
Next
Page
1
2
3
4
5
Advertisement
Need help?
Do you have a question about the PAC525 and is the answer not in the manual?
Ask a question
Questions and answers
Related Manuals for CHIEF PAC525
TV Mount CHIEF Universal Wall Mounting Bracket OFBU Installation Instructions Manual
Universal wall mounting bracket (8 pages)
TV Mount Chief PAC526 Installation Instructions Manual
In-wall accessory boxes (12 pages)
TV Mount CHIEF MSBU Installation Instructions Manual
Universal plasma interface bracket (8 pages)
TV Mount CHIEF MSBU Installation Instructions Manual
Universal plasma interface bracket (8 pages)
TV Mount CHIEF PSBU Installation Instructions Manual
Universal interface bracket (6 pages)
TV Mount CHIEF PCM Series Installation Instructions Manual
Plasma ceiling mount (8 pages)
TV Mount CHIEF X462UN-TMX4D Installation Instructions Manual
2 x 2 array wall mount (12 pages)
TV Mount Chief TS525TU Installation Instructions Manual
Large swing arm mounts (16 pages)
TV Mount CHIEF CM2 Installation Instructions Manual
Automated display lift (30 pages)
TV Mount CHIEF iC series Installation Instructions Manual
(88 pages)
TV Mount CHIEF Video Wall Mount WM-46UN High Instructions Manual
Fusion medium and large pull-out flat panel mounts (24 pages)
TV Mount CHIEF KSA-1024 Installation Instructions Manual
Quick connect/disconnect bracket (8 pages)
TV Mount CHIEF CMS491P2 Installation Instructions Addendum
Powered ceiling storage boxes (12 pages)
TV Mount Chief KWP-110 Installation Instructions Manual
K-series small flat panel mounts (16 pages)
TV Mount CHIEF CM8 Installation Instructions Manual
Automated tilt mounting system (17 pages)
TV Mount CHIEF MTR Series Installation Instructions Manual
Medium flat panel display tilt mount (7 pages)
This manual is also suitable for:
Pac526
Print
Rename the bookmark
Delete bookmark?
Delete from my manuals?
Login
Sign In
OR
Sign in with Facebook
Sign in with Google
Upload manual
Upload from disk
Upload from URL


Need help?
Do you have a question about the PAC525 and is the answer not in the manual?
Questions and answers