Advertisement
Advertisement
Table of Contents

Related Manuals for Antec Neo ECO Series


Summary of Contents for Antec Neo ECO Series
- Page 1 ECO P OWER UPPLY ERIES ’ ANUAL...
- Page 2 120 mm fan, and Universal Input with Active Power Factor Correction (PFC), the Neo ECO series gives you a cooler, quieter system all powered by Continuous Power. Note: No power cord included. By reusing your existing cord, you can reduce waste and help protect the...
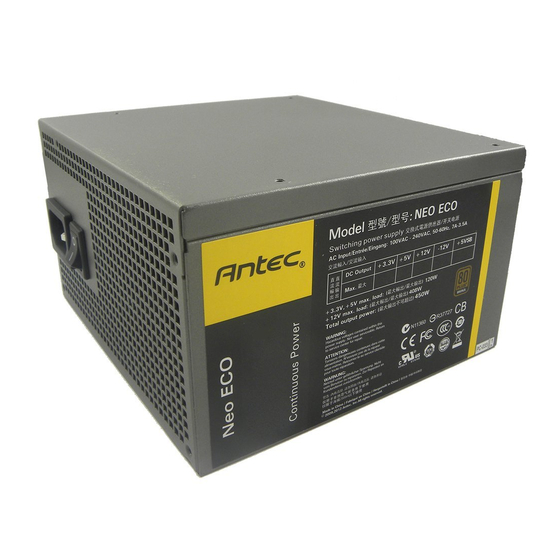
- Page 3 ABLE Neo Eco 400 / 400C Output Load Ripple & Regulation Voltage Max. Noise +3.3V ±5% < 50 mV ±5% < 50 mV +12V ±5% < 120 mV –12V 0.8A ±10% < 120 mV +5VSB 2.5A ±5% < 50 mV Neo Eco 450 / 450C Output Load...
- Page 4 ABLE Neo ECO 400/450/520/620 Part name Quantity 24(20+4)-pin main connector 8(4+4)-pin ATX12V/EPS12V PCI-E 6-pin (400W / 450W only) PCI-E 6-pin + 8(6+2)-pin connectors (520W / 620W only) Molex connectors Floppy Serial ATA Connector...
- Page 5 Neo ECO 400C/450C/520C/620C Part name Quantity 24(20+4)-pin main connector 8(4+4)-pin ATX12V/EPS12V PCI-E 6-pin (400W / 450W only) PCI-E 6-pin + 8(6+2)-pin connectors (520W / 620W only) Molex connectors x 4 (400W/450W) x 5 (520W/620W) Floppy Serial ATA Connector x 5 (400W/450W) x 6 (520W/620W)
- Page 6 NSTALLATION 1. Install the Neo ECO PSU into either the top or bottom of your case with the four screws provided. Refer to your case manual if you are unsure where the power supply should be installed. 2. Connect the 24(20+4)-pin main power connector to your motherboard. If your motherboard uses a 20-pin connector, detach the 4-pin attachment on the 24-pin connector.
- Page 7 3. Connect the 8(4 + 4)-pin connector for the CPU. Note: Please also refer to your motherboard user’s manual for any special instructions. 4. Connect the 6-pin PCI-E/8(6+2)-pin connector to your graphics card (if applicable). 5. Connect all Molex/SATA connector(s) to your hard drives, optical drives (CD/DVD/BluRay™) and other accessories.
- Page 8 +31 (0) 10 437-1752 Technical Support: US & Canada 1-800-22ANTEC customersupport@antec.com Europe europe.techsupport@antec.com www.antec.com © Copyright 2011 Antec, Inc. All rights reserved. All trademarks are the property of their respective owners. Reproduction in whole or in part without written permission is prohibited.
Need help?
Do you have a question about the Neo ECO Series and is the answer not in the manual?
Questions and answers