Advertisement
Quick Links
Advertisement

Related Manuals for Bang & Olufsen BeoLab 7-1


Summary of Contents for Bang & Olufsen BeoLab 7-1
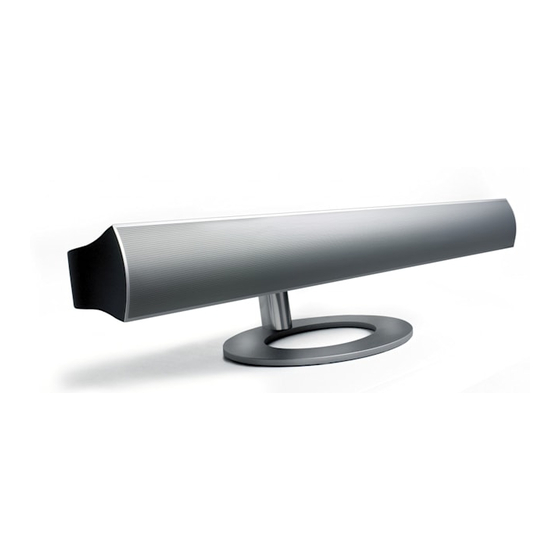
- Page 1 BeoLab 7-1 BeoLab 7-2 Guide...
- Page 2 Cautions! – Make sure that the loudspeaker is placed and connected in accordance with the instructions in this Guide. CAUTION: To reduce the risk of – Do not attempt to open the loud- speaker. Leave such operations electric shock, do not remove to qualified service personnel! cover (or back).
-
Page 3: Daily Use
Daily use When you have finished setting Cleaning the loudspeaker up the loudspeaker as described Clean dusty surfaces using a dry, on the following pages, connect soft cloth. If necessary, remove the entire system to the mains. grease stains or persistent dirt with Caution: Handle the loudspeaker a lint-free, firmly wrung cloth, front grill with great care. -
Page 4: Set Up The Loudspeaker
‘Adapt the loudspeaker to your room’ (pp. 8–9). – Connect the entire system to the BeoLab 7 brackets: The loud- BeoLab 7-1: Always use the ‘type 1 mains again. speaker must be fastened to one of bracket’. the brackets shown here, and on a In order not to dent or scratch the suitable Bang &... - Page 5 Here is shown how to fasten the loudspeaker with a ‘type 1 bracket’ to a Bang & Olufsen ‘single-column’ stand (or wall bracket). Use the same procedure if you wish to fasten the loudspeaker to a Bang & Olufsen ‘double-column’ Stand –...
-
Page 6: Cable Connections
Cable connections The loudspeaker is primarily intended to be used in a setup with BeoVision 7*. It may, how- Mains connection ever, be used with other Bang & to BeoVision 7 Olufsen systems as well – for POWER LINK example in a BeoVision 4 setup. socket If used in a setup not including POSITION switch... - Page 7 Connection to BeoVision 7 … BeoVision 7 Connect the loudspeaker to one of the Power Link sockets on the left BeoVision 7 socket panel. For further information about the BeoVision 7 socket panels, refer to the Guides enclosed with the product.
-
Page 8: Adapt The Loudspeaker To Your Room
Adapt the loudspeaker to your room When a loudspeaker is placed The POSITION switch in a corner or close to a wall, the bass level is boosted • F (Free-standing position) compared to the bass level from Use this setting if the loudspeaker a loudspeaker placed in a more is placed so that the front grill is free-standing position. - Page 9 The POSITION switch is located on the loudspeaker socket panel. How to measure … The distance is measured as shown here – the loudspeaker seen from above.
- Page 10 To get access to the approval labels, remove the loudspeaker front grill: Push the front grill towards the left (~ 10 mm). The front grill can now be removed. Caution: Handle the loudspeaker Note: When attaching the front front grill with great care. Dents grill again, make sure that all five and scratches are not covered by ‘attach-points’...
- Page 11 For the Canadian market only! This product fulfils the For the US-market only! This class B digital apparatus meets conditions stated in the NOTE: This equipment has been all requirements of the Canadian EEU directives 89/336 and 73/23. tested and found to comply with Interference-Causing Equipment the limits for a class B digital device, Regulations.
- Page 12 www.bang-olufsen.com...
Need help?
Do you have a question about the BeoLab 7-1 and is the answer not in the manual?
Questions and answers