Table of Contents
Advertisement
Advertisement
Table of Contents

Related Manuals for Audio Technica AT-LP2D-USB


Summary of Contents for Audio Technica AT-LP2D-USB
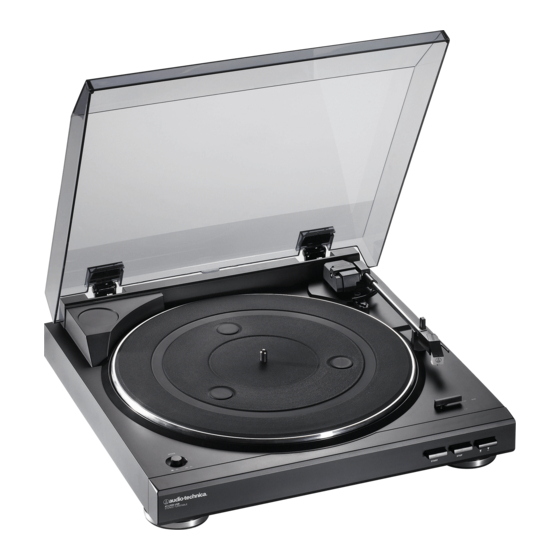
- Page 1 USB Stereo Turntable System AT-LP2D-USB Installation and Operation...
- Page 2 Warning: To prevent fire or shock hazard, do not expose this appliance to rain or moisture. Thank you for purchasing the AT-LP2D-USB. Audio-Technica Attention: Pour prévenir feu ou choc brings its legendary quality and audio fidelity to the digital realm électrique, ne pas exposé...
- Page 3 Controls Figure 1 Main Features Front Back PHONO LINE START STOP SPEED 12" SIZE 7" START BUTTON DUST COVER HINGE HOLDERS Engages the motor/platter and begins automatic operation. Attachment points for removable hinged dust cover. STOP BUTTON 10. DUST COVER Disengages the motor/platter and returns tone arm to rest.
- Page 4 Setup & Operation Assembling the Turntable Figure 2 Assembling the Turntable The AT-LP2D-USB requires some assembly before first use. 2a Drive belt IMPORTANT: Do not connect the AC power cord until Motor spindle Red ribbon assembly is complete. Carefully place the turntable platter on the center spindle, making certain the platter is fully seated on the spindle.
- Page 5 Connect the red RCA-type pin-plug to the right channel input and the white RCA-type pin-plug to the left The AT-LP2D-USB connects without adapters to devices channel input of your stereo system (Fig. 3, page 4). equipped with RCA connectors. For maximum flexibility,...
- Page 6 400 hours of use. Figure 10 Installing a new stylus To maintain original performance, insist upon a genuine Audio-Technica brand replacement stylus. Look for the Audio-Technica trademark ( ) on the front of the stylus assembly and on the packaging.
- Page 7 Troubleshooting Figure 11 Checking the drive belt Turntable does not operate Make certain the turntable’s AC cord is plugged into an AC outlet, and that the AC outlet is “live.” Check the drive belt to make certain it is on correctly. (See Figure 11.) A) Remove the record mat from the turntable platter (Fig.
-
Page 8: Specifications
One-Year Limited Warranty Audio-Technica brand products purchased in the U.S.A. are warranted for one year from date of purchase by Audio-Technica U.S., Inc. ( A. T .U.S.) to be free of defects in materials and workmanship. In event of such defect, product will be repaired promptly without charge or, at our option, replaced with a new product of equal or superior value if delivered to A.
Need help?
Do you have a question about the AT-LP2D-USB and is the answer not in the manual?
Questions and answers
I installed a new belt but I still have spiritic and uneven sound speed. What part should I replce?
If sporadic and uneven sound speed continues after installing a new belt on the Audio Technica AT-LP2D-USB, the part that should be replaced is the stylus.
This answer is automatically generated