Advertisement
HandA-Accessories.com
INSTRUCTIONS
PARTS LIST
Cassette Player (sold separately):
P/N 08A03-5B1-050
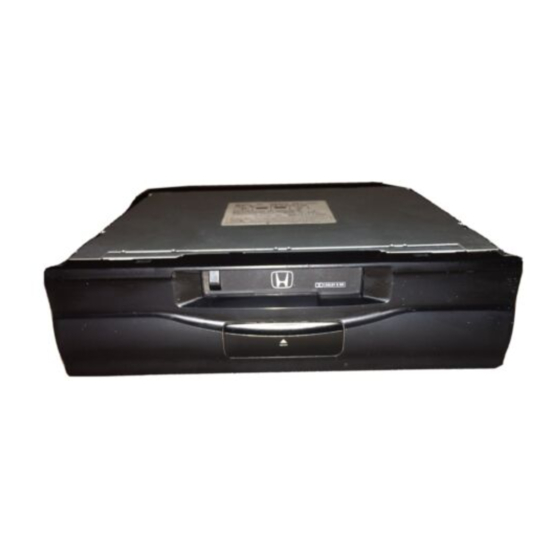
Cassette player
Owner's Manual
7 Washer-screws, 5 x 8 mm
(2 not used)
Wire tie (not used)
Harness clip
© 2003 American Honda Motor Co., Inc - All Rights Reserved.
Accessory
IN-DASH CD CHANGER/
CASSETTE PLAYER
In-Dash CD Changer (sold separately):
P/N 08A06-3B1-300
In-Dash CD changer
Owner's manual
6 Washer-screws, 5 x 8 mm
(2 not used)
Washer-screw, 4 x 6 mm
Wire tie (not used)
Harness clip
Adhesive strips
(1 not used)
TOOLS AND SUPPLIES REQUIRED
Phillips screwdriver
Small flat-tip screwdriver
Isopropyl alcohol
Shop towel
10 mm Combination wrench
Application
ELEMENT (LX)
Publications No.
Issue Date
OCT 2003
1 of 5
08B06-SCV-1A00-91
Advertisement
Table of Contents

Related Manuals for Honda P/N 08A03-5B1-050


Summary of Contents for Honda P/N 08A03-5B1-050
- Page 1 Harness clip Harness clip Adhesive strips (1 not used) TOOLS AND SUPPLIES REQUIRED Phillips screwdriver Small flat-tip screwdriver Isopropyl alcohol Shop towel 10 mm Combination wrench 1 of 5 © 2003 American Honda Motor Co., Inc - All Rights Reserved. 08B06-SCV-1A00-91...
- Page 2 RIGHT AUDIO UNIT BRACKET SELF- AUDIO TAPPING SCREW PANEL GROOVES IN AUDIO PANEL WASHER- 2624042K SELF- SCREW POCKET TAPPING (Reuse.) FLAT-TIP (Not reused.) SCREW SCREWDRIVER 2626010K 2 of 5 © 2003 American Honda Motor Co., Inc - All Rights Reserved.
- Page 3 BUS CABLE CONNECTOR CASSETTE PLAYER HARNESS CLIP Bottom of the (Included in In-Dash CD 5 x 8 mm WASHER-SCREW Cassette player.) changer (Included in Cassette player.) 3 of 5 © 2003 American Honda Motor Co., Inc - All Rights Reserved.
- Page 4 LEAD CHANGER (Removed in step 4.) BUS CABLE CONNECTOR HARNESS CLIP 4 x 6 mm (Included in In-Dash WASHER-SCREW CD changer.) (Included in In-Dash CD changer.) 4 of 5 © 2003 American Honda Motor Co., Inc - All Rights Reserved.
- Page 5 17. Pull up on the driver’s window switch to close the window completely, then hold the switch for a second or two more. 18. Test the AUTO window function. 5 of 5 © 2003 American Honda Motor Co., Inc - All Rights Reserved.
Need help?
Do you have a question about the P/N 08A03-5B1-050 and is the answer not in the manual?
Questions and answers