Razor Pocket Mod Owner's Manual
Razor pocket mod scooter owner's manual
Hide thumbs
Also See for Pocket Mod:
- Owner's manual (41 pages) ,
- Troubleshooting manual (4 pages) ,
- Owner's manual (16 pages)
Table of Contents
Advertisement
Advertisement
Table of Contents

Related Manuals for Razor Pocket Mod


Summary of Contents for Razor Pocket Mod
- Page 1 Owner’s Manual Read and understand this entire manual before riding! DO NOT RETURN TO STORE! NOTE: Manual illustrations are for demonstration purposes only. Illustrations may not reflect exact appearance of actual product. Specifications subject to change without notice. Version 1_04/11...
-
Page 2: Table Of Contents
Pocket Mod. or replaced. Do not touch the motor on your Pocket Mod when in use as it can become Use only with the recommended charger. very hot. -
Page 3: Before You Begin
Inspect the contents of the box for scratches in the paint, dents or kinked cables that may have occurred during WARNING: shipping. Because the Pocket Mod is 95 percent assembled and packed at the factory, there should not be any DO NOT USE NON-RAZOR problems, even if the box has a few scars or dents. -
Page 4: Assembly And Set-Up
ASSEMBLY AND SET-UP q Attaching the Handlebars Tools required: One (1) 6mm Allen wrench. Note: Make sure the brake cables/wires are out of the way before inserting the stem into the fork. Remove plastic protector Tighten down the hexagonal and insert handlebar assembly bolt with the 6mm Allen wrench. -
Page 5: Before Riding
BEFORE RIDING q Charging the Battery WARNING: Your Pocket Mod may not have a fully charged battery; therefore it is a good idea to charge the battery prior to use. Rechargeable batteries are only to • Initial charge time: 12 hours • Run time: Up to 30 minutes of continuous ride time. -
Page 6: Repair And Maintenance
Do not disable or replace this lever with anything other than a genuine Razor replacement part. To adjust the tension, thread If brake is too tight or has too the brake lever adjuster on the... -
Page 7: Replacing The Fuse
(4) Phillips head screws. Need Help? Visit our website for updates and a list of authorized service centers at www.razor.com or call toll-free at 866-467-2967 Monday - Friday 8:00 AM - 5:00 PM Pacific Time. - Page 8 For a list of authorized Razor repair centers: • Check online at www.razor.com. • Call 866-467-2967 for the center nearest you. Need Help? Visit our website for updates and a list of authorized service centers at www.razor.com or call toll-free at 866-467-2967 Monday - Friday 8:00 AM - 5:00 PM Pacific Time.
-
Page 9: Troubleshooting Guide
12 hours after each subsequent use. Check all connections. Make sure the charger port is tightly plugged into the charging port on the Pocket Mod, and that the charger is plugged into the wall. Loose wires or connectors Check all wires and connectors to make sure they are tight. -
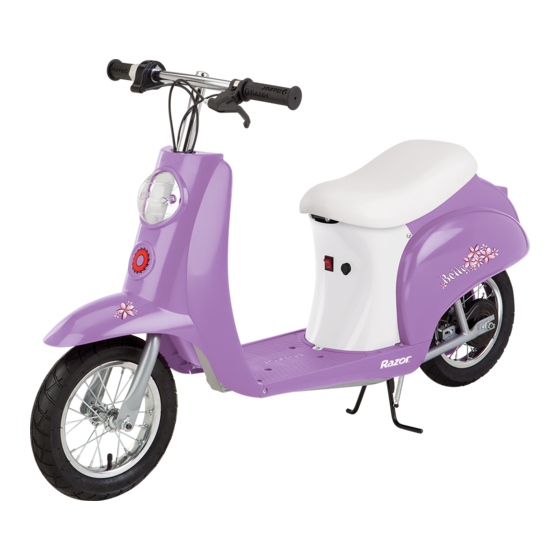
Page 10: Pocket Mod Parts
POCKET MOD PARTS Keep your Pocket Mod running for years with genuine Razor parts. Visit our web site or e-mail us for more information on spare part availability. (Specifications subject to change without notice.) Footrest Front Wheel Complete Handlebar Grip (Right/Left) - Page 11 SB 1918 (CALIFORNIA) DECLARATION YOUR INSURANCE POLICIES MAY NOT PROVIDE COVERAGE FOR ACCIDENTS INVOLVING THE USE OF THIS SCOOTER/ELECTRIC RIDE-ON PRODUCT. TO DETERMINE IF COVERAGE IS PROVIDED, YOU SHOULD CONTACT YOUR INSURANCE COMPANY OR AGENT.
-
Page 12: Safety Reminders
Kiki 15130634 purchased. Need Help? Visit our website for updates and a list of authorized service centers at www.razor.com or call toll-free at 866-467-2967 Monday - Friday 8:00 AM - 5:00 PM Pacific Time. Patent Pending Printed in China for:...
Need help?
Do you have a question about the Pocket Mod and is the answer not in the manual?
Questions and answers