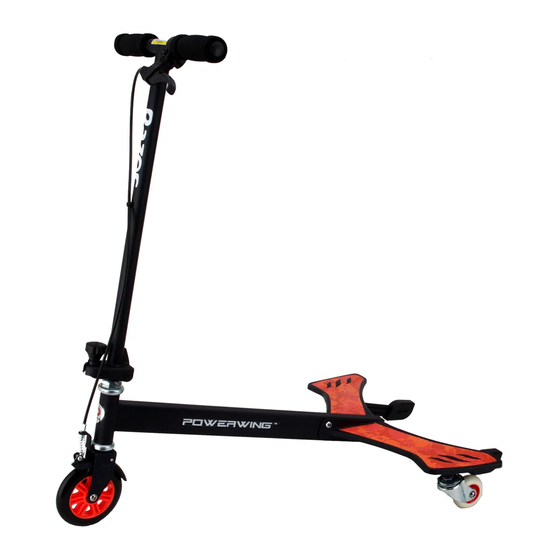
Razor PowerWing Owner's Manual
Hide thumbs
Also See for PowerWing:
- Owner's manual (8 pages) ,
- Owner's manual (8 pages) ,
- Manual (10 pages)
Advertisement
OWNER'S MANUAL
Read and understand this entire manual before allowing
child to use this product! For assistance contact Razor.
DO NOT RETURN TO STORE.
NOTE: Manual illustrations are for demonstration purposes only.
Illustrations may not reflect exact appearance of actual product.
Specifications subject to change without notice.
Please have your product along with the 22 character product I.D. code with you
before contacting Razor for warranty assistance and/or replacement parts.
Product I.D. Code: _____________ - ____________ - ____________
Advertisement
Table of Contents

Related Manuals for Razor PowerWing


Summary of Contents for Razor PowerWing
- Page 1 OWNER’S MANUAL Read and understand this entire manual before allowing child to use this product! For assistance contact Razor. DO NOT RETURN TO STORE. NOTE: Manual illustrations are for demonstration purposes only. Illustrations may not reflect exact appearance of actual product.
- Page 2 PowerWing in mud, ice, puddles or water. Avoid excessive speeds that COMMON SENSE. can be associated with downhill rides. Never risk damaging surfaces, such as carpet or flooring, by use of a PowerWing indoors. Do not ride at night or APPROPRIATE RIDER USE AND PARENTAL SUPERVISION when visibility is impaired.
- Page 3 Need Help? Visit our website for replacement parts, product support, a list of authorized service centers in the US and customer service contact information at www.razor.com. Please have the product I.D. code (located on the white label of your product) available for better assistance. Additional Customer...
- Page 4 Need Help? Visit our website for replacement parts, product support, a list of authorized service centers in the US and customer service contact information at www.razor.com. Please have the product I.D. code (located on the white label of your product) available for better assistance. Additional Customer...
- Page 5 ASSEMBLY AND SET-UP Adjusting the Brake Required Tools: 3 mm Allen Wrench and 8 mm Allen Wrench To adjust the brake cable wire, Squeeze the brake lever to test If the brake is too tight or too thread the brake lever adjuster in or the brake to make sure it is working loose, use a 8 mm wrench and out 1/4 to 1/2 turn until the desired...
- Page 6 Slightly bend knees. With handlebars straight, swing hips and legs side to side. Shifting weight on the platforms from right to left in sync with hips and legs. The side to side motion acts to self propel the PowerWing. No pushing required. How to Stop...
- Page 7 Need Help? Visit our website for replacement parts, product support, a list of authorized service centers in the US and customer service contact information at www.razor.com. Please have the product I.D. code (located on the white label of your product) available for better assistance. Additional Customer...
- Page 8 Printed in China for Razor USA LLC. Copyright © 2003-2020 Razor USA, LLC. All rights reserved. Razor ® and the Razor logo design are among the registered trademarks of Razor USA LLC in the United States and/or select foreign countries. PowerWing ® and the PowerWing logo design are trademarks of Razor USA LLC.
Need help?
Do you have a question about the PowerWing and is the answer not in the manual?
Questions and answers