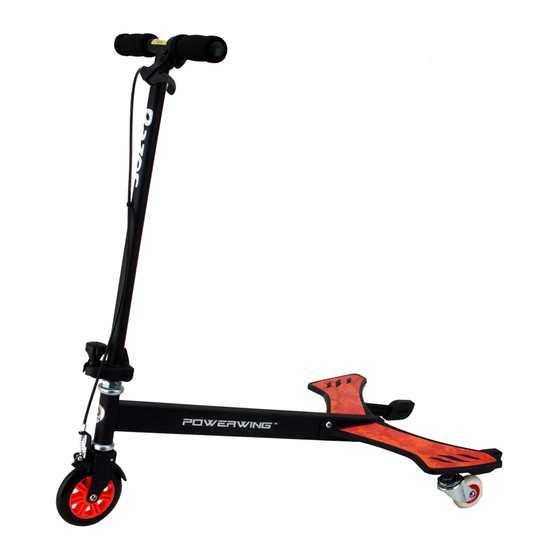
Razor Powerwing Owner's Manual
Hide thumbs
Also See for Powerwing:
- Owner's manual (8 pages) ,
- Owner's manual (8 pages) ,
- Manual (10 pages)
Table of Contents
Advertisement
Quick Links
Owner's Manual
Read and understand this entire manual before riding!
For assistance contact Razor®. DO NOT RETURN TO STORE.
NOTE: Manual illustrations are for demonstration purposes only.
Illustrations may not reflect exact appearance of actual product.
Specifications subject to change without notice.
Item Number:
Black 20036090
Silver 20036011
DLX
20036099
Advertisement
Table of Contents

Subscribe to Our Youtube Channel
Summary of Contents for Razor Powerwing
- Page 1 Owner’s Manual Read and understand this entire manual before riding! For assistance contact Razor®. DO NOT RETURN TO STORE. NOTE: Manual illustrations are for demonstration purposes only. Illustrations may not reflect exact appearance of actual product. Specifications subject to change without notice.
-
Page 2: Safety Warnings
PowerWing™ in mud, ice, puddles or water. Avoid excessive speeds that can be associated with downhill rides. Never risk damaging surfaces such as carpet or flooring by use of a PowerWing™ indoors. Do not ride at night or APPROPRIATE RIDER USE AND PARENTAL SUPERVISION when visibility is impaired. -
Page 3: Before You Begin
Inspect the contents of the box for scratches in the paint, dents or kinked WaRNINg: DO cables that may have occurred during shipping. Because the PowerWing™ is partially assembled and packed at the NOT USE NON-RAZOR factory, there should not be any problems, even if the box has a few scars or dents. -
Page 4: Set-Up And Usage
SET-Up aND USagE q attaching the Foot platforms Remove black plastic protector Remove black plastic protector Insert the two coupling bolts at the end of the frame. Using two at the end of the platform. Position and two hexagonal bolts. Starting 5mm hexagonal wrenches, remove underneath with the bolt on the the right and left foot platforms up... -
Page 5: Attaching The Handlebars
6 o’clock position to unfold the fingers clear of the pivoting handlebar stem. mechanism when folding or unfolding the , and PowerWing™ make sure others are standing clear. Note: The cable and wire assembly from the handlebar must not wrap around the steering tube or handlebar as shown in step 3. -
Page 6: Powerwing Parts
Handlebar Stem 120mm Front Wheel 10 - 1 Brake Cable Adjust Screw Foot Platform (Right/Left) Handlebar Grip (2) 8 - 1 Washer (Front Wheel) 10 - 2 Brake Spring Platform Cover (Right/Left) Brake Lever Assembly 8 - 2 608zz Bearing (Front... -
Page 7: Safety Gear
For your records, save your original sales receipt with this manual. caused by improper assembly, maintenance, or storage or use of the Razor® PowerWing™. __________________________________________ This Limited Warranty will be void if the product is ever Item Number: •...


Need help?
Do you have a question about the Powerwing and is the answer not in the manual?
Questions and answers